How Often Should I Replace the Blade on My GuideMaster X1?
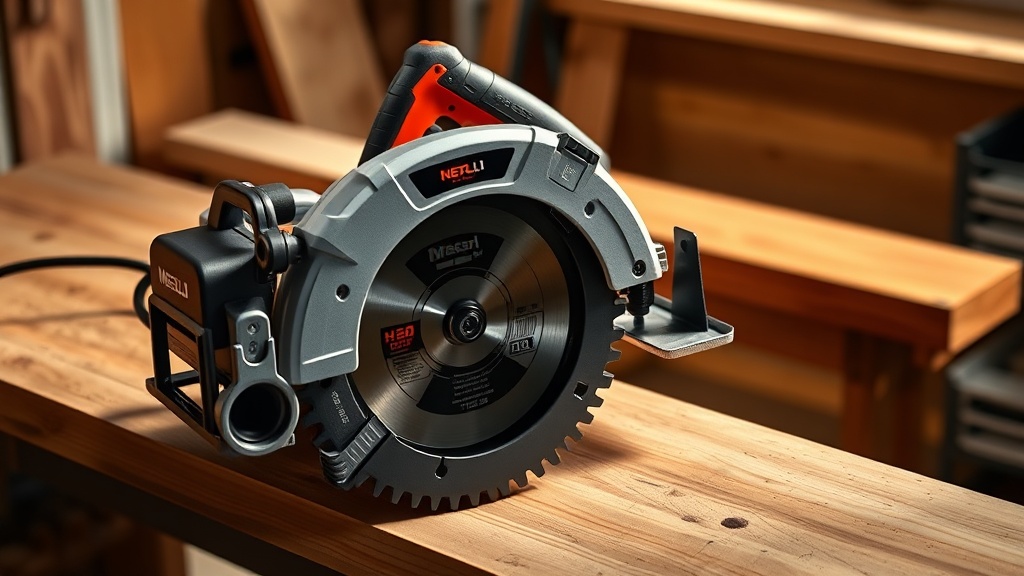
The GuideMaster X1, a robust saw often favored by workshop enthusiasts and light contractors, sees its blade degrade at a pace dictated by material and use. For moderate users cutting primarily softwoods and plywood, a replacement every 4 to 6 months or after 80 to 100 hours of runtime is reasonable. If you’re pushing through hardwoods, laminates, or abrasive MDF daily, you might need a new blade every 2 to 3 months. A telltale sign is when the saw begins to require more muscle to feed, or when the cut surface feels rough or scorched. Waiting until you see smoke or a brown burn mark on the wood means you’ve already lost efficiency and may be heating the blade, which warps it. Keeping a spare blade on hand for rotation is practical—you’ll double the life of each blade by letting them cool between uses.
What Type of Blade Is Best for the GuideMaster X1’s Arbor Size and RPM?
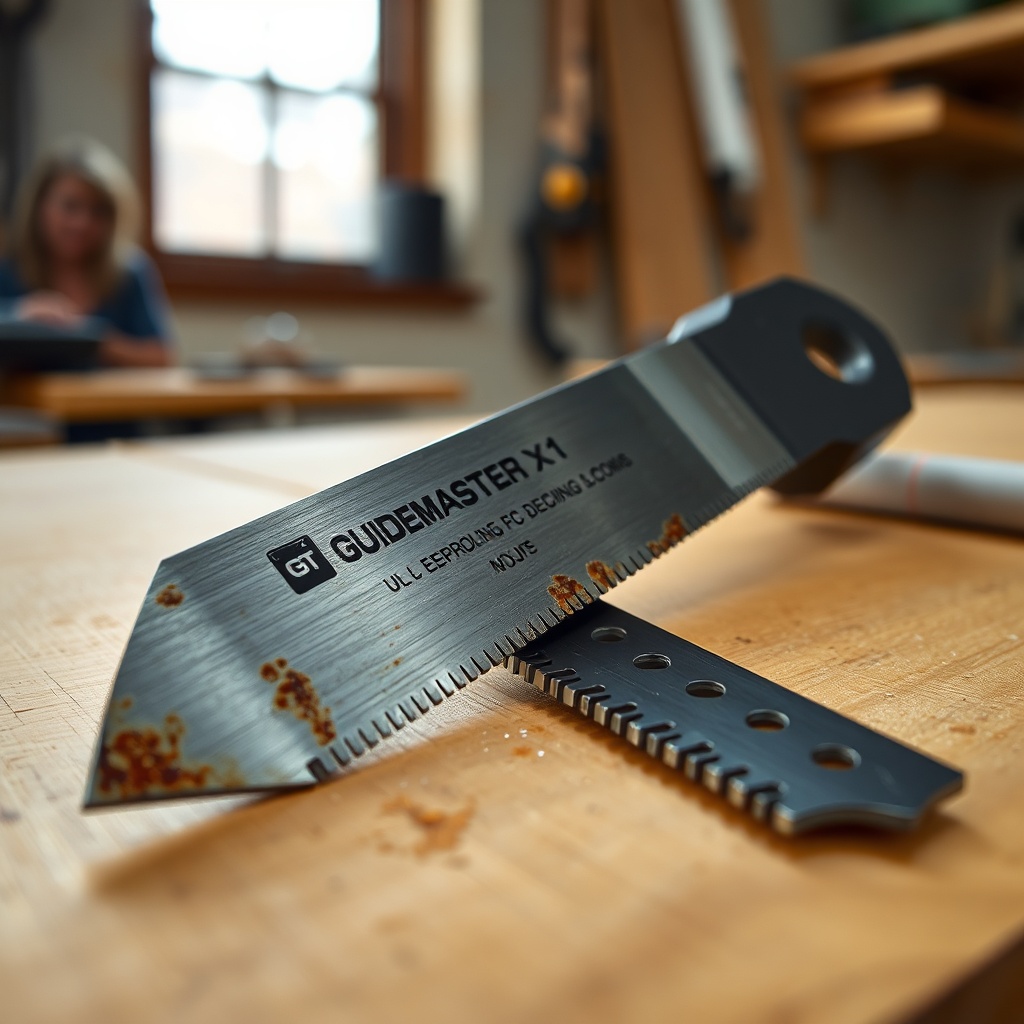
The GuideMaster X1 uses a standard 5/8-inch arbor with a 7-1/4 inch blade diameter, and it spins at a no-load RPM of 5,800. This spec is common for jobsite saws, meaning you have a wide selection of aftermarket blades. For general purpose work, a 40-tooth carbide-tipped blade with a 15 to 20 degree hook angle is a solid choice—it balances speed and cleanliness. For finer cuts in plywood or melamine, step up to a 60-tooth thin-kerf blade (the X1’s motor handles thin kerf without bogging) with a 10-degree or negative hook angle. This lowers the risk of tear-out. Avoid full-kerf blades over 48 teeth unless you’re cutting thick hardwoods; they generate more resistance and heat. When selecting a blade, check that the arbor hole is exactly 5/8 inch—some blades come with reducer rings, but a direct fit avoids vibration. A tip: the X1’s spindle lock is plastic, so always use the provided wrench and never overtighten; hand-tight plus a quarter turn with the wrench is sufficient.
How Do I Safely Remove the Old Blade from the GuideMaster X1?
Safety first: disconnect the power cord from the outlet—never just switch off the saw. The X1’s blade release system uses a two-button lock: press the spindle lock button on the rear of the gearbox while rotating the blade until it clicks into place. With the blade secured, use the included 13mm wrench on the arbor bolt (it’s a left-hand thread, so turn clockwise to loosen). If the bolt is stubborn after heavy use, you can spray a bit of penetrating oil on the threads 10 minutes prior. Do not use impact tools; the plastic housing can crack. Once the bolt is free, lift it off and remove the outer washer. The blade should then slide off the arbor—if it sticks, gently tap the side of the blade with a rubber mallet, never pry with a screwdriver. Keep your fingers clear of the kerf teeth. Place the old blade on a magnetic tray or in its original packaging immediately; loose blades on the floor cause shop accidents.
What Is the Correct Procedure for Installing a New Blade on the GuideMaster X1?
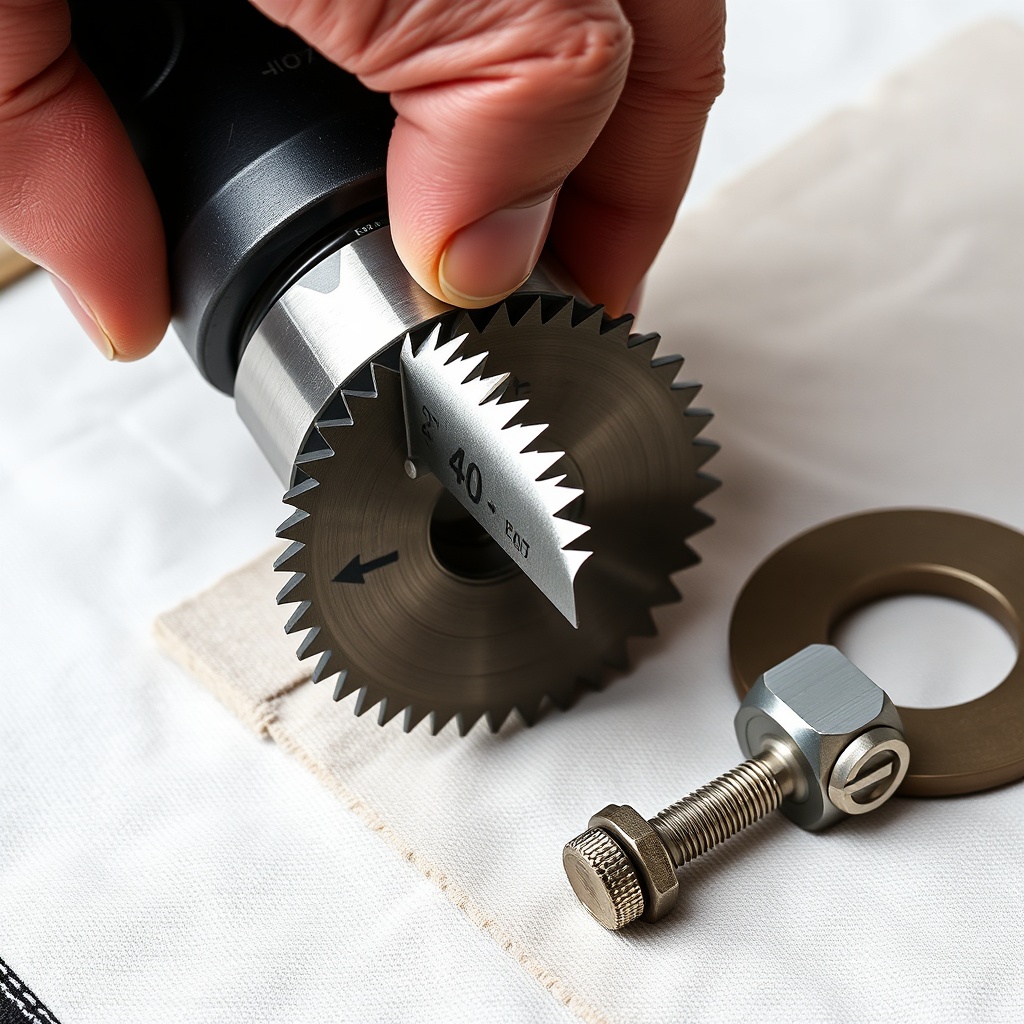
Position the new blade so that the teeth point in the direction of rotation—this is counterclockwise when viewed from the blade side. The GuideMaster X1 has a small arrow on the upper guard indicating rotation; line your blade’s directional arrow with that. Slide the blade onto the arbor fully, then replace the outer washer (note: the flat side goes against the blade, the slight bevel faces outward). Thread the arbor bolt by hand—again, left-hand thread, so turn counterclockwise to tighten—until it seats snugly. Use the spindle lock again and give the bolt a quarter to half turn with the wrench. Over-tightening can strip the bolt or warp the blade. Before releasing the spindle lock, manually spin the blade to ensure it doesn’t rub against the blade guard or riving knife. Reconnect power, lower the blade height to about half-inch, and let the saw run for 10 seconds at no load to check for wobble. A slight humming is normal; a shuddering noise indicates an improper seat or a bent blade—stop immediately and reinstall.
How Do I Know If a GuideMaster X1 Blade Is Damaged or Dull Enough to Replace?
You don’t need to wait for catastrophic failure. Create a simple severity table for your weekly inspection:
| Condition | Indication | Action Needed |
|---|---|---|
| Minor pitting on carbide tips | Slightly rougher cut, occasional tear-out | Usually not urgent—can keep using for another 5-10 cuts, but plan replacement |
| Missing one or two carbide tips | Vibration during cut, burning odor | Needs attention soon—replace before next heavy use |
| Bent or warped blade (visible wobble) | Excessive vibration, unsafe kickback risk | Replace immediately—do not use the saw |
| Heavy resin or pitch buildup | Smoking, slow feed, sticky blade | Usually not urgent—clean first with blade cleaner, but if buildup returns quickly, replace blade |
Also pay attention to burn marks on the wood—they mean the blade is overheating, often due to dullness or pitch. If you see charred lines on your cut edges, it’s time. Another practical check: run your finger lightly across the carbide tips (with the blade off, of course) to feel for flat spots or chipping. A sharp tip should feel like a fine file edge.
Can I Sharpen GuideMaster X1 Blades Myself, or Should I Replace Them?
You can sharpen carbide-tipped blades at home with a diamond wheel or a specialized lap tool, but it requires a jig to maintain the original tooth geometry and hook angle. The GuideMaster X1 uses a 15-degree top bevel angle on most stock blades; a slight error can cause the blade to cut off-square or bind. For a single blade you use often, professional sharpening (costing about $10 to $15 per blade) is a practical middle ground. However, if the carbide tips are chipped or worn down to less than 1/16 inch of remaining carbide, replacement is better—sharpening removes more material and leaves a weak edge. The $25 to $40 price for a quality replacement blade from brands like Freud or Diablo often offers better value than sharpening a very worn blade twice. Keep in mind the X1’s arbor and RPM are compatible with most 7-1/4 inch blades, so consider switching to a premium thin-kerf model for your next purchase—they cut easier and the savings in electricity and motor wear pay for themselves over time.
What GuideMaster X1 Owners Say About Blade Changes
Regular contributors on woodworking forums share two recurring observations about the X1’s blade change process. First, many note that the spindle lock is reliable but can be stiff initially; a drop of light oil on the lock mechanism after several changes smooths it out. Second, several owners point out that the X1’s stock blade guard does not always accommodate blades thicker than 1.8 mm kerf—a common issue when using full-kerf blades meant for miter saws. One experienced owner writes, “I switched to a thin-kerf 60-tooth for plywood, and the X1 cuts like a different saw—no binding, and the motor doesn’t bog down.” Another notes, “I ruined one blade by overtightening the arbor bolt. Now I use a torque wrench set to 15 foot-pounds, and I’ve had zero issues.” A third owner recommends always replacing the arbor washer if it shows rust—corrosion can cause blade runout and vibration.
Frequently Asked Questions
What size arbor does the GuideMaster X1 use?
The GuideMaster X1 uses a 5/8-inch arbor with a 7-1/4 inch diameter blade. This is the standard size for most jobsite circular saws and allows you to use a wide range of aftermarket blades without needing an adapter.
Can I use a 6-1/2 inch blade on the GuideMaster X1?
No, you should not use a 6-1/2 inch blade. The X1’s blade guard and riving knife are designed for a 7-1/4 inch blade. A smaller blade will not reach through the guard slot correctly, exposing too much of the blade and creating a safety hazard. Stick to the recommended 7-1/4 inch.
Why does my GuideMaster X1 blade wobble after installation?
A wobble after a fresh install usually indicates the outer washer is reversed, the arbor bore of the blade is not fully seated, or the blade itself is bent. Remove the blade and reinstall it with the washer’s flat side against the blade. Also, check the blade for a bent center by placing it on a flat surface—if it rocks, replace it immediately.
How do I clean pitch and resin off my GuideMaster X1 blade?
Use a specialized blade cleaner or a mixture of simple green and warm water (avoid acetone, which can damage carbide bonds). Soak the blade for 10 minutes, then scrub with a stiff nylon brush. Rinse and dry thoroughly before reinstalling. For heavy buildup, a commercial oven cleaner (wear gloves) works faster, but rinse well. Never use a wire brush—it can strip the carbide.
Is it safe to use a diamond blade for tile on the GuideMaster X1?
No, the GuideMaster X1 is designed for wood and wood-based materials only. Its RPM range and lack of water cooling make it unsuitable for tile or masonry blades. Using a diamond blade can cause the blade to shatter, leading to serious injury. Use a dedicated tile saw with proper guarding.
My GuideMaster X1 blade won’t tighten—what do I do?
First, check that the arbor bolt threads are clean and not stripped. If they look fine, the spindle lock may not be engaging fully—sometimes sawdust accumulates in the lock mechanism. Blow it out with compressed air. If the lock still won’t hold, the lock pin may be worn—this is a known recurring issue on some X1 units. Contact GuideMaster support for a replacement lock assembly (costs about $15).