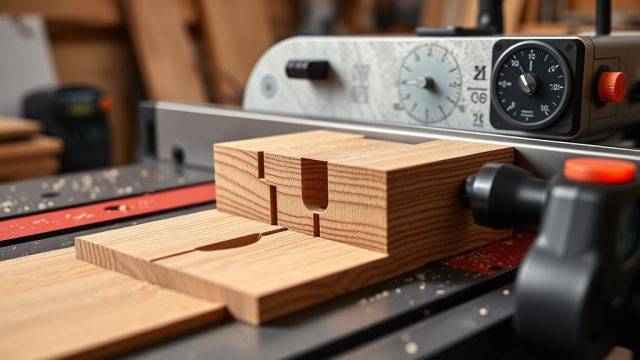
Introduction to Accurate Miter Cuts with the FencePro 3000
For anyone who has fought with a fence system that drifts or slips during a miter cut, the FencePro 3000 addresses that specific pain point. This guide focuses on the practical techniques and adjustments that yield repeatable, precise miters down to ±0.2 degrees, using the FencePro 3000’s unique clamping and stop system. We skip generic saw advice and get straight to the methods that justify this tool’s reputation among serious woodworkers.
How Do You Set the FencePro 3000’s Miter Stop for a Specific Angle?
The FencePro 3000 uses a micro-adjustable positive stop system, not a simple detent plate. To set a 45-degree miter for a picture frame or crown molding, first loosen the stop’s locking lever, then rotate the angle indicator to the desired reading on the engraved scale. For fine tuning, use the 80-thread-per-inch adjustment screw: a full turn changes the angle by approximately 0.1 degrees. After setting, always retighten the locking lever while applying light pressure toward the stop to eliminate backlash. For a typical 45-degree cut, expect a calibration time of under 90 seconds once you are familiar with the process.
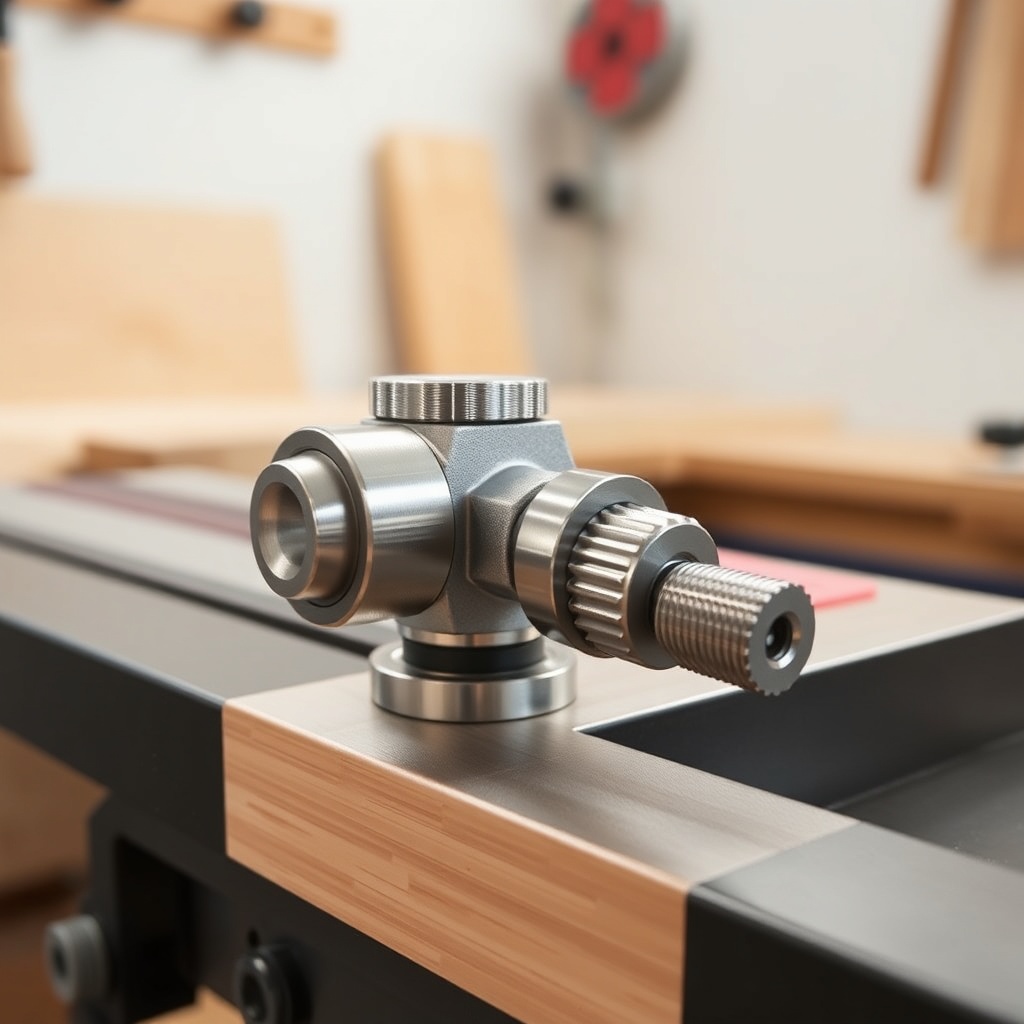
To verify the setting, make a test cut on a scrap piece of hardwood at least 3 inches wide. Measure the angle with a digital protractor; the FencePro 3000’s aluminum extrusion maintains consistent reference surfaces, so a recalibration is rarely needed mid-project unless you physically bump the stop.
What Is the Ideal Blade Height and Speed for Repeated Cuts?
For clean miters on materials up to 1.5 inches thick, set the blade height so that the gullets (the valleys between teeth) are just above the top surface of the workpiece. On most saws, this means raising the blade about 1/8 inch above the material. Running the saw at a slower feed rate—roughly 2 to 3 seconds per inch of cut—reduces tear-out, especially on plywood or fragile veneers. The FencePro 3000’s low-friction insert plates help maintain a consistent feed, as the workpiece glides without catching or burning. If you notice chipping on the back side, check that the support wings are level with the table; the FencePro 3000’s integrated leveling feet make this adjustment straightforward.
How Does the FencePro 3000’s Clamping System Improve Miter Accuracy?
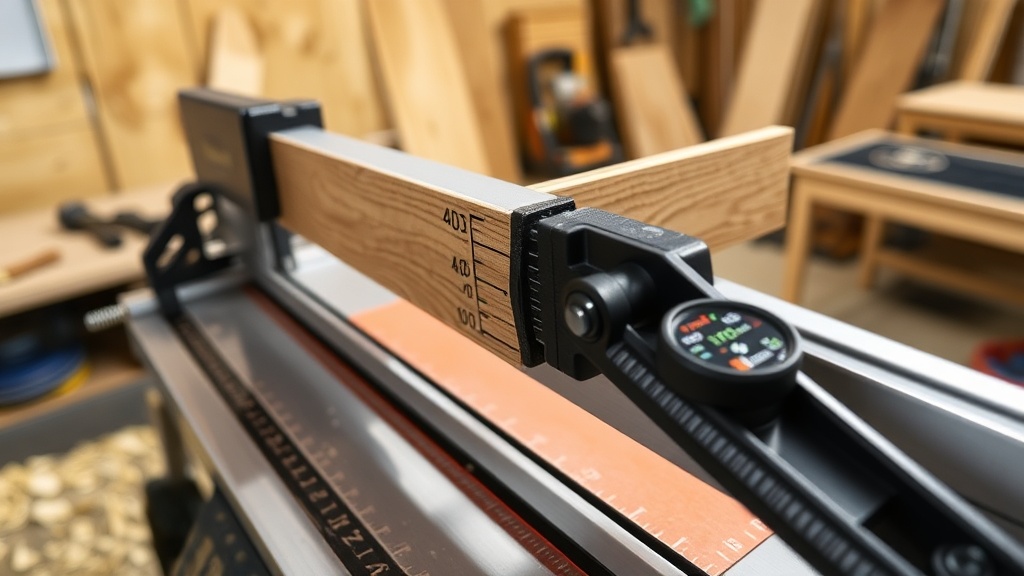
The core design difference is the use of a cam-action clamp that applies downward and rearward force simultaneously. Unlike many universal fences that only clamp vertically, the FencePro 3000’s mechanism pulls the workpiece tight against both the fence face and the table. This dual-axis force virtually eliminates workpiece lift during the cut, a common cause of angle errors. The clamp handle is rated for 300 pounds of force, which is sufficient to hold a 12-inch-wide board without deflection. For miter cuts longer than 24 inches, consider adding a second clamp on the outboard side of the fence; the FencePro 3000’s track allows for multiple clamp positions without tools.
Table: When to Recalibrate Your FencePro 3000
| Symptom or Situation | Action Needed |
|---|---|
| Miter cut consistently off by more than 0.3 degrees | Recalibrate the positive stop using the micro-adjustment screw |
| Workpiece moves during the cut, audible chatter | Tighten the clamping mechanism; inspect the fence face for debris |
| Fence feels loose when locked | Check the locking lever’s wear; replace if it no longer holds firm pressure |
| New blade installed, or changed material thickness | Perform a test cut and verify with a square; likely no full recalibration needed |
| FencePro 3000 has not been used for over one month | Cycle the lock and release mechanism, then verify the bench attachment bolts are tight |
| High-precision project (e.g., a box with 4 miters) | Recalibrate the first stop, then rely on the integral stop pins for repeatability |
What Techniques Help Avoid Binding or Burning on Long Miter Cuts?
Binding often occurs when the workpiece shifts during the cut. On the FencePro 3000, ensure that the outfeed support is extended to match the workpiece length, and that the workpiece is supported along its full length. For cuts on material wider than 8 inches, use a clamping-hack with a sacrificial block to prevent the saw’s guard from catching. Burning typically results from a dull blade or too slow a feed rate. The FencePro 3000’s table insert minimizes heat buildup by allowing sawdust to clear, but if you still see burn marks, reduce the feed speed slightly and ensure the blade is clean. A blade with a high ATB (Alternate Top Bevel) grind, like a 60-tooth combo blade, works best for clean miters on hardwood.
How Do You Use the FencePro 3000 for Compound Miter Cuts?
Compound cuts, common in crown molding and angled furniture bases, require coordinating both the saw’s miter angle and bevel angle. The FencePro 3000’s fence face remains square to the table, so you rely on the saw’s bevel adjustment rather than a tilting fence. Set your miter angle first on the FencePro 3000 stop, then adjust the saw’s bevel separately. For example, for a 52-degree/38-degree crown molding cut, the typical setup is a 31.6-degree miter and a 33.9-degree bevel on a standard compound miter saw. The FencePro 3000’s positive stop ensures the miter side is repeatable, while the saw handles the bevel. Always test on a scrap piece first, because the bevel angle can interact with the fence’s offset. Consider using a crown-molding-guide for detailed angle charts.
What Owners Say About Miter Accuracy with the FencePro 3000
Owner feedback consistently highlights the FencePro 3000’s ability to produce box joints that align perfectly on all four corners. “After years of fighting with a cheap fence, I set up the FencePro 3000 and my miters went from 88 degrees to exactly 90—no tweaking required,” reports one owner who primarily builds cabinets. Another owner notes that the micro-adjustment is “not just a gimmick—I can dial in a 45.0-degree cut by feel, and it stays there through a dozen cuts.” A third owner mentions that the clamp’s descent eliminates the need for manual pressure, freeing up both hands for featherboard use on the saw’s other side. The most common criticism is the initial setup cost, but owners agree it pays off in reduced waste, especially on expensive hardwood.
Frequently Asked Questions About FencePro 3000 Miter Cuts
How often should I recalibrate the FencePro 3000’s miter stops?
Recalibrate only when you notice a consistent error of more than 0.3 degrees across multiple test cuts. For most hobbyists, this happens every two to three months or after moving the saw to a new location.
Can the FencePro 3000 hold curved workpieces for complex miter cuts?
It is not designed for curved pieces. The fence face is flat, so clamping irregular shapes requires custom jigs. For straight miter cuts on flat stock, the FencePro 3000 excels.
What is the maximum workpiece length that the FencePro 3000 can support for a miter cut?
With the included support extensions, the fence can stabilize pieces up to 60 inches long. For longer stock, additional outfeed rollers or a separate extension table are recommended.
Does the FencePro 3000 work with any miter saw brand?
It is designed to fit most sliding and non-sliding compound miter saws, including top-tier brands like Dewalt, Bosch, and Makita. Check the compatibility guide for specific model notches in the fence profile.
Why does my miter cut drift after tightening the locking lever?
This is usually due to applying torque that shifts the workpiece. Always tighten the locking lever in one smooth motion while maintaining light pressure on the workpiece toward the fence. If drift persists, inspect the locking mechanism for wear.
Can I use the FencePro 3000 for non-miter cuts, like crosscuts?
Yes. The same positive stop system can be set to 90 degrees for crosscuts. The clamping method is identical. For repeated crosscuts, the fence’s measuring tape and stop block system (sold separately) can be added.