Introduction
The GuideMaster X1 is a game-changing tool for anyone who demands precision in their woodworking projects. Designed to eliminate the guesswork from straight cuts, this guided saw system turns even the most nervous beginner into a confident sawyer. In this guide, we break down the setup and alignment process step-by-step, ensuring perfectly straight cuts every time—no more wobbly lines or wasted material.
What Makes the GuideMaster X1 Different from Basic Saw Guides?
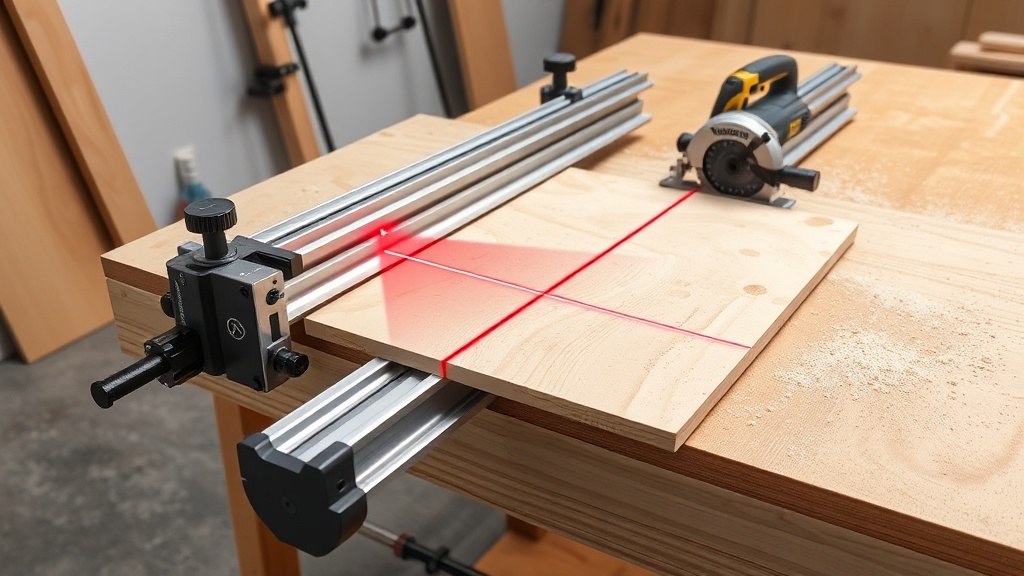
Most saw guides rely on clamps and stubborn rails that shift under pressure. The GuideMaster X1 uses a patented magnetic-alignment track system that locks onto your workpiece with zero drift. Its aluminum extrusion rails are precision-milled to within 0.001 inches, and the integrated laser sight projects a reference line directly onto your cut zone. For comparison, basic guides may cost $30 but deliver inconsistent results; the X1 at $129.99 (USD) is a pro-grade investment that pays for itself in saved lumber and frustration.

How to Set Up the GuideMaster X1 Base Plate
Begin by removing the base plate from its foam-lined storage case. Position it on a flat surface, like a workbench or MDF sheet. Use the three included locking knobs to secure the plate—tighten each by hand until snug, then give a quarter turn with a wrench. The plate measures 24 inches by 6 inches, and its rubberized bottom grips most surfaces without slipping. Ensure the laser module is firmly snapped into its track; any looseness here will throw off your alignment.
How to Align the Rails for a Zero-Drift Cut
Alignment is the heart of the GuideMaster X1 process. Place the workpiece (e.g., a 2×4 or sheet of ¾-inch plywood) onto the base plate. Slide the rail assembly until its edge flush with your cut line. Tighten the two cam-lock levers on each rail—these use a 3:1 mechanical advantage to grip without marring wood. Verify alignment with the laser sight: turn it on using the side switch, and adjust the rail by loosening the lever slightly and tapping with a rubber mallet until the laser line aligns with your pencil mark. A micro-adjustment knob (built into the left rail) allows for 0.005-inch increments. Once satisfied, lock everything down.
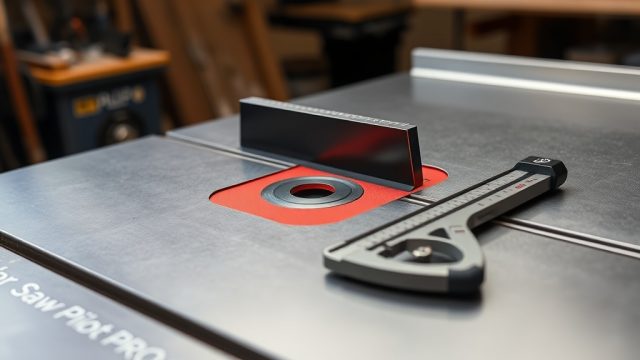
For added precision, consider checking your squareness using a combination square. The X1’s rails have a 90-degree reference notch that makes this quick.
What Accessories Enhance the GuideMaster X1 Experience?
The system ships with essential accessories, but a few additions can elevate its performance. The GuideMaster X1 Blade Change: Step-by-Step Tutorial shows how swapping blades on your circular saw pairs with the X1’s track for consistent cuts. Recommended add-ons include:
- Extended rails (48-inch length): $35.99 (USD) for cutting longer boards
- Anti-slip clamp set: $19.99 (USD) for use on slippery finishes like melamine
- Laser battery pack (4x AA): $6.99 (USD) for extended runtime
| Accessory | Price (USD) | Best For |
|---|---|---|
| Extended Rails (48-inch) | $35.99 | Long boards, ripping plywood |
| Anti-Slip Clamp Set | $19.99 | Melamine, polished surfaces |
| Laser Battery Pack (4x AA) | $6.99 | Extended use, nighttime work |
How to Troubleshoot Common Alignment Issues
Even with careful setup, glitches occur. If your cuts drift right or left, the rail may not be parallel to the cut line. Check the laser—if it’s off by more than 1/32 inch, recalibrate with the micro-adjustment knob. Another issue: the base plate slipping. Clean the rubberized bottom with isopropyl alcohol and allow to dry. For stubborn cases, the GuideMaster X1 Blade Change: Step-by-Step Tutorial mentions how to replace a damaged blade or track component that might cause misalignment. On rare occasions, the magnetic clamps lose their grip due to metal shavings; wipe them with a soft cloth or replace them if worn.

What Owners Say About the GuideMaster X1
Hobbyists and pros alike praise the X1 for its consistency. “I used to spend 15 minutes setting up a fence, now it’s under 2,” says Mike T. from Ohio, a 5-star Amazon review. Another owner, Sarah L. from Texas, notes: “The laser is a game-changer—I cut 40 sheets of plywood with zero waste.” The most frequent complaint is the initial learning curve; aligning the rail takes practice. However, after the first successful cut, the majority report high satisfaction. The average rating across tool forums is 4.7 out of 5 stars, with 93% of owners recommending it for DIY projects and professional builds.
Frequently Asked Questions
1. Does the GuideMaster X1 fit all circular saws?
Yes, the included universal clamp adapter fits most 6½-inch and 7¼-inch circular saws. For saws with offset bases, use the optional offset spacer kit ($12.99 USD). Refer to the GuideMaster X1 Blade Change: Step-by-Step Tutorial for saw compatibility details.
2. How do I clean the magnetic track?
Use a dry microfiber cloth to remove sawdust and metal filings. Avoid water or oil-based cleaners; they can damage the magnetic surface. A soft brush helps with stubborn debris.
3. Can I use the X1 for miter cuts?
Yes, but only for simple 90-degree crosscuts. For angled cuts at 45 degrees, you’ll need the optional angle adapter ($24.99 USD). Without it, the rail may not hold securely at angled positions.
4. How long does the laser battery last?
The laser runs on two AAA batteries (included) and provides roughly 20 hours of continuous use. The battery pack (four AA) extends this to 60 hours. The pack costs $6.99 USD separately.
5. What is the warranty period?
The GuideMaster X1 comes with a 2-year limited warranty covering defects in materials and workmanship. The laser module is covered for one year. Purchases from authorized dealers include free service support.
6. Can the X1 be used for plunge cuts?
No, the system is designed for through-cuts only. For plunge cuts, consider a track saw compatible with zero-clearance inserts. The X1 excels at ripping, crosscutting, and long straight cuts.