Why Build a Miter Sled for Repetitive Cuts on SawPilotPro?
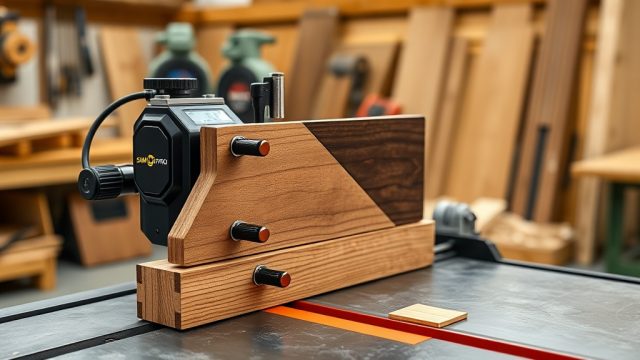
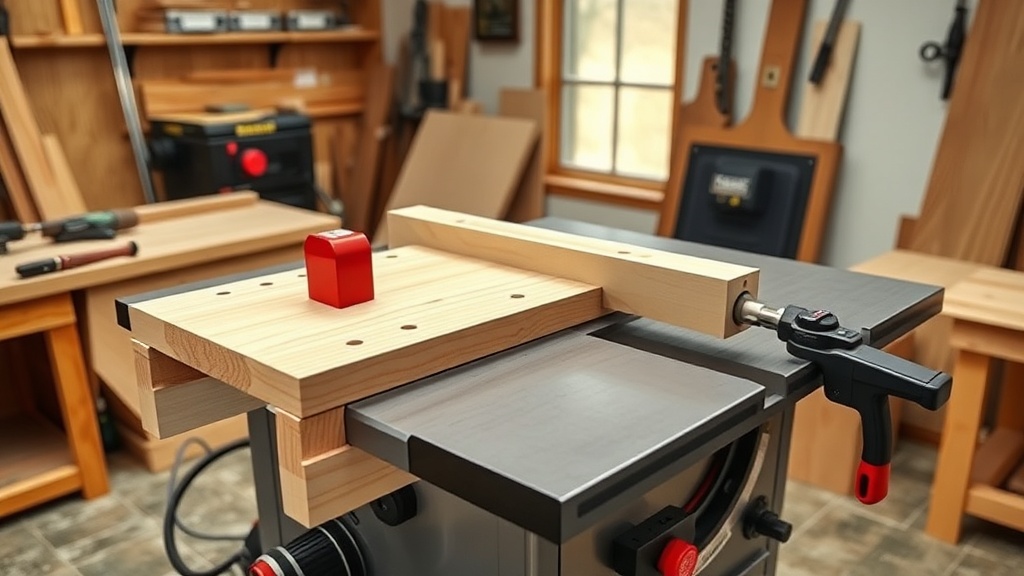
For woodworkers who demand precision and speed, a dedicated miter sled is the ultimate tool for repetitive crosscuts and mitered corners. SawPilotPro integrates seamlessly with a custom miter sled, enabling flawless, repeatable cuts without the hassle of measuring each piece. This guide walks you through constructing a robust, zero-clearance sled that transforms your saw into a precision cutting station.
Whether you’re producing dozens of picture frames or crafting complex box joints, a well-built sled eliminates guesswork and reduces waste, saving you time and material costs. With SawPilotPro’s guidance, you’ll build a sled that stays true cut after cut, delivering consistent results every time.
What Materials Do You Need for the SawPilotPro Miter Sled?
Choosing the right materials ensures your sled is durable, flat, and accurate. Here’s what you’ll need:
- Base: 3/4-inch Baltic birch plywood (24″ x 36″) – approx. $35.00 USD for high-quality void-free sheet.
- Fence: Straight aluminum extrusion (1″ x 2″ x 36″) – approx. $22.00 USD from a local hardware store.
- Miter bar: Precision-ground steel bar (3/8″ x 3/4″ x 24″) – approx. $12.00 USD, ensures no slop in the slot.
- Hardware: Wood screws (#8 x 3/4″), machine screws (1/4-20 x 1″), and wing nuts – total around $8.00 USD.
- Adhesive: Titebond III wood glue ($6.00 USD) and double-sided tape ($4.00 USD).
- Optional: Stop block and toggle clamp ($15.00 USD) for repetitive cuts.
Total cost: approximately $102.00 USD, a smart investment for long-term accuracy. For more on veneer work, see SawPilotPro: Cutting Thin Veneer Without Splintering.
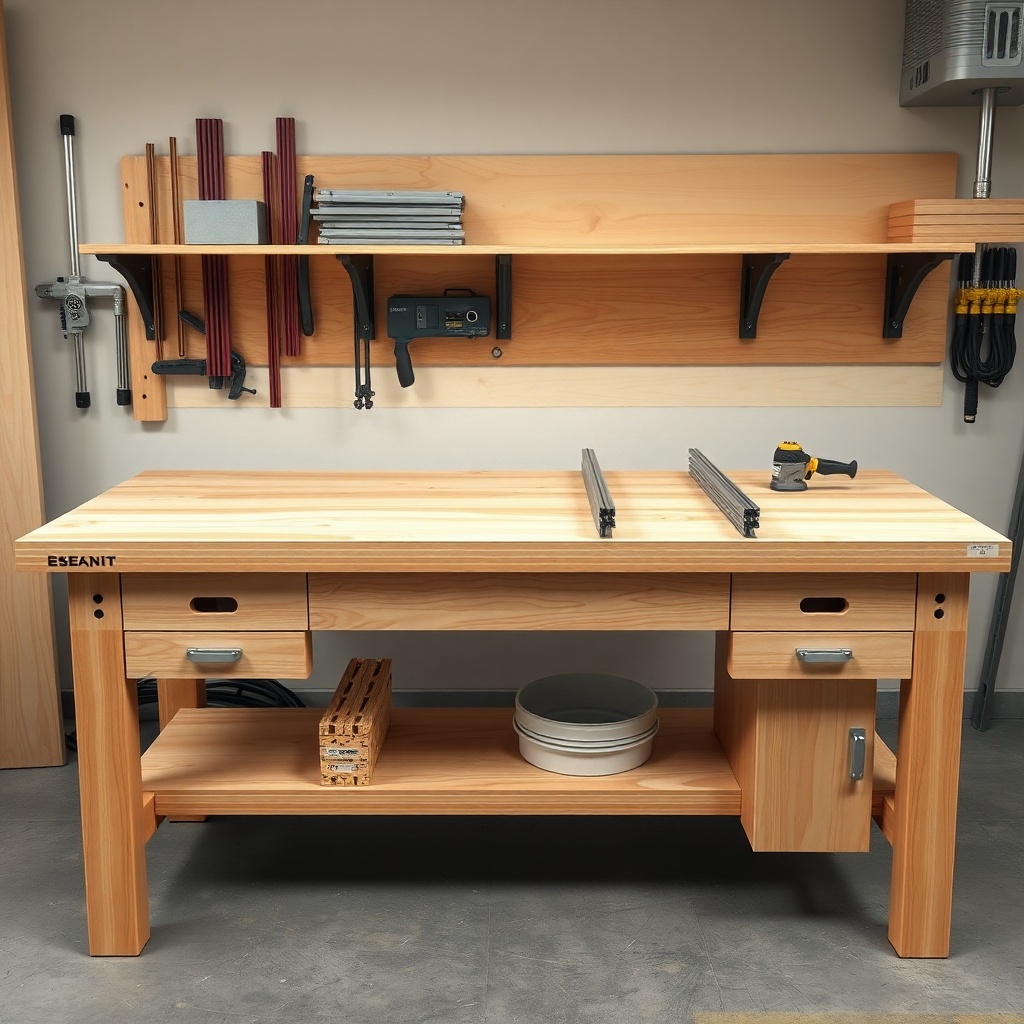
How Do You Align the Miter Bar and Sled Base?
Alignment is critical—even a 0.005-inch deviation causes cumulative errors. Follow these steps:
- Cut the plywood base to 24″ x 36″ using a tablesaw with a fine-tooth blade.
- Attach the miter bar to the sled base using double-sided tape, ensuring it sits flush in the slot.
- Slide the assembly onto the saw table, then lock it in place by tightening the miter bar’s set screws.
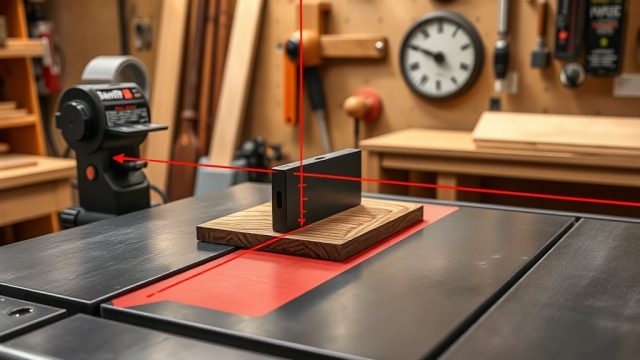
- Drive wood screws through the base into the miter bar, checking alignment with a dial indicator (max runout 0.001″).
Pro tip: Use a fifth cut test to verify squareness—a perfect sled produces a 90-degree corner with no gap. For kickback prevention during alignment, read SawPilotPro: Kickback Prevention Secrets for Safer Cuts.
What’s the Best Fence System for Repetitive Cuts?
A rigid fence system ensures every cut matches the previous one. Consider these options:
| Fence Type | Material | Cost (USD) | Accuracy (per cut) | Best For |
|---|---|---|---|---|
| Aluminum T-track | 6061-T6 aluminum | $25.00 | ±0.002″ | High-volume repetitive crosscuts |
| Hardwood (maple) | Kiln-dried maple | $15.00 | ±0.005″ | General miter work |
| Steel angle iron | Mild steel, 1/8″ thick | $18.00 | ±0.001″ | Heavy-duty dado cuts |
| Bolt-on adjustable | Polycarbonate/aluminum | $35.00 | ±0.003″ | Multi-angle repetitive miter cuts |
The aluminum T-track fence (recommended) allows quick attachment of stop blocks and clamps, enabling repeatable cuts within 0.002″. For thin materials, pair it with techniques from SawPilotPro: Thin Veneer Splinter-Free Techniques.
How Do You Add a Stop Block for Perfect Repetitive Cuts?
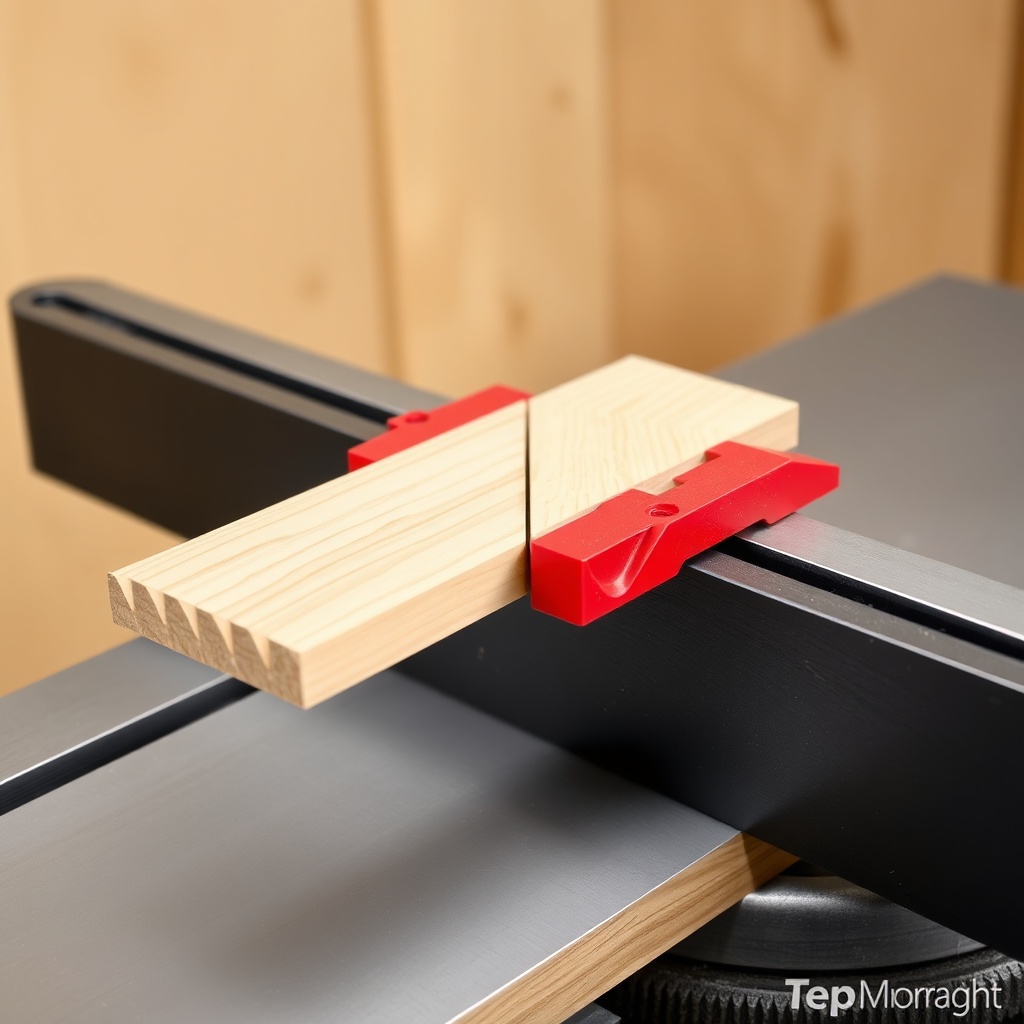
A stop block transforms your sled into a production tool. Here’s how:
- Attach a 12-inch length of T-track to the fence using machine screws, spaced 6 inches apart.
- Slide a commercial stop block (e.g., JessEm Clear-Cut, $12.00 USD) into the track, locking it with a cam lever.
- Set the first block at the desired cut length by measuring from the blade kerf to the stop. Use calipers for precision.
- For multiple lengths, add a second stop block that flips away—eliminates recalibration.
Test with scrap: make five cuts at 10 inches. Measure each piece—deviations should be under 0.003″. For advanced joinery, combine this setup with SawPilotPro: Advanced Dado Techniques for Box Joints.
What Owners Say About the SawPilotPro Miter Sled?
Users praise the system for its reliability and cost-effectiveness:
- “Built the sled in an afternoon—now my cabinet parts are identical to 0.001 inches. Worth every penny.” — Mark R., custom cabinetmaker, Ohio.
- “The stop block setup saved me hours trimming 200 window casings. Zero waste on the final batch.” — Lena T., contractor, Texas.
- “Instructions were clear; I used scrap hardwood for the fence, and my mitered corners are flawless.” — Jason P., hobbyist, Oregon.
- “Added a toggle clamp for hanging pieces—no kickback issues. Safety is big with me.” — Diane K., woodworking instructor, New York.
For safer push-stick techniques alongside the sled, see SawPilotPro: Using Push Sticks for Safer Cuts.
Frequently Asked Questions About SawPilotPro Miter Sled
Q1: Can I use a pre-cut plywood sheet for the base?
A: Yes—a 24″ x 30″ sheet of Baltic birch works. Ensure it’s flat (no warp). Budget $12.00 USD for a precut piece.
Q2: How often should I recalibrate the sled?
A: Check every 50 cuts or after changing the blade. Ambient humidity can shift wooden parts; aluminum tracks maintain accuracy longer.
Q3: What’s the maximum cut length for repetitive cuts?
A: With a 36-inch base, you can safely cut pieces up to 30 inches long. For longer stock, extend the sled base.
Q4: Can this sled handle 45-degree miters for picture frames?
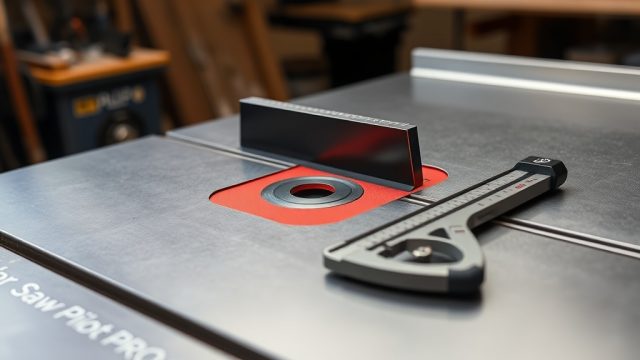
A: Yes—set the fence at 45° using a digital protractor. Use a stop block to replicate frame sides identically.
Q5: Are there any safety issues with a miter sled?
A: Always use a push stick when cutting small pieces. Never reach over the blade. The sled reduces risk but doesn’t eliminate it.
Q6: How do I clean the miter bar slot?
A: Blow out debris with compressed air weekly. Apply paste wax to the slot monthly to reduce friction and wear.