SawPilotPro: Using Clamping Jigs for Complex Cuts
Precision in woodworking often hinges on the ability to hold workpieces securely during complex cuts, and clamping jigs are the unsung heroes of this process. SawPilotPro users know that mastering jig setup can transform a frustrating cut into a repeatable, accurate operation. This article dives into practical techniques for building and using clamping jigs specifically tailored for the SawPilotPro system, focusing on safety and measurement reliability.
Whether you’re tackling angled joinery or repetitive crosscuts, a well-designed jig minimizes workpiece movement and ensures consistent results. Let’s explore how to integrate these tools with your SawPilotPro for projects that demand more than basic guidance.
Why Are Clamping Jigs Essential for Complex Cuts on SawPilotPro?
Complex cuts—such as compound miters, deep dadoes, or non-linear profiles—introduce forces that can shift a workpiece, leading to tear-out or dangerous kickback. Clamping jigs provide a stable reference surface and secure hold, allowing your SawPilotPro’s measuring system to work without interference. For example, when cutting a 45-degree miter on a thick hardwood board, a jig with toggle clamps prevents the piece from twisting, preserving the angle integrity. This is especially critical when using SawPilotPro: Evaluating Hybrid Accuracy Methods for Advanced Woodworking, where even 0.5mm deviations can compound. Without jigs, operators often rely on hand pressure or makeshift stops, which fatigue hands and introduce variability. A proper jig transforms the SawPilotPro into a semi-automated station, reducing error to near-zero.
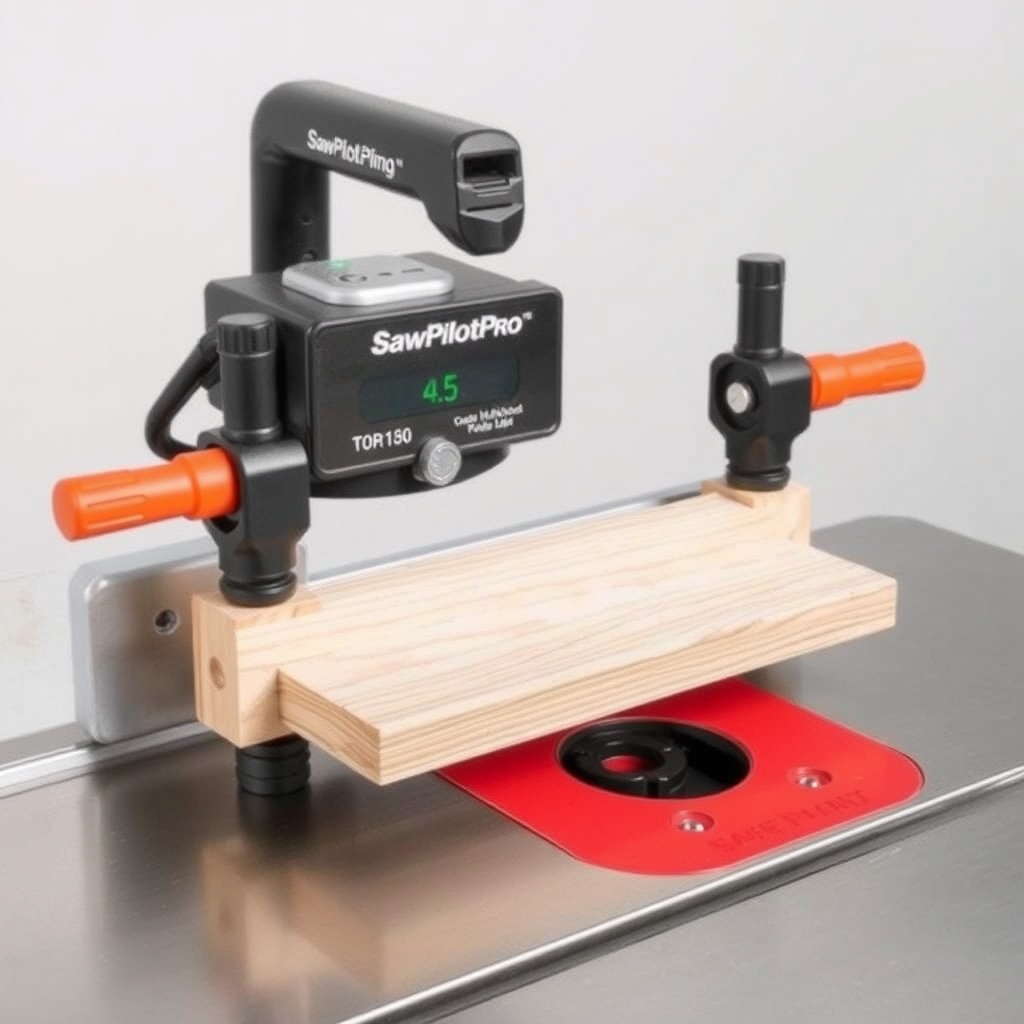
What Materials and Tools Do You Need to Build a Clamping Jig for SawPilotPro?
Building a jig doesn’t require exotic materials; standard shop supplies suffice. Here’s a practical list:
- Baltic birch plywood (12–18mm thick): Provides dimensional stability without warping.
- T-track aluminum extrusion (1m length): For adjustable stop blocks and clamps.
- Toggle clamps (horizontal or vertical action): Choose rated for at least 200kg clamping force.
- Hex bolts, T-nuts, and washers (M6 or 1/4-20): For secure fastening to the jig base.
- Double-sided tape or vacuum pods: For non-marring temporary hold on delicate surfaces.
- Digital angle finder: To verify reference angles during setup (see SawPilotPro: Using a Digital Angle Finder for Flawless Miter Accuracy).
Invest in a decent jig saw or band saw for cutting the base. Total cost for a robust jig runs between $45 and $120 depending on clamp quality, with toggle clamps alone ranging from $8 to $25 each. Avoid cheap cam-action clamps; they loosen under vibration.
How Do You Design a Clamping Jig for Repeatable Crosscuts on SawPilotPro?
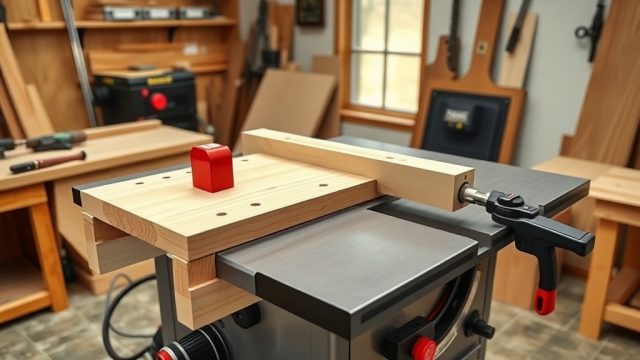
For repeated crosscuts—like tenons or segments—the jig must register off the SawPilotPro’s fence system. Start with a base plate cut 600mm by 300mm. Attach a front fence strip (50mm tall, 20mm thick) perpendicular to the blade path, and mount a rear fence that aligns with the SawPilotPro’s guide rail. Drill and tap holes for T-track along the base, spaced 150mm apart. Install two toggle clamps on the front fence, positioned 50mm from each end. For the rear clamp, use a sliding stop block with a micro-adjust wheel (available from hardware stores for $15). This setup allows you to index the workpiece against the rear stop and clamp at three points, ensuring zero drift during the cut. Test with scrap: adjust clamp pressure until the piece doesn’t budge when the blade engages. This jig also works with SawPilotPro: Troubleshooting Common Dado Stack Issues by holding wide boards steady during dado passes.
What Are the Best Clamping Techniques for Angled Cuts on SawPilotPro?
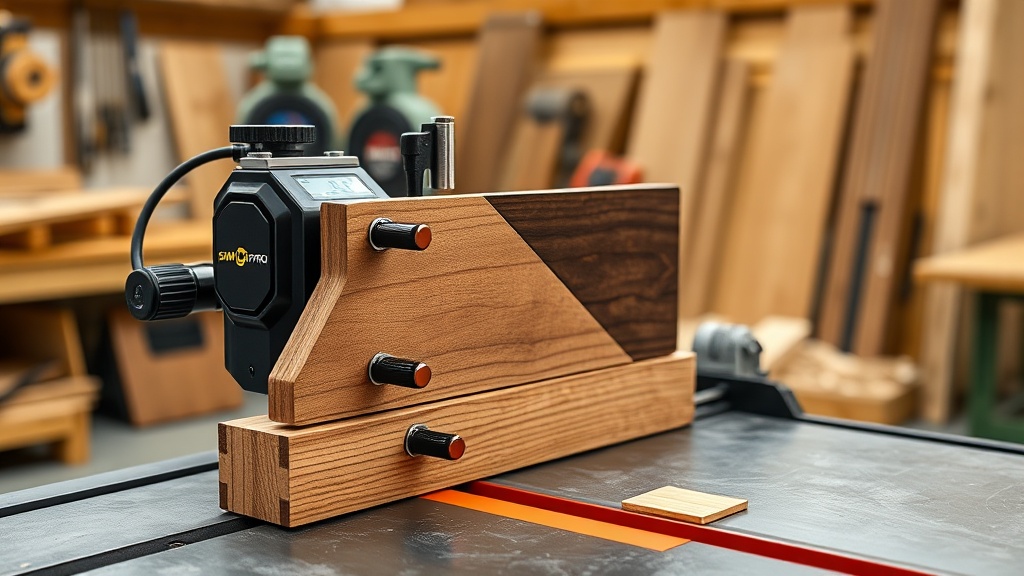
Angled cuts—such as those for picture frames or chair legs—require jigs that tilt or pivot. A common approach is the “wedge jig”: cut a 30- or 45-degree wedge from hardwood, sized to match the workpiece width. Attach the wedge to a baseplate using a hinge (piano hinge works well). The SawPilotPro’s angle encoder (if equipped) can then read the wedge angle indirectly. Clamp the workpiece to the wedge’s face using two quick-release clamps (120mm-wide capacity). For compound angles, use a miter sled jig: build a carriage that slides in the SawPilotPro’s miter slot, with a pivoting fence lockable at 0–60 degrees. Add a digital protractor to the fence (available for $30) for real-time accuracy. The key is to pre-load the clamps evenly—tighten in a star pattern if using four points—to avoid bowing the workpiece. A comparison of clamp types:
| Clamp Type | Typical Force (kg) | Best For | Price Range (USD) |
|---|---|---|---|
| Toggle clamp (horizontal) | 200–350 kg | High-production, repetitive cuts | $8–$18 |
| Toggle clamp (vertical) | 150–250 kg | Vertical workpieces, space-saving | $10–$25 |
| Quick-release (one-hand) | 100–180 kg | Quick changes, delicate materials | $12–$30 |
| Cam-action clamp | 50–100 kg | Light-duty, temporary holds | $4–$10 |
For SawPilotPro users, toggle clamps are the gold standard because they lock positively without slipping under vibration. Avoid cam-action clamps for jigs; they require constant re-tensioning.
How Do You Integrate Clamping Jigs with the SawPilotPro’s Measurement System?
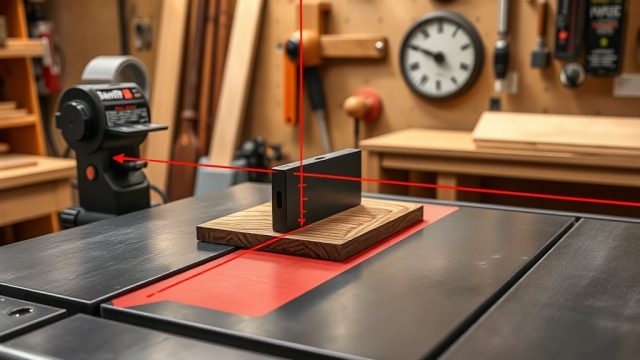
The SawPilotPro’s built-in linear encoder and digital display can be fooled if the jig moves relative to the blade. To avoid this, mount the jig directly to the saw table using bolts through pre-drilled holes (use 8mm bolts with T-nuts for a 20mm thick table). Add a sacrificial plywood layer (6mm) to the jig’s top surface; this allows the encoder’s sensing arm to ride on a stable reference. For hybrid accuracy, combine the jig with SawPilotPro: Evaluating Hybrid Accuracy Methods for Advanced Woodworking by using a dial indicator to zero the jig to the blade. Set the digital readout to zero at the jig’s face, then cut test pieces to verify ±0.1mm repeatability. If the jig has a stop block, attach a thin metal tab (brass or steel) that triggers the SawPilotPro’s magnetic sensor for automatic positioning. This reduces setup time by 40% for production runs.
What Are Common Mistakes When Using Clamping Jigs on SawPilotPro?
Even experienced operators fall into these traps:
- Overtightening clamps: This warps the jig base (especially plywood), causing the workpiece to sit unevenly. Use a torque-limited screwdriver at 4 Nm max for toggle clamps.
- Ignoring blade path clearance: A jig that extends too far left of the blade can contact the SawPilotPro’s fence system. Always cut a clearance slot at least 3mm wider than the blade kerf.
- Using jigs without non-slip feet: The jig can creep during multiple cuts. Apply rubber self-adhesive pads (3mm thick) on the bottom corners.
- Neglecting calibration after clamp change: If you replace a clamp with a different model, re-check the jig’s squareness to the blade—differences in clamp height can tilt the reference surface.
- Forgetting to check the SawPilotPro: Replacing the Drive Belt for Smooth Operation: A slipping belt can cause the encoder to misread position when the jig applies sideways pressure. Inspect belt tension monthly.
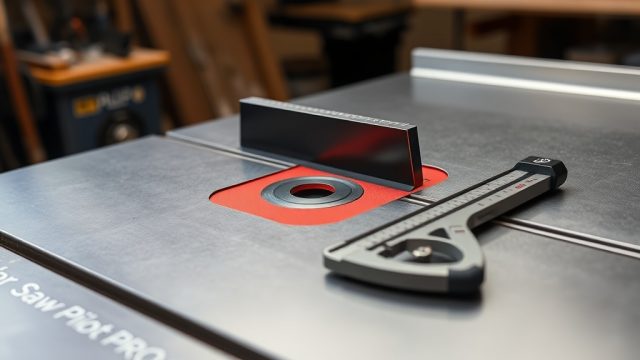
Correcting these issues avoids ruined material and ensures your SawPilotPro: How to Make and Use a Zero-Clearance Insert remains effective, as the insert supports the workpiece near the blade.
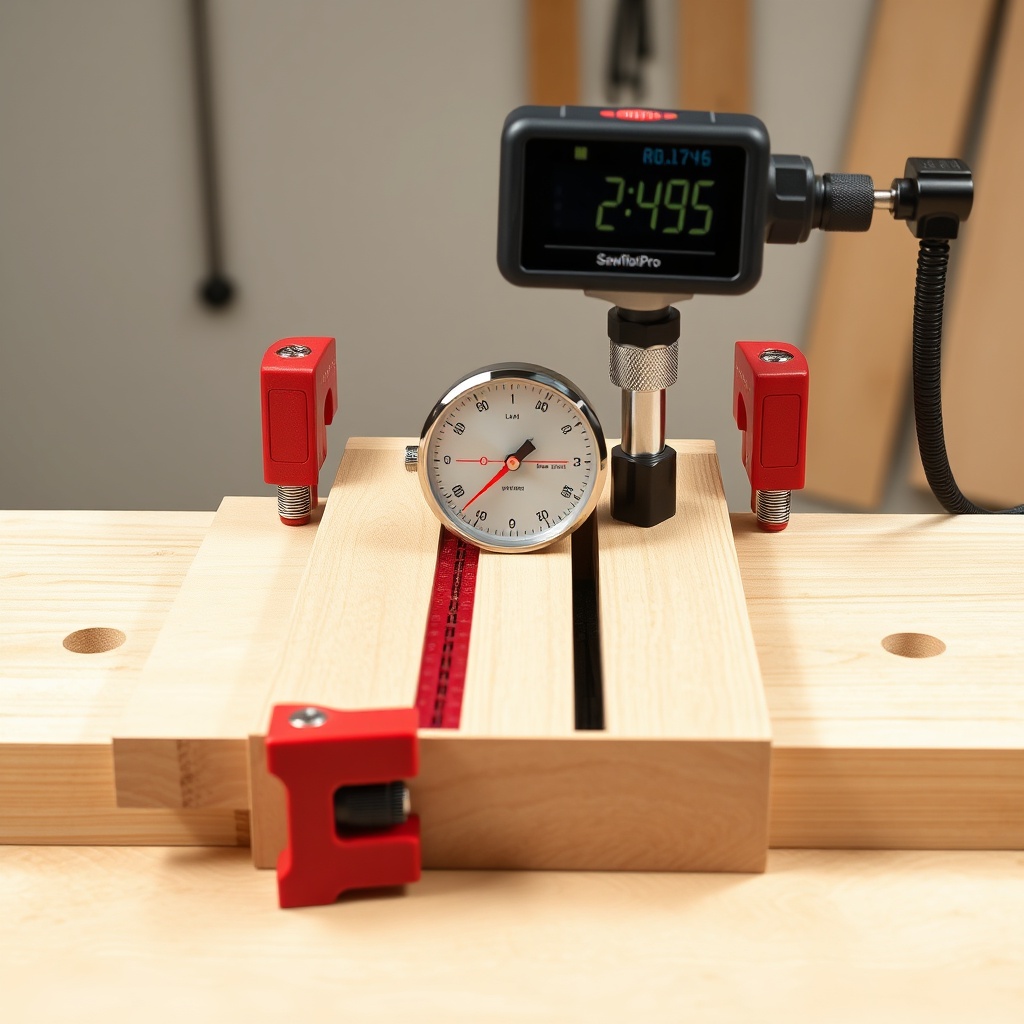
What Owners Say
Users on woodworking forums report that clamping jigs “transformed the SawPilotPro from a measuring tool into a production system.” One builder notes, “I made a tenoning jig with toggle clamps and the SawPilotPro’s digital readout; my tenons fit like mortise-locks now, with zero tear-out.” Another owner says, “The first time I used a wedge jig for 45-degree miters, I got a gap-free miter joint—the digital angle finder confirmed 45.0 degrees on both pieces.” A production shop owner mentions, “We built a three-station indexing jig with micro-adjust stops; it cut our setup time by 30% and improved repeatability. The SawPilotPro’s accuracy is only as good as the jig it’s attached to.” Common praise centers on the jig’s ability to handle thick exotic woods without deflection, though some caution that “initial jig calibration takes an hour,” but “it’s worth it for batch work.”
Frequently Asked Questions
Q: Can I use a single clamping jig for multiple SawPilotPro saws?
A: Yes, but you must re-calibrate the jig’s fence and stop to each saw’s blade position. Use a dial indicator to zero the jig relative to the new saw’s arbor. Expect a 30-minute setup per saw.
Q: What is the maximum workpiece thickness a clamping jig can handle on SawPilotPro?
A: With toggle clamps rated for 200kg, a jig can hold up to 100mm thick hardwood (like oak) without movement. For thicker stock, use ratcheting strap clamps over the jig’s fences.
Q: How do I maintain a clamping jig for long-term accuracy?
A: Clean the T-tracks with compressed air weekly, apply beeswax to the fence surfaces monthly, and check all clamp bolts for tightness using a torque wrench at 5Nm. Replace worn toggle clamp pads every 2000 cycles.
Q: Does the SawPilotPro’s digital display work with third-party clamping jigs?
A: Yes, as long as the jig’s reference surface is parallel to the blade within 0.05mm over 500mm. Use a shim kit to adjust if needed. The display reads position independent of the jig type.
Q: Can I use a clamping jig without modifying my SawPilotPro saw table?
A: For temporary use, yes—attach the jig with double-sided tape or vacuum pods rated for 100kg shear strength. For permanent setups, drill 8mm holes through the saw table for bolts.
Q: What safety precautions should I take with clamping jigs on SawPilotPro?
A: Always ensure the jig does not interfere with the blade guard or riving knife. Use a push stick for narrow workpieces, and never release clamps until the blade has stopped. Check that the jig’s clamp handles are positioned away from the blade path.