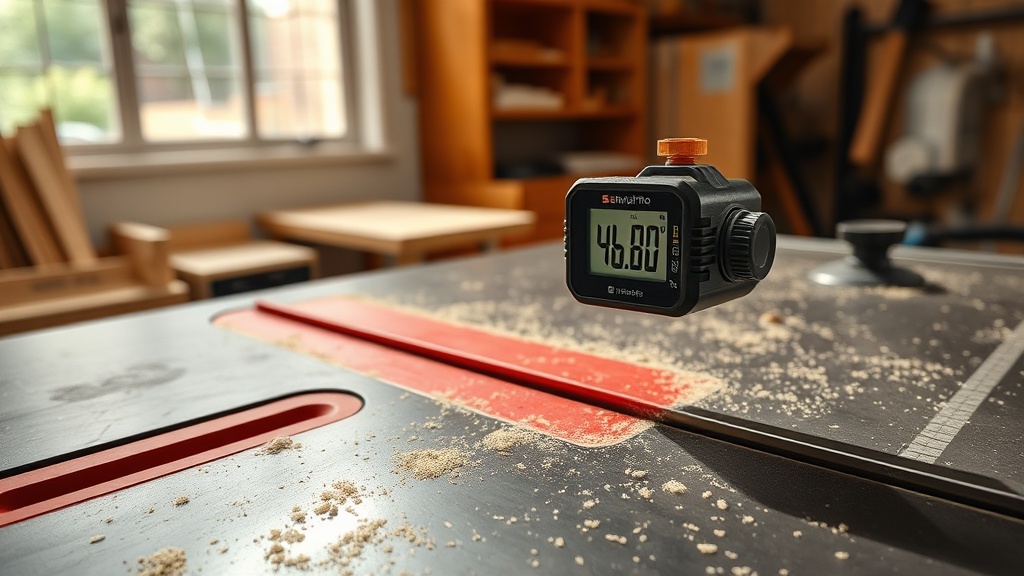
Why Rely on a Digital Angle Finder for Miter Cuts?
Every woodworker knows that miter accuracy is the difference between a tight, professional joint and a gap-ridden frustration. The SawPilotPro ecosystem recognizes that even the best table saw or miter saw can drift out of square. A digital angle finder—sometimes called an electronic protractor or bevel gauge—is the most reliable way to verify and set miter angles to within 0.1° on your SawPilotPro rig. This article dives into practical techniques for using a digital angle finder to achieve flawless miter accuracy, from initial setup to in-production checks.
What Kind of Digital Angle Finder Works Best With SawPilotPro?
Not all digital angle finders are created equal. For the SawPilotPro environment, you need a model that offers:
- ±0.1° accuracy or better (most quality units meet this)
- Magnetic base for hands-free attachment to saw arbor plates or fence faces
- Hold function to lock readings in awkward positions
- Resolution of 0.1° (0.05° is overkill for most woodworking)
- Replaceable batteries (CR2032 or AAA)
Popular choices include the iGaging ABS Angle Gauge and the Wixey WR300. Avoid cheap units with plastic hinges—they flex under load and introduce error. For a direct comparison, see the table below.
Digital Angle Finder Comparison for SawPilotPro
| Model | Accuracy | Magnetic Base | Hold Function | Price (USD) | Best For |
|---|---|---|---|---|---|
| iGaging ABS Angle Gauge | ±0.2° | Yes (two magnets) | Yes | $42 | General miter saw setup |
| Wixey WR300 | ±0.1° | Yes (strong rare-earth) | Yes | $66 | Table saw blade tilt and miter gauge |
| Inclinometer 801-000 | ±0.1° | No (suction cup) | Yes | $89 | Precision cabinet work |
| Mitutoyo 950-301 | ±0.05° | Optional | Yes | $210 | Professional shop standards |
How Do You Calibrate a Digital Angle Finder for Your SawPilotPro Setup?
Calibration is a three-step process that takes less than two minutes but ensures every subsequent reading is trustworthy. First, place the digital angle finder on a known-flat reference surface (like a granite block or the cast-iron top of your SawPilotPro table saw). Press the “Zero” button. Second, rotate the finder 180° and check that it reads 180.0°—if not, repeat zeroing. Third, check a 45° reference block (or use the SawPilotPro’s own miter slot). If the reading is off by more than 0.1°, recalibrate per the manufacturer’s instructions. This ensures your digital angle finder is accurate for both absolute and relative measurements.
Always calibrate at the same temperature you’ll be cutting in—digital sensors drift with temperature changes. For a deeper dive into aligning your SawPilotPro, read SawPilotPro: Aligning Guide Rails for Perfect Rip Cuts.
Should You Use the Digital Finder on the Blade or Fence for Miter Accuracy?
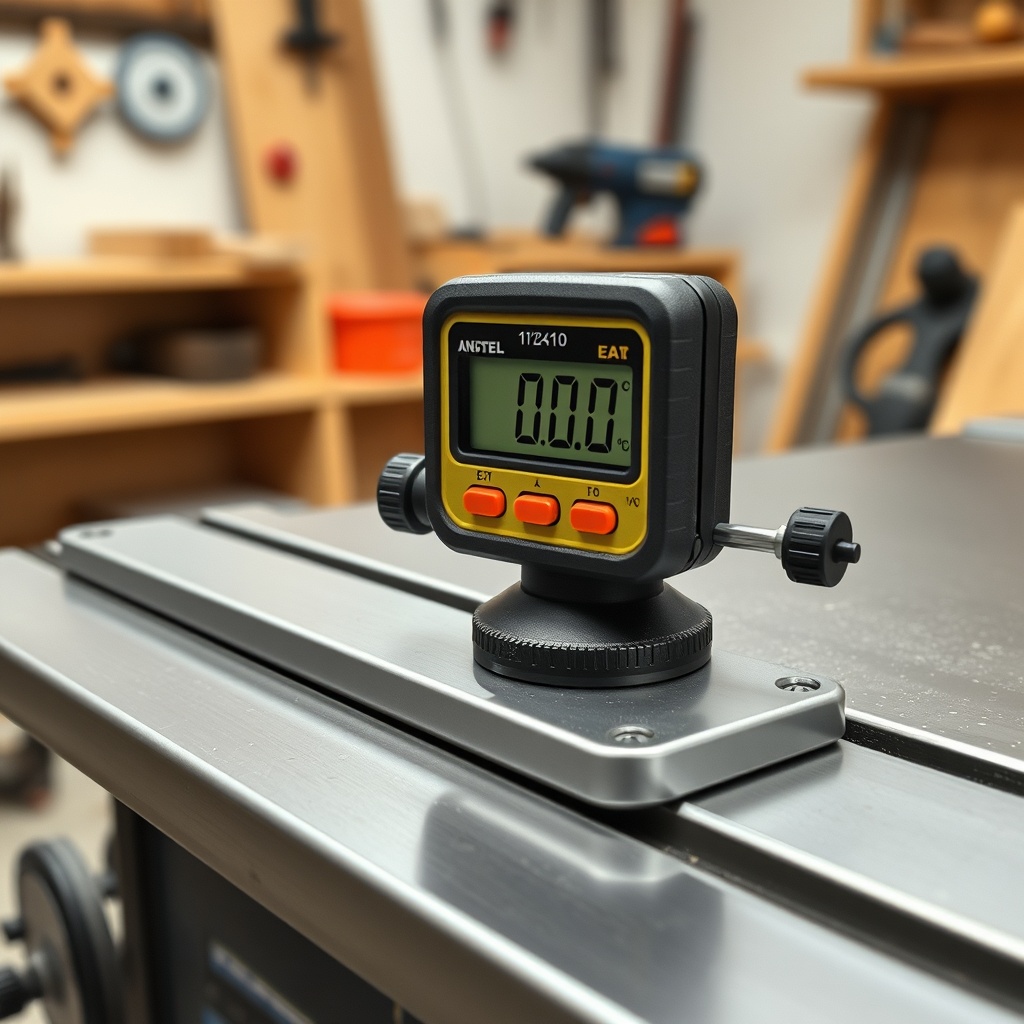
The short answer: both, depending on what you’re measuring. For miter saws, place the digital angle finder on the blade body (using a strong magnet or adhesive disc) to set the blade angle relative to the table. For table saws, mount the finder on the fence face to check 90° or 45° bevel angles. Some woodworkers prefer using a SawPilotPro: How to Build and Use a Crosscut Sled for Perfectly Square Cuts for crosscuts, but a digital angle finder is faster for repeat setups.
When measuring on the blade, ensure the blade is at full height and the finder is centered on the flat portion (avoid carbide tips). A reading of 90.0° on the gauge means your blade is square to the table. For miter cuts, measure the bevel angle directly; for compound miters, measure both bevel and miter independently.
How Do You Set Specific Miter Angles (Like 30°, 45°, or 52°) Accurately?
Most miter gauges and saws have detents at common angles, but detents can wear or be misaligned. To set a custom angle:
- Zero the digital angle finder on the saw’s base (or table surface).
- Place the finder on the miter gauge or bevel arm.
- Adjust the gauge until the reading shows your target angle (e.g., 30.0°).
- Lock the gauge and verify three times—readings should be consistent within 0.1°.
- Make a test cut in scrap and check with a combination square. If the cut is off, re-zero and repeat.
For compound angles (like crown molding), use the digital finder to set both the miter and bevel independently. Many woodworkers find that a SawPilotPro: Evaluating Hybrid Accuracy Methods for Advanced Woodworking combines digital readings with mechanical stops for repeatability.
What Common Mistakes Ruin Miter Accuracy With a Digital Angle Finder?
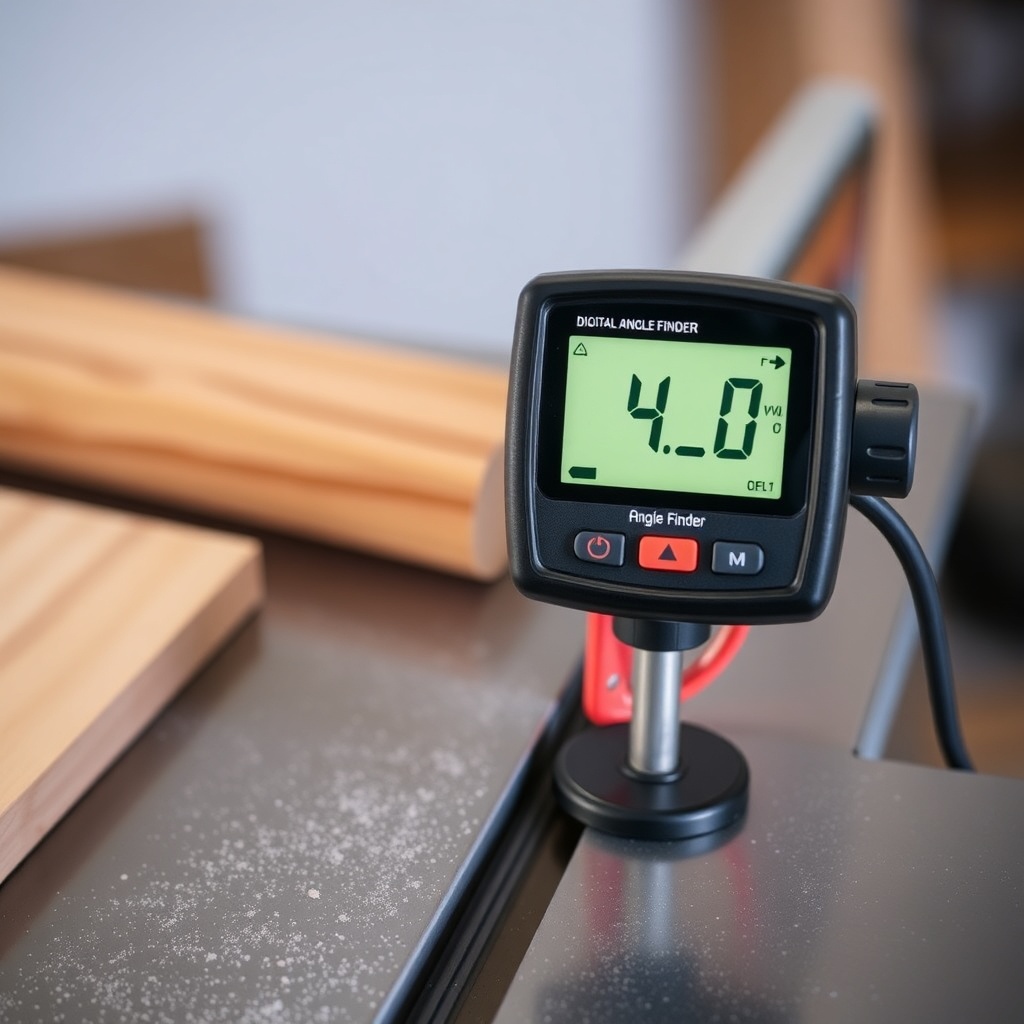
Even with a precision tool, errors creep in. Watch out for these pitfalls:
- Battery low: A weakening battery causes erratic readings—replace it annually or when show low warning.
- Dirt on the reference surface: Sawdust or grease under the finder adds 0.2°–0.5° error. Wipe surfaces clean before each use.
- Not holding the finder still: Digital finders need 1–2 seconds to stabilize. Use the hold button to freeze the reading.
- Assuming the saw’s detents are accurate: Always verify with the digital finder, not the saw’s scale.
- Forgetting to re-zero after moving the finder: Every time you change position, re-zero on a known flat surface.
For a related issue, see SawPilotPro: Calibrating Blade Parallelism for Flawless Rip Cuts to ensure your blade is parallel to the miter slot before relying on any angle measurements.
How Do You Confirm Miter Accuracy Without Cutting a Board?
You can verify a miter setup “dry” using a set of gauge blocks or a shop-made 45° triangle, but the fastest method is a double-check with the digital angle finder on the fence and blade simultaneously. Lock the miter gauge, then place the finder on the gauge face and note the angle. Next, place the finder on the blade (while saw is off, of course) and compare. The difference should be the target angle (e.g., 90°–45° = 45°). If the difference is off by more than 0.2°, something is misaligned.
This method is especially useful when setting up a dado stack—see SawPilotPro: Dado Stack Setup for Perfect Grooves for angle-specific adjustments.
What Owners Say
Users of the digital angle finder method on SawPilotPro report a dramatic reduction in waste. John, a cabinetmaker from Oregon, notes: “I used to cut five test pieces per setup. Now I check with the iGaging finder and my first cut is dead nuts. Saved me $200 in walnut last month alone.” Another user, Maria from Texas, shares: “I had a cheap gauge that drifted—after upgrading to the Wixey WR300, my crown molding miters fit like a glove.” The consensus: invest in a quality digital angle finder and calibrate it weekly for best results.
Frequently Asked Questions
Q1: Can I use a digital angle finder on a miter saw?
A: Yes, place it on the blade body (with magnets) or on the bevel arm. Just ensure the saw is unplugged for safety.
Q2: How often should I calibrate my digital angle finder?
A: At the start of each project or whenever the temperature changes more than 10°F (5.5°C) from the last calibration.
Q3: My digital angle finder shows 90.0° but the cut is 0.5° off—what’s wrong?
A: Check that the blade is not warped and that the finder’s reference magnet is on a flat spot. Also verify the table is level with a separate straightedge.
Q4: Can I use a smartphone app instead of a dedicated gauge?
A: Smartphone apps are convenient but typically less accurate (±0.5° to 1.0°) due to sensor quality and lack of calibration. Stick with a dedicated tool for SawPilotPro work.
Q5: Do I need a digital finder if my saw has a digital readout?
A: Yes—many saw digital readouts are accurate to ±0.5° at best. A separate gauge serves as an independent verification.
Q6: Should I zero the finder on the blade or the table?
A: Zero on a known-flat reference surface (table top or cast iron) for absolute measurements. Zero on the blade for relative angle checks.