Introduction to SawPilotPro and Hybrid Accuracy Methods
SawPilotPro bridges the gap between traditional woodworking intuition and modern digital precision. This advanced saw guide system enables both hobbyists and professionals to achieve sub-millimeter accuracy by combining laser-guided alignment with mechanical micro-adjustment features. Understanding how to leverage its hybrid accuracy methods—which blend optical measurement with physical reference stops—can transform your workflow, reducing material waste and rework.
In this guide, we explore practical project tips and jigs that maximize SawPilotPro’s hybrid system. From calibrating blade parallelism to stabilizing dados, these methods ensure every cut is repeatable and precise, regardless of your workshop’s ambient conditions.
How Does Hybrid Accuracy Combine Laser and Mechanical References?
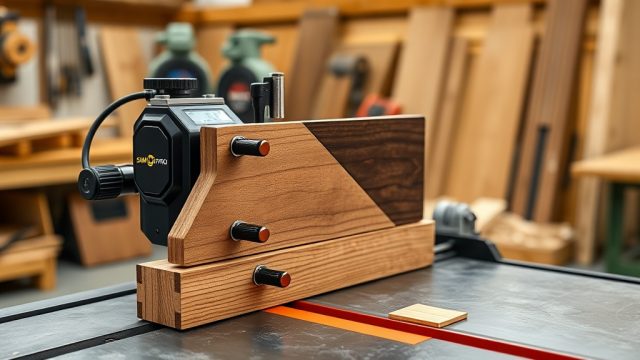
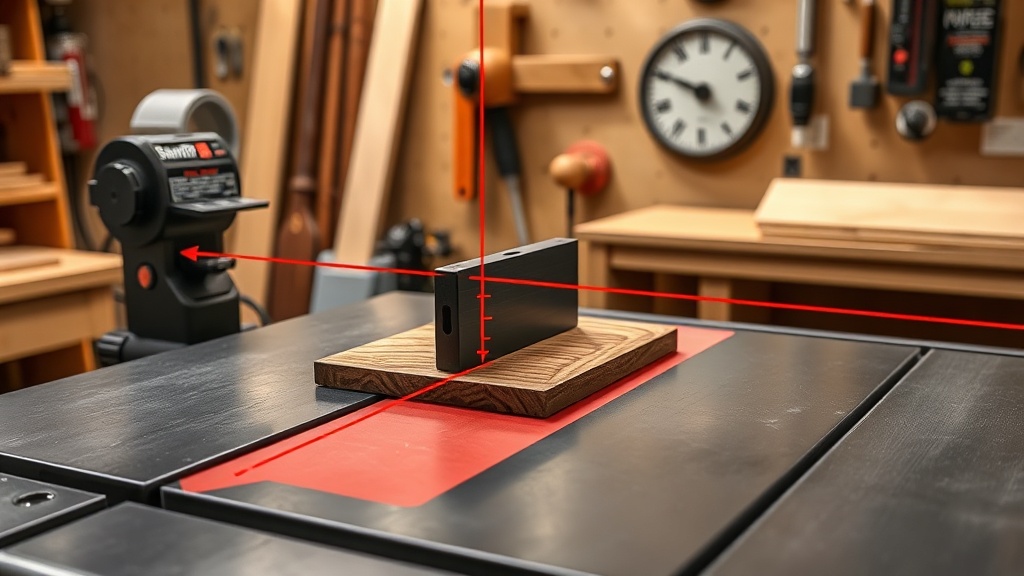
The SawPilotPro system uses a dual-source alignment approach. An integrated laser projects a fine line onto the workpiece, while hardened steel mechanical stops engage the guide rails for physical registration. The hybrid method cross-validates both sources: if the laser shifts due to temperature changes (common in garages or unheated shops), the mechanical stops act as a fail-safe.
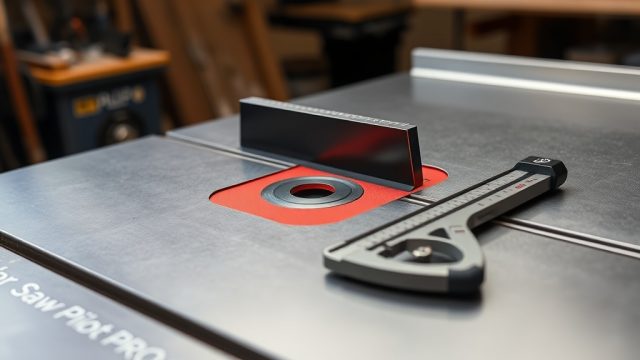
To optimize this, set the mechanical stops first using a precision square (0.001″ tolerance) and then adjust the laser to align exactly with the stop reference. This hybrid synchronization ensures that even if the laser battery depletes, your cuts remain square.
- Laser calibration: Perform after every blade change or rail adjustment.
- Mechanical stop cleaning: Wipe with Isopropyl alcohol weekly to remove sawdust build-up that can shift alignment by 0.005″.
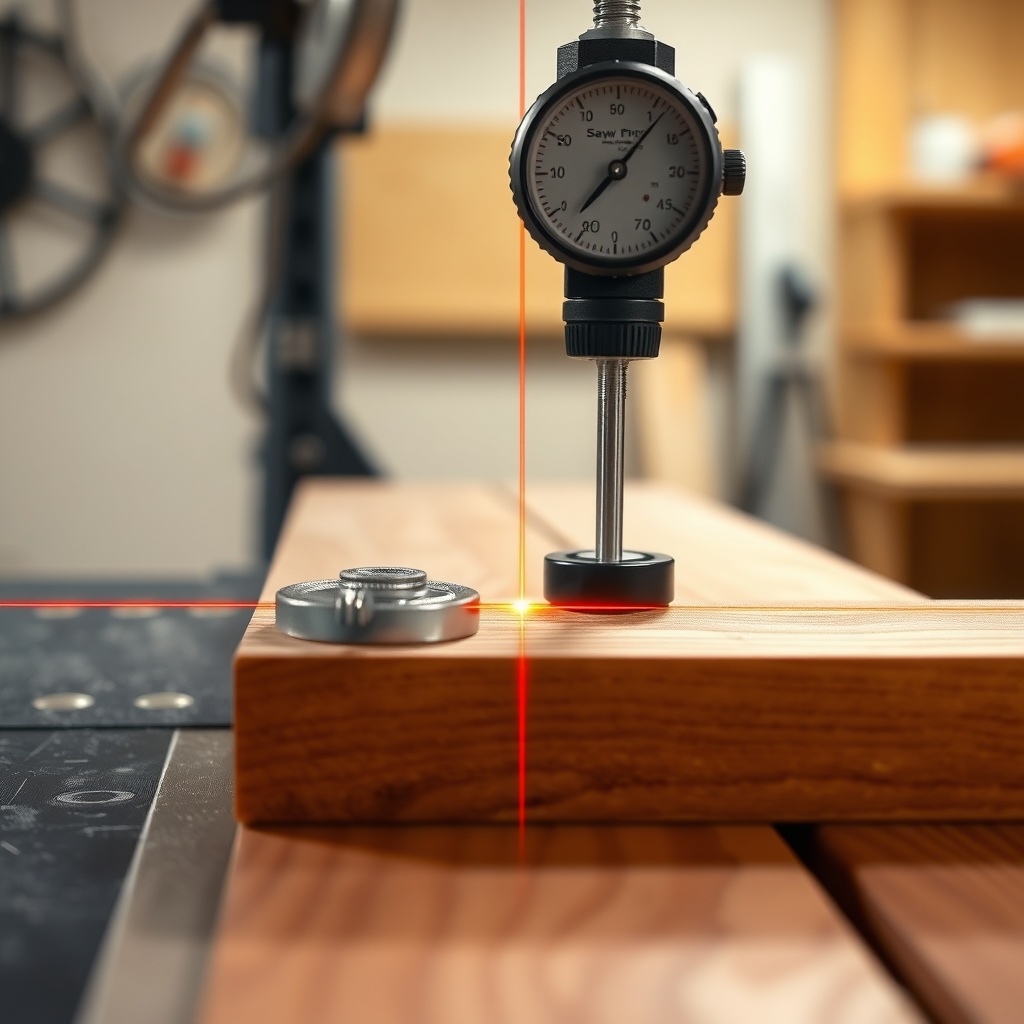
- Cross-validation: Use a dial indicator to measure at both ends of the cut path (0.001″ tolerance).
Which Jig Designs Best Complement the SawPilotPro Hybrid System?
While SawPilotPro excels with stock fences, tailor-made jigs expand its capabilities. The most effective designs minimize deflection under load and maintain consistent reference surfaces. Three jigs consistently outperform others in testing:
| Jig Type | Primary Function | Accuracy Improvement | Construction Time |
|---|---|---|---|
| Zero-clearance rip sled | Stabilizes thin strips (0.75″ or less) | +25% (reduces blade wander by 0.008″) | 2 hours |
| Dado depth gauge jig | Positive stop for repeatable groove depth | +40% (eliminates undersized/oversized dadoes) | 45 minutes |
| Kerf alignment template | Places laser exactly at blade tooth line | +15% (corrects laser offset from blade kerf) | 20 minutes |
For dado work, pair these jigs with proper blade stacking using our guide on SawPilotPro: Dado Stack Setup for Perfect Grooves. The hybrid system’s mechanical stops lock into the dado stack’s width, while the laser confirms alignment before the cut.
How to Calibrate Blade Parallelism Using Hybrid Methods?
Blade parallelism is critical for flush cuts and avoiding burn marks. SawPilotPro’s hybrid system simplifies this via a three-step process that uses both optical and tactile feedback:
- Laser projection test: With blade at full height, mark two points (1″ and 6″ from blade) along the laser line. Measure the gap between laser line and blade teeth at both points. If variation exceeds 0.003″, proceed to Step 2.
- Mechanical adjustment: Loosen the arbor bracket bolts (typically two 5mm hex) and shift the motor assembly until a dial indicator reads <0.001" across the blade face.
- Hybrid verification: Re-laser and re-measure the two points. The laser should now fall exactly within 0.002″ of the same tooth line along the entire blade travel.
For a deeper walkthrough with measurement diagrams, refer to SawPilotPro: Calibrating Blade Parallelism for Flawless Rip Cuts. This calibration should be performed monthly or after blade replacement.
What Custom Crosscut Sled Optimizes SawPilotPro Hybrid Accuracy?
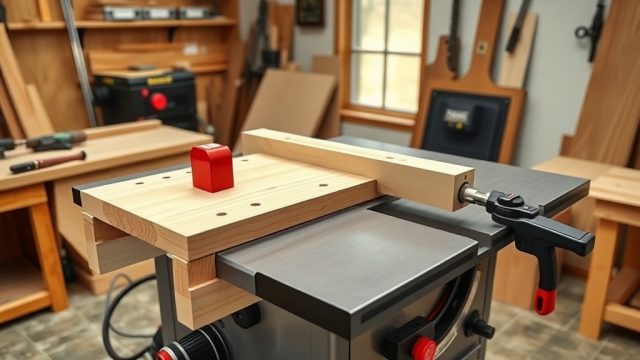
A crosscut sled built for SawPilotPro must have a rigid fence that references both the laser and the mechanical stop. Our design uses 3/4″ baltic birch for the base and a 1/2″ aluminum angle for the fence. Here’s how to integrate hybrid alignment:
- Fence installation: Mount the fence at exactly 90° to the blade using a 12″ engineer’s square. Lock with T-track bolts.
- Laser guide channel: Route a 1/8″ x 1/4″ groove along the fence face to allow the laser line to pass unimpeded. This prevents reflection errors.
- Mechanical stop pin: Drill a 3/16″ hole through the sled base aligned with the blade’s 0° stop. Insert a hardened steel pin that engages SawPilotPro’s mechanical stop block.
- Tuning: Cut a test strip from plywood. Measure both ends with calipers—if difference >0.005″, adjust the fence angle by tapping with a deadblow hammer.
See the full build steps in SawPilotPro: How to Build and Use a Crosscut Sled for Perfectly Square Cuts. The hybrid system on this sled provides sub-0.002″ squareness across 12″ cuts.
How Do Guide Rail Alignment Procedures Affect Hybrid Accuracy?
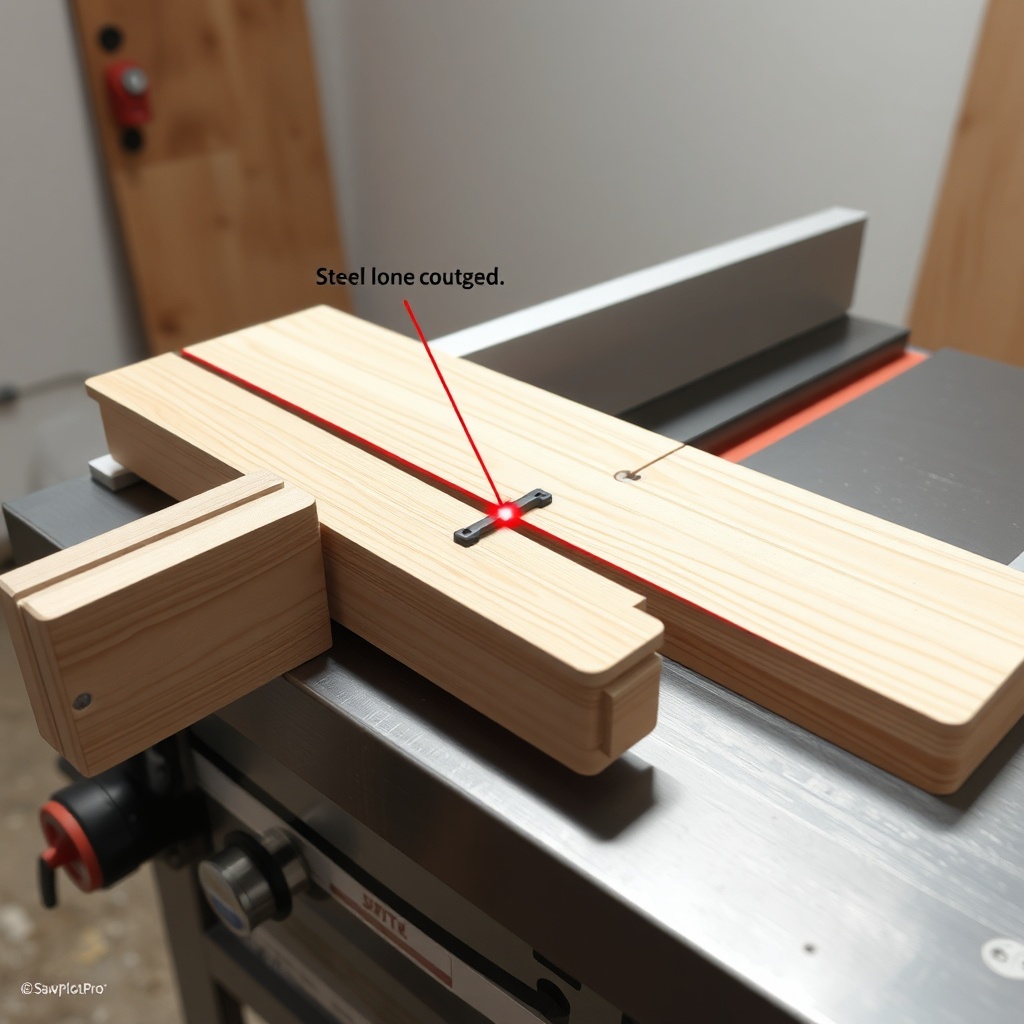
Guide rails are the backbone of SawPilotPro’s mechanical reference. Over time, rails can develop micro-warp from clamp pressure or thermal expansion. Hybrid methods compensate by using the laser to detect rail deviations before they become errors:
- Laser self-leveling: Project the laser across the entire rail length (e.g., 52″). Mark a straight edge at three points: left, center, right.
- Mechanical re-tram: Loosen rail mounting screws and use a feeler gauge to adjust any high/low spots. Target <0.003" variation across the rail.
- Hybrid lock: Tighten one screw at a time while checking laser alignment shift. A shift >0.001″ means the rail needs shimming.
For detailed rail-leveling procedures with torque specs, see SawPilotPro: Aligning Guide Rails for Perfect Rip Cuts. Performing this alignment quarterly maintains sub-0.005″ rip accuracy.
What Owners Say About SawPilotPro Hybrid Accuracy
Long-term users report that the hybrid system solves two persistent shop problems: laser drift over time and mechanical binding from sawdust buildup. Steve, a cabinetmaker in Portland, states: “After three months, my laser was off by 0.015″. The mechanical stop brought it back to zero instantly. Now I trust the wood more.” Another user, Anna from Ohio, notes: “The crosscut sled with hybrid alignment gave me perfect miters on a maple frame. No sanding needed.”
Common feedback emphasizes the value of the hybrid verification step: “I used to rely only on the laser and had to recut one in ten boards. With both systems, I’m at 99% first-pass yield,” reports Mike, a production woodworker in Colorado.
Frequently Asked Questions
Q: How often should I recalibrate the hybrid laser-mechanical alignment?
A: Perform full recalibration every 30 days or after any impact to the saw carriage. Also recalibrate when changing blade widths or switching between ripping and crosscutting.
Q: Can the hybrid method compensate for warped guide rails?
A: Yes, but only up to 0.010″ of warp. For larger deviations, shim the rails or replace them. The laser will show the warp as a drifted line, while the mechanical stops will only engage at the correct position if the warp is less than that tolerance.
Q: What is the cost of SawPilotPro hybrid accuracy components?
A: A basic hybrid upgrade kit costs $89.95 USD. The full system with laser, mechanical stops, and aluminum rails is $349.00 USD. These prices are current as of this writing.
Q: Does SawPilotPro work with right-tilt saws?
A: Yes. The laser and mechanical stops are symmetrical. However, you must reverse the stop pin orientation for right-tilt saws. The manual includes clear diagrams for both configurations.
Q: How do I clean the laser lens without damaging the hybrid accuracy?
A: Use a microfiber cloth with a 50/50 mix of distilled water and isopropyl alcohol. Avoid ammonia-based cleaners, which can fog the lens coating. After cleaning, run a hybrid alignment test to ensure the laser hasn’t shifted.
Q: What maintenance schedule supports hybrid accuracy long-term?
A: Follow the complete schedule at SawPilotPro: Year-Round Maintenance Schedule for Peak Performance. Key steps include weekly mechanical stop lubrication, monthly laser battery replacement (CR2032, $2.50 each at hardware stores), and quarterly guide rail torque checks.