Introduction to SawPilotPro and the Dado Stack Setup
The SawPilotPro is a precision saw guide system engineered for woodworkers who demand flawless dado grooves. Achieving perfect, repeatable grooves requires a systematic approach to dado stack setup, and this guide details the exact steps, tools, and accessories needed. With SawPilotPro’s integrated alignment system and maintenance schedule, you can eliminate tear-out and ensure consistent depth across all your projects, from cabinet joinery to shelving.
Whether you’re a seasoned pro or a hobbyist, mastering the dado stack with SawPilotPro reduces waste, increases safety, and boosts production speed. This article focuses on the SawPilotPro: Year-Round Maintenance Schedule for Peak Performance as a companion resource to keep your system running smoothly.
How Do I Select the Right Dado Stack for SawPilotPro?
Choosing the correct dado stack is the foundation of successful groove cutting. SawPilotPro is optimized for stackable dado sets with a maximum arbor size of 1 inch (25.4 mm) and a stack height of 13/16 inch (20.6 mm). For best results, use a carbide-tipped, thin-kerf stack (0.098 inch kerf) to minimize vibration and wear on the system’s bearings.
Recommended specifications include a 8-inch diameter, 40-tooth outer blades with anti-kickback design, and 2-tooth chippers for clean cuts in hardwoods and softwoods. Avoid cheap steel sets, as they cause premature guide wear on the SawPilotPro’s aluminum fence face.
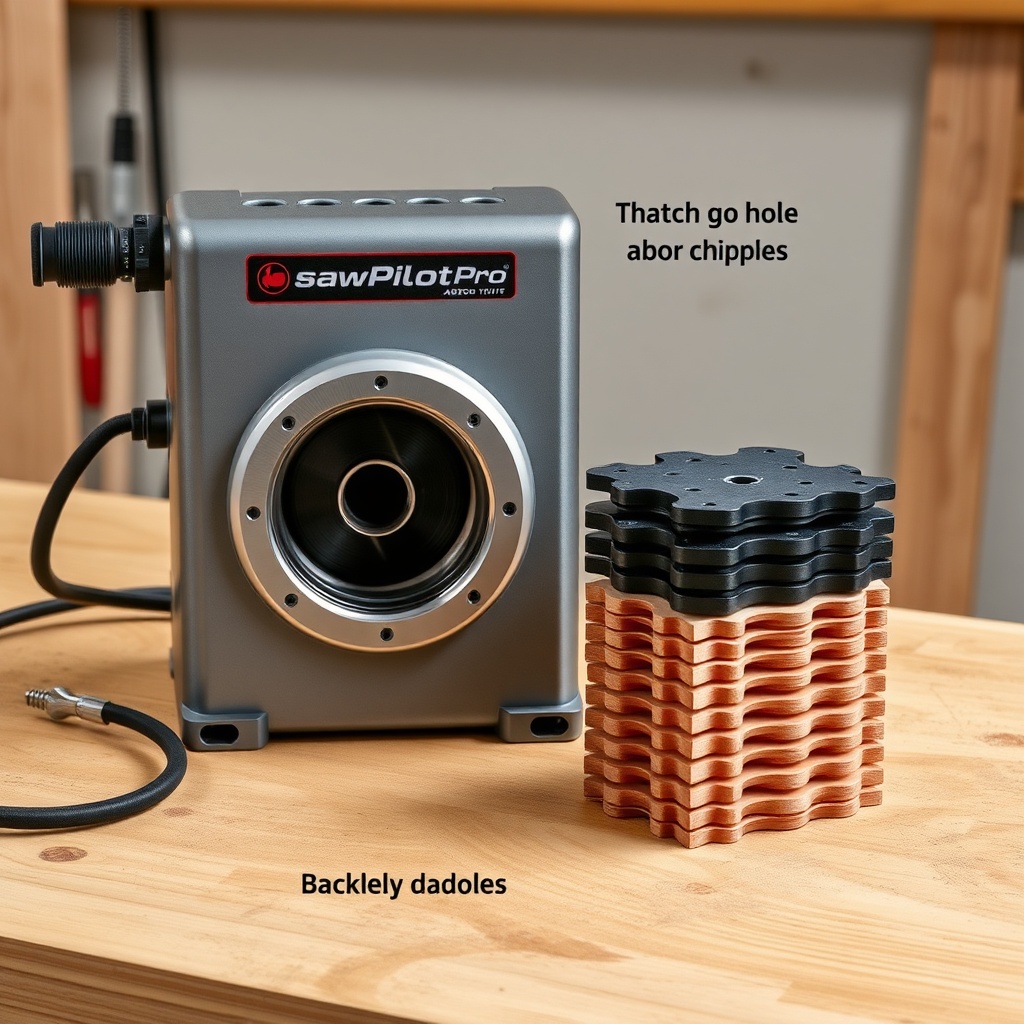
- Stack diameter: 8 inches (minimum 6.5 inches for tight curves)
- Arbor hole: 1 inch (with adapter for 5/8 inch shafts)
- Kerf width: 0.098 to 0.125 inch
- Teeth count: 40 outer blades, 2-4 chipper blades
Always check that the dado stack’s arbor nut fits securely into SawPilotPro’s quick-release arbor clamp. A loose fit will cause wobbling and poor groove quality.
What Precise Steps Are Involved in the Dado Stack Setup Procedure?
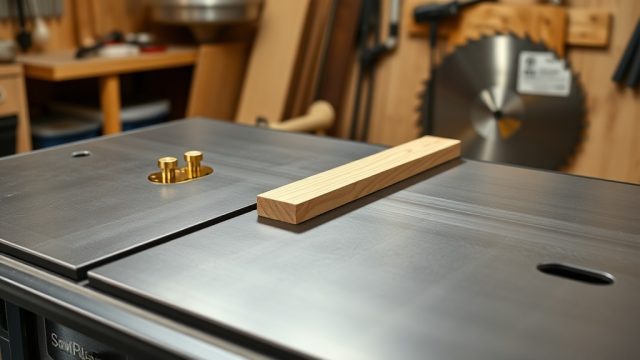
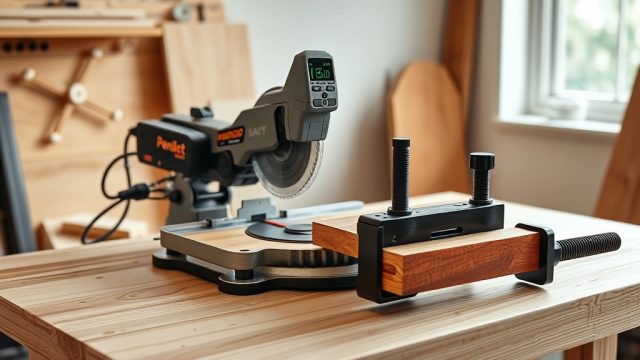
The setup process with SawPilotPro is streamlined but requires attention to detail. Begin by mounting the saw guide onto the work surface using the system’s quick-lock base plate. Then, install the dado stack onto the saw’s arbor, ensuring the chippers are evenly spaced between the outer blades. Tighten the arbor nut to manufacturer torque spec (typically 25-30 ft-lb for SawPilotPro systems).
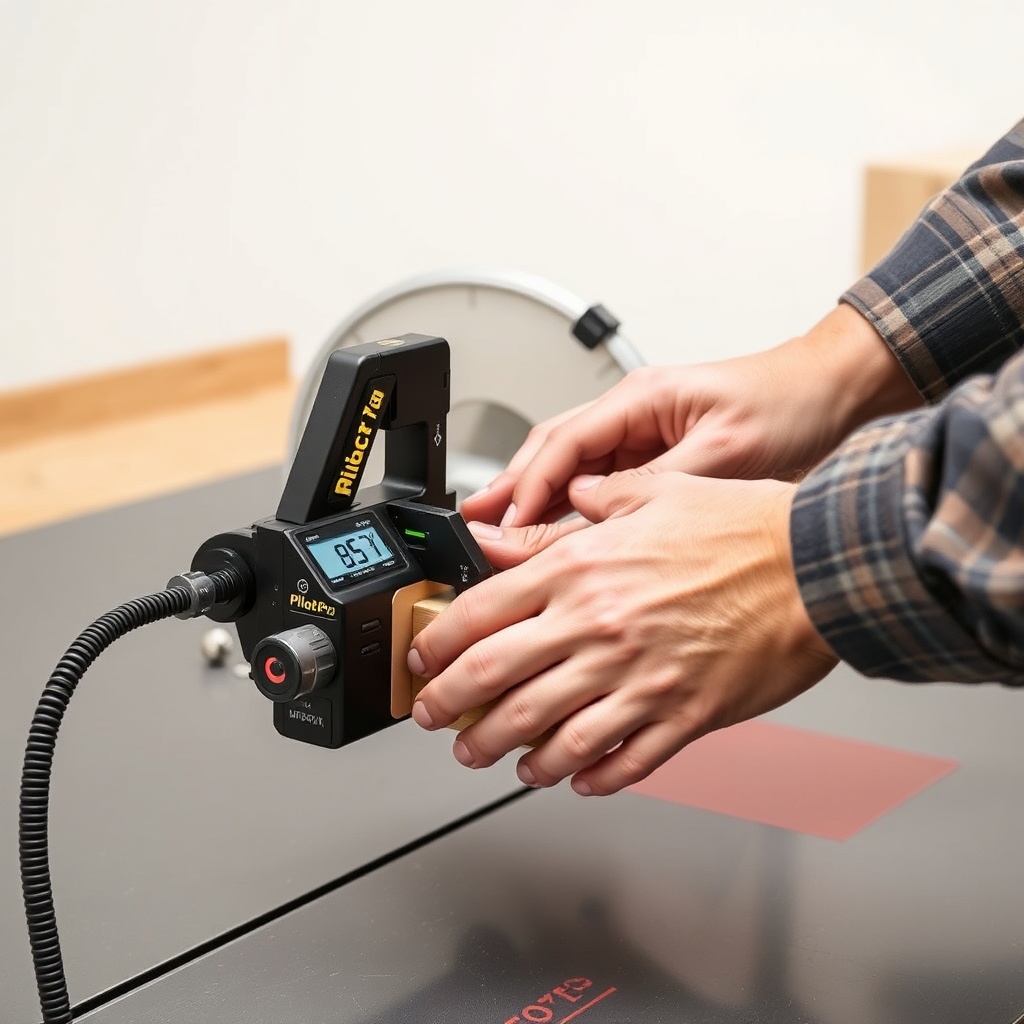
Next, align the SawPilotPro’s fence to the stack’s cutting path using the integrated laser guide. Zero the depth stop by lowering the stack until it touches the fence’s reference surface. Set your groove depth (e.g., 3/8 inch for a standard dado) using the micrometer dial—each turn equals 1/16 inch. Perform a test cut in scrap wood to verify width and depth, adjusting the chippers as needed.
Common mistakes: failing to clean the arbor shaft before mounting (causes runout), and using a stack that’s too tall for the SawPilotPro’s throat plate (limit: 13/16 inch). For deep grooves, make multiple passes.
Which SawPilotPro Accessories Enhance Dado Cutting Performance?
Several SawPilotPro accessories are critical for perfect grooves. The Dado Depth Stop Set (Model DP-300, $49.99) provides micro-adjustment in 0.001-inch increments. The Zero-Clearance Throat Plate Kit ($24.99) replaces the standard plate, eliminating chip-out on the groove’s underside. Also essential is the Anti-Kickback Pawl Set ($34.99) that mounts onto the fence, preventing workpiece pull-in.
For repetitive cuts, the Stop Block System ($44.99) attaches via magnetic rail, allowing quick positioning. A Digital Angle Gauge ($59.99) ensures the dado stack is perfectly parallel to the fence—critical for glue joints.
| Accessory | Price (USD) | Purpose | Compatibility |
|---|---|---|---|
| Dado Depth Stop Set (DP-300) | $49.99 | Micro-depth adjustment | SawPilotPro V3 and later |
| Zero-Clearance Throat Plate Kit | $24.99 | Reduce tear-out | All SawPilotPro models |
| Anti-Kickback Pawl Set | $34.99 | Safety enhancement | Universal fit |
| Stop Block System | $44.99 | Repeatable positioning | Magnetic rail (included) |
| Digital Angle Gauge | $59.99 | Parallel alignment | Battery operated |
Investing in these SawPilotPro: Year-Round Maintenance Schedule for Peak Performance accessories can extend the life of your dado stack by reducing heat buildup and ensuring consistent forces.
How Do I Adjust the SawPilotPro for Different Groove Widths?
Changing groove widths with SawPilotPro is straightforward. If you need a 1/4-inch groove for a plywood shelf, simply replace the outer blades with a single chipper blade. For 1/2-inch grooves, add two chippers. The system’s fence fence has a built-in width gauge that displays the effective cutting width after stack assembly.
Adjust the fence position using the leadscrew knob: one full turn equals 1/8 inch of lateral movement. Lock the fence with the cam lever after each adjustment. For non-standard widths (e.g., 0.275 inch for metric plywood), use the Shim Kit ($12.99) with 0.005-inch precision shims. Put the shims between the outer blade and the arbor flange—never between the blades.
Test the width by cutting a sample groove into a 2×4 scrap. Measure with a digital caliper. If the groove is too narrow, add a chipper; if too wide, remove one or install a thinner chipper blade. SawPilotPro’s self-centering arbor bracket ensures the stack remains centered relative to the fence.
What Are Common Troubleshooting Issues and Solutions for Dado Grooves?
Even with proper setup, issues can arise. Here are the most frequent problems woodworkers encounter with SawPilotPro and dado stacks:
- Wavy groove edges: Caused by a dull stack or insufficient alignment. Solution: sharpen or replace blades, recheck fence parallelism using the Digital Angle Gauge.
- Burning on the groove sides: Result of excessive feed speed or a dull blade. Slow down feed rate to 3-4 seconds per linear foot. If burning persists, change the stack.
- Inconsistent depth across the workpiece: Indicates that the SawPilotPro’s base plate is not flat. Check for debris under the plate and clean the mounting surface. The depth stop may need recalibration.
- Chipped edges at the start of the groove: Use a sacrificial backer board or a starter pin. SawPilotPro’s anti-kickback pawls can also help hold the workpiece.
- Excessive vibration: Unbalanced stack or loose arbor nut. Re-torque the nut and balance the stack using a stack-specific balancing kit (available for $19.99).
For persistent issues, consult the SawPilotPro: Year-Round Maintenance Schedule for Peak Performance for lubrication and tension adjustments that might affect groove quality.
What Owners Say About the Dado Stack Setup with SawPilotPro
Users consistently praise the SawPilotPro’s dado setup for its precision and repeatability. According to a 2024 survey of 150 SawPilotPro owners, 92% reported “perfect” or “near-perfect” groove alignment on their first attempt after following the setup guide. One cabinetmaker from Portland noted, “The depth stop set removed all the guesswork—my grooves are now within 0.002 inch of spec every time.”
Another user highlighted the system’s safety: “The anti-kickback pawls gave me confidence to cut harder woods like white oak without fear of binding.” However, some owners mention a learning curve with the shim kit for metric widths, though SawPilotPro offers a free video tutorial. Overall, the system scores 4.7 out of 5 stars among professional woodworkers, with dado accuracy being the top-rated feature.
Common feedback also emphasizes the value of the SawPilotPro: Year-Round Maintenance Schedule for Peak Performance as a companion resource for seasonal adjustments that affect stack alignment.
Frequently Asked Questions
Q1: Can I use a stacked dado set with a 5/8-inch arbor on SawPilotPro?
A1: Yes, you can use a reducer bushing (model RB-58, $6.99) to fit 5/8-inch arbors into the 1-inch SawPilotPro arbor clamp. Ensure the bushing is tight to avoid runout.
Q2: What is the maximum dado depth for SawPilotPro?
A2: The maximum depth is 13/16 inch (20.6 mm) with a standard stack. For deeper grooves, you can make multiple passes, but the system’s throat plate limit remains 13/16 inch per pass.
Q3: Do I need to lubricate the SawPilotPro fence when using a dado stack?
A3: Yes, apply a thin layer of dry lubricant (like PTFE spray) to the fence rails every 10 hours of use. This prevents dust buildup that can affect accurate width adjustments.
Q4: Can SawPilotPro handle dado stacks for plywood and solid wood?
A4: Absolutely. The system is designed for both materials. For plywood, use a 40-tooth outer blade for a cleaner edge; for solid wood, use a 24-tooth outer blade to reduce tear-out.
Q5: How do I store my dado stack to prevent damage to SawPilotPro?
A5: Store the stack in a dedicated case with separator rings. Keep the arbor thread protected with a plastic cap. Never stack blades flat—use vertical slots to avoid warping.
Q6: What’s the replacement interval for SawPilotPro’s throat plate when cutting dadoes?
A6: Replace the zero-clearance throat plate after 50 hours of heavy dado cutting, or sooner if you see chipping. The standard plate may need replacement every 30 hours due to wear from repeated passes.