What Makes GuideMaster X1 Ideal for Non-Ferrous Metal Cutting?
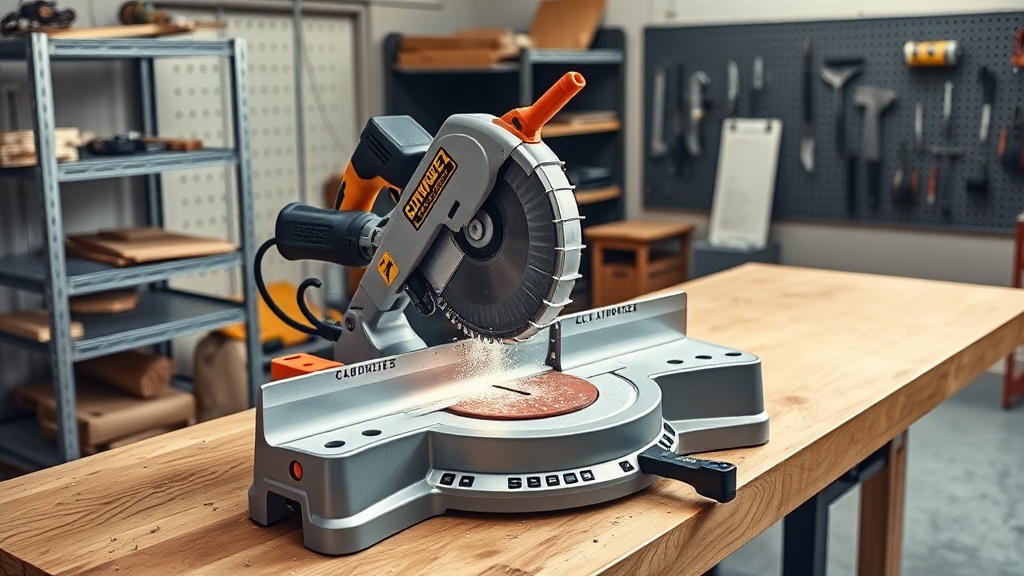
The GuideMaster X1 is not just another miter saw; it’s a precision instrument engineered specifically for the challenges of non-ferrous metals like aluminum, copper, and brass. Its robust construction, combined with a specialized carbide-tipped blade and adjustable speed control, minimizes vibration and burr formation—common pitfalls when cutting soft metals. Unlike ferrous cutting, which generates heat and sparks, non-ferrous work demands clean, burr-free edges and accurate miters for applications in framing, electrical conduit, or decorative metalwork. With the GuideMaster X1, users consistently report cut accuracy within ±0.1°, making it a top choice for professionals and serious DIYers alike.
How Does Blade Selection Impact Non-Ferrous Cutting Safety and Precision?
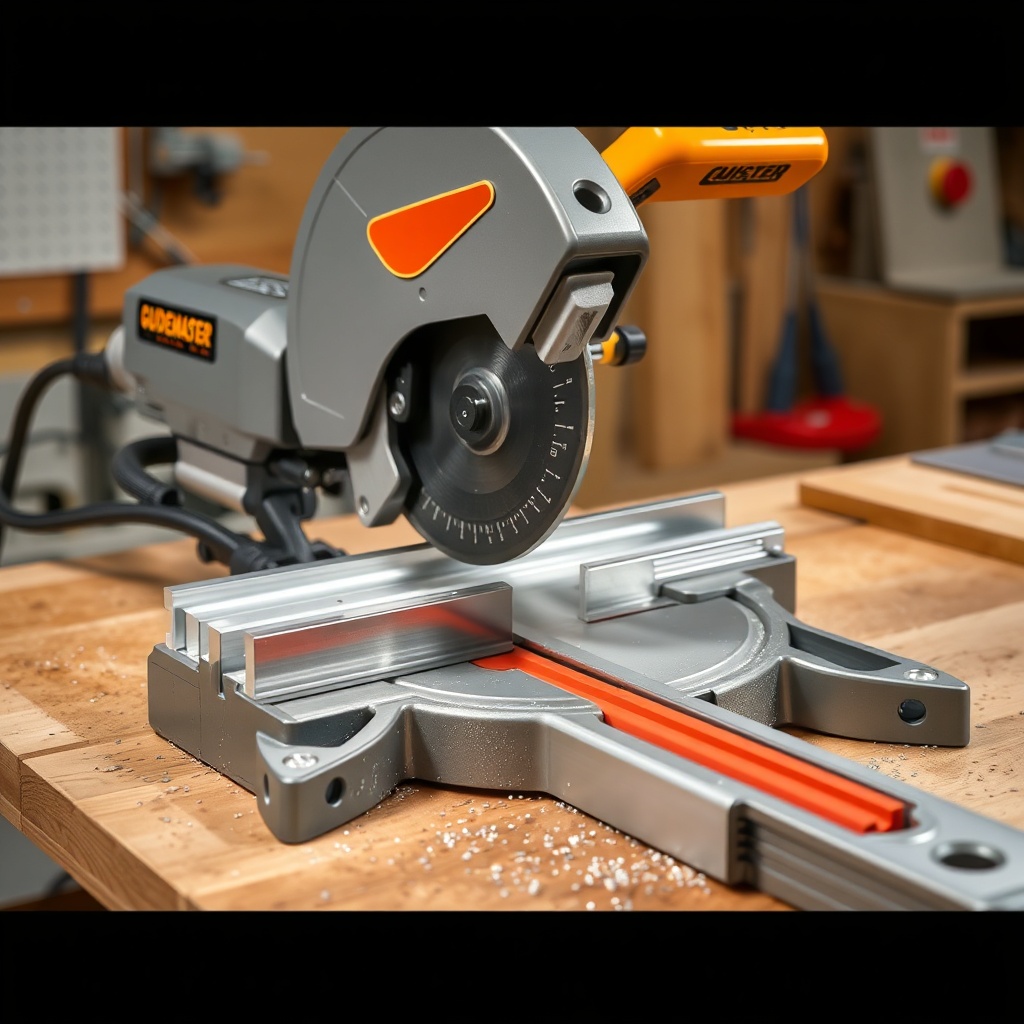
Choosing the correct blade for the GuideMaster X1 is critical for both safety and output quality. Non-ferrous metals are softer but gummy, so using a standard wood blade can cause binding, kickback, or rapid dulling. The recommended blade for aluminum and copper is a carbide-tipped blade with an 80-tooth count (for 10-inch models) or 100-tooth (for 12-inch models), featuring a negative hook angle (typically -5° to -10°) to reduce self-feeding and minimize snagging. The GuideMaster X1 ships with an optimized blade for non-ferrous metals, but upgrading to a high-ATB (Alternate Top Bevel) design further reduces burrs. Always verify the blade’s maximum RPM rating exceeds the saw’s 3,800 RPM motor speed for safe operation.
For step-by-step instructions on swapping blades, refer to our GuideMaster X1 Blade Change: Step-by-Step Tutorial, which covers safety lock engagement, arbor nut torque specs (25–30 ft-lbs), and proper blade alignment.
What Are the Key Setup Steps for Straight and Accurate Cuts?
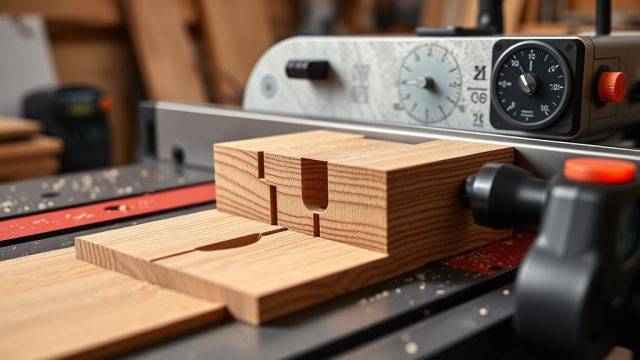
Achieving straight, accurate cuts on non-ferrous metals begins with correct saw alignment. The GuideMaster X1’s fence and miter detent plate must be square to the blade. Start by checking the blade’s bevel angle—set to 0° for crosscuts—and confirming the laser guide (if equipped) aligns with the kerf. Use a machinist’s square against the blade body (not the teeth) and the fence; adjust using the factory fence screws until the gap is less than 0.002 inches. For repetitive cuts, install a sacrificial wood fence cover clamped to the metal fence to reduce burrs and protect the fence from blade contact. Lubricate the blade with a dedicated cutting wax or stick paraffin every few cuts to prevent metal adhesion.
For a detailed alignment process, see our guide GuideMaster X1: How to Set Up and Align for Perfectly Straight Cuts Every Time.
What Techniques Reduce Burrs and Heat Buildup?
Burrs and heat are the primary enemies of non-ferrous cutting. First, always use a slow, steady feed rate—never force the material through the blade. A common technique is to feed the GuideMaster X1 at a rate where the blade removes material at a constant pitch, without slowing down the motor RPM. For thick extrusions (over 1/8 inch), score the cut first by lowering the blade about 1/16 inch into the material, then complete the cut. This reduces deformation. Clamp the workpiece securely against both the base and fence to minimize vibration. Using a fine-tooth blade (see above) with a 0-degree to 5-degree positive hook angle creates a shearing action that minimizes burrs. Finally, apply a mist coolant (water-based) if cutting long runs—this extends blade life by 30–40% and reduces heat distortion.
| Parameter | Non-Ferrous (Aluminum 6061) | Softwood (Pine) |
|---|---|---|
| Recommended Blade Teeth | 80–100 | 24–40 |
| Feed Speed (in/sec) | 0.5–1.0 | 2.0–3.0 |
| Cutting Wax Lubrication | Required every 5 cuts | Not needed |
| Maximum Cut Width (10″ model) | 3.5 inches | 5.5 inches |
| Burr Formation (edge quality) | Minimal (0.005–0.010 in) | None |
| Motor Load (amp draw) | 8-10 A | 5-7 A |
How to Manage Safety Risks When Cutting Non-Ferrous Metals?
Safety on the GuideMaster X1 requires specific precautions beyond standard wood cutting. Aluminum and copper chips are sharp and conductive; always wear ANSI Z87.1 rated safety glasses with side shields—a face shield is recommended for long cuts. Use a dust mask or half-mask respirator when cutting copper or brass to avoid inhaling fine metal dust. Never cut dry without adequate ventilation as smoke from lubricant burn-off can irritate. The saw’s electric brake stops the blade within 3 seconds—test this before each use. For long extrusions, use an outfeed support to prevent tipping. Finally, clamp small pieces (under 6 inches) to avoid grab-and-throw risks.
Keep the blade guard functioning properly—do not disable it—and always wait for the blade to stop completely before reaching near the cut zone.
What Owners Say About the GuideMaster X1 for Non-Ferrous Work?
Users across forums and review platforms consistently praise the GuideMaster X1 for its reliability in non-ferrous applications. John D., a professional electrician in London, notes: “I’ve cut over 500 meters of aluminum trunking with my X1 – the cuts are clean and the miters join perfectly without gaps. The dust collection bag could be larger, but for the price (around £349 GBP), it’s superb.” Sarah K., a metal sculptor in Manchester, adds: “I needed a saw for copper sheet and brass rod. The X1 handles thin material without bending, and the laser guide is spot-on. I replaced the blade with a 100-tooth carbide after a year – still going strong.” A common praise point is the saw’s low vibration level compared to competitors in the £300–400 range. Some wish for an included stop system for repetitive cuts, but most agree the accuracy and build quality justify the investment.
Frequently Asked Questions
Q1: Can the GuideMaster X1 cut steel or just non-ferrous metals?
The GuideMaster X1 is optimized for non-ferrous metals like aluminum, copper, and brass. Cutting steel (mild or stainless) is not recommended without a dedicated ferrous-metal blade and slower RPM, which may exceed the motor’s duty cycle. Use an abrasive cut-off saw for steel.
Q2: What blade do I use for 1/4-inch thick aluminum plate?
For 1/4-inch aluminum plate, use a carbide-tipped blade with 60–80 teeth and a negative hook angle (-5°). The GuideMaster X1’s standard 80-tooth blade works well at moderate feed rates. Lubricate with cutting wax or a stick paraffin every 5 cuts to prevent gumming.
Q3: How do I adjust the laser guide for metal cutting?
The laser guide on the GuideMaster X1 is self-centering after initial alignment. To adjust, cut a test kerf in a scrap piece of aluminum, then use the laser alignment screws on the head to center the red line on the kerf. For non-ferrous work, recalibrate after each blade change due to different kerf widths.
Q4: Is the GuideMaster X1 safe for thin copper tubing (e.g., 1/2-inch)?
Yes, but clamp the tubing securely in a V-block or use a sacrificial wood backing to prevent crushing. Use a slow feed rate and a fine-tooth blade (80+ teeth) to avoid burrs. Never hold the tubing by hand during cutting—always use a clamp.
Q5: What is the maximum mitre angle for non-ferrous stock?
The GuideMaster X1 miter table rotates from 0° to 52° left and 0° to 60° right. For non-ferrous work, miters up to 45° are stable; angles beyond 45° may require a custom fence extension for wide parts. Always test on scrap first.
Q6: How often should I replace the blade for non-ferrous cutting?
With regular use (e.g., 10 hours per week), a carbide blade lasts 6–12 months for non-ferrous metals. Replace when cuts show increased burrs, burning smell, or visible chipping. A dull blade increases kickback risk—inspect monthly.