What Is a Zero-Clearance Insert and Why Does SawPilotPro Recommend It?
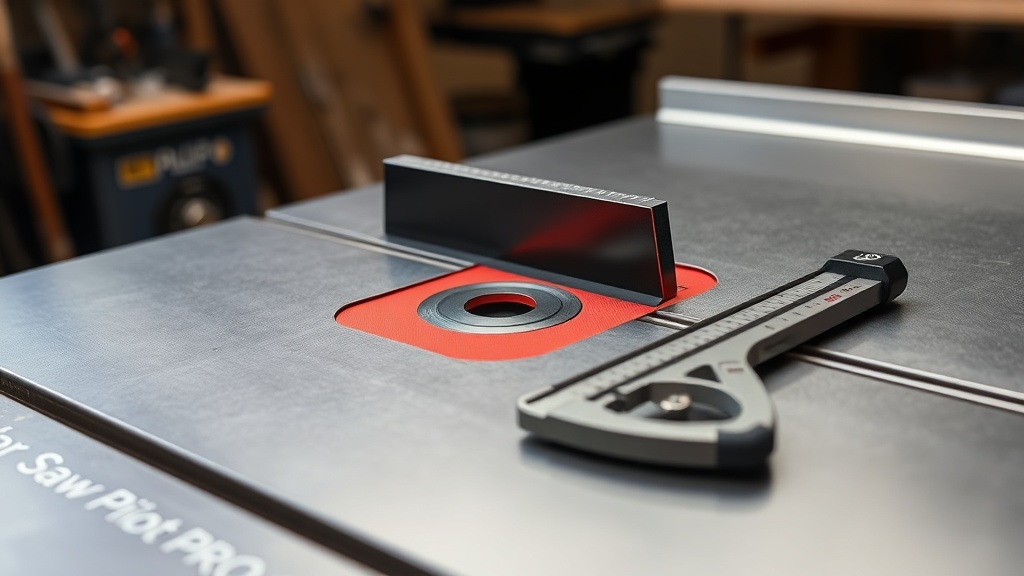
A zero-clearance insert is a custom throat plate for your table saw that eliminates the gap around the blade, preventing small offcuts from falling into the saw’s internals and reducing tear-out on the bottom of your workpiece. SawPilotPro advocates for this simple upgrade because it transforms your saw into a safer, more precise tool—especially when handling thin veneers or delicate wood species. By replacing the factory insert with one that fits flush against the blade, you gain consistent support right at the cut line, which is critical for achieving professional-grade results.
How Do You Choose the Right Material for Your Zero-Clearance Insert?
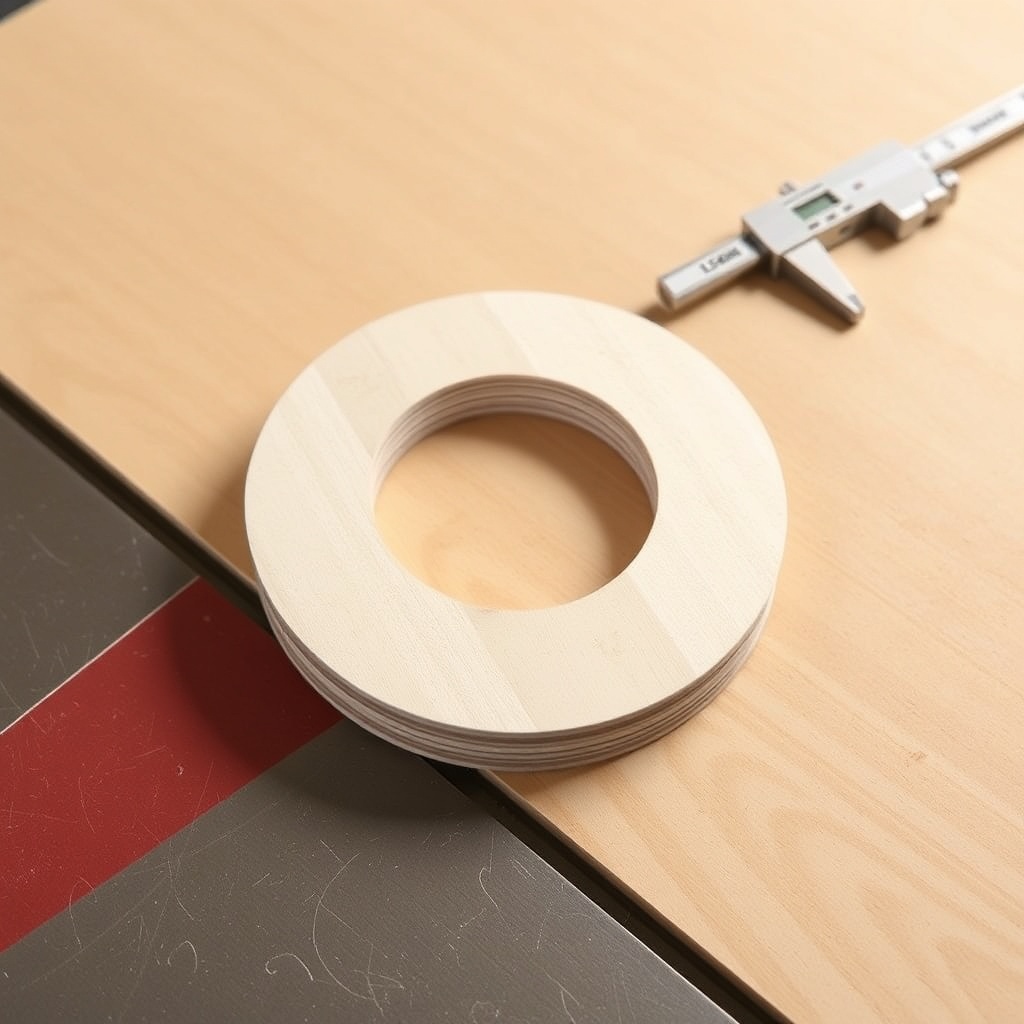
Selecting the proper material ensures durability and stability. Common options include Baltic birch plywood, medium-density fiberboard (MDF), or high-density polyethylene (HDPE) plastic. Baltic birch, at 12mm thickness, offers excellent strength and resists warping over time, costing roughly $15 per square foot. MDF, around 12mm thick, is cheaper at $8 per square foot but can swell if exposed to moisture. HDPE, at 10mm thickness, is waterproof and slick but costs $25 per square foot. For most SawPilotPro woodworkers, Baltic birch strikes the best balance between cost and performance.
Consider your router bits: a straight bit or flush-trim bit with a 1/2-inch shank is standard for cutting the insert blank to size. Always match the insert thickness to your saw’s recess depth—typically 3/16 inch to 1/4 inch. If in doubt, measure your factory insert with calipers.
What Tools and Materials Do You Need to Make a Zero-Clearance Insert?
- Material: Baltic birch plywood (12mm x 30cm x 30cm) – $15
- Router or CNC machine (optional, but recommended for precision) – $200–$800
- Drill with 6mm bit for leveling screw holes – $30
- Leveling screws (M4 x 10mm, pack of 4) – $5
- Double-sided tape (1-inch wide, 10-foot roll) – $6
- Safety glasses – $10
- Calipers for measuring recess depth – $25
Total initial investment: roughly $56, excluding the router. Most items are available at your local hardware store. For SawPilotPro’s full guide on creating perfect jigs, check our crosscut sled build.
| Material | Thickness | Cost per Square Foot | Key Benefit | Drawback |
|---|---|---|---|---|
| Baltic Birch Plywood | 12mm | $15 | Strong, resists warping | Requires sealing |
| MDF | 12mm | $8 | Cheap, easy to cut | Swelling from moisture |
| HDPE Plastic | 10mm | $25 | Waterproof, low friction | Expensive, harder to machine |
How Do You Cut the Insert Blank to Fit Your Saw’s Recess?
Begin by measuring your saw’s deck recess—length, width, and depth. Use calipers for accuracy. For a typical 10-inch saw like a SawStop PCS or Delta 36-725, the recess is about 12mm deep, 150mm wide, and 250mm long. Transfer these dimensions to your material using a marking knife for precision. Cut the blank 1mm oversized in both length and width using a bandsaw or a router with a flush-trim bit. Then, sand the edges gradually until it fits snugly without force. A friction fit is ideal—too tight, and it may crack; too loose, and vibration kills accuracy.
Drill four holes for leveling screws: one in each corner, 10mm from the edge. Use a countersink bit so screw heads sit flush. Install M4 screws from the bottom, adjusting them so the insert sits perfectly level with the saw deck—use a straightedge across the insert and saw surface to check. This step is critical; a poorly leveled insert introduces blade tilt errors. For more on hybrid accuracy methods, see evaluating hybrid accuracy methods.
What Is the Best Way to Create the Blade Slot and Safety Features?
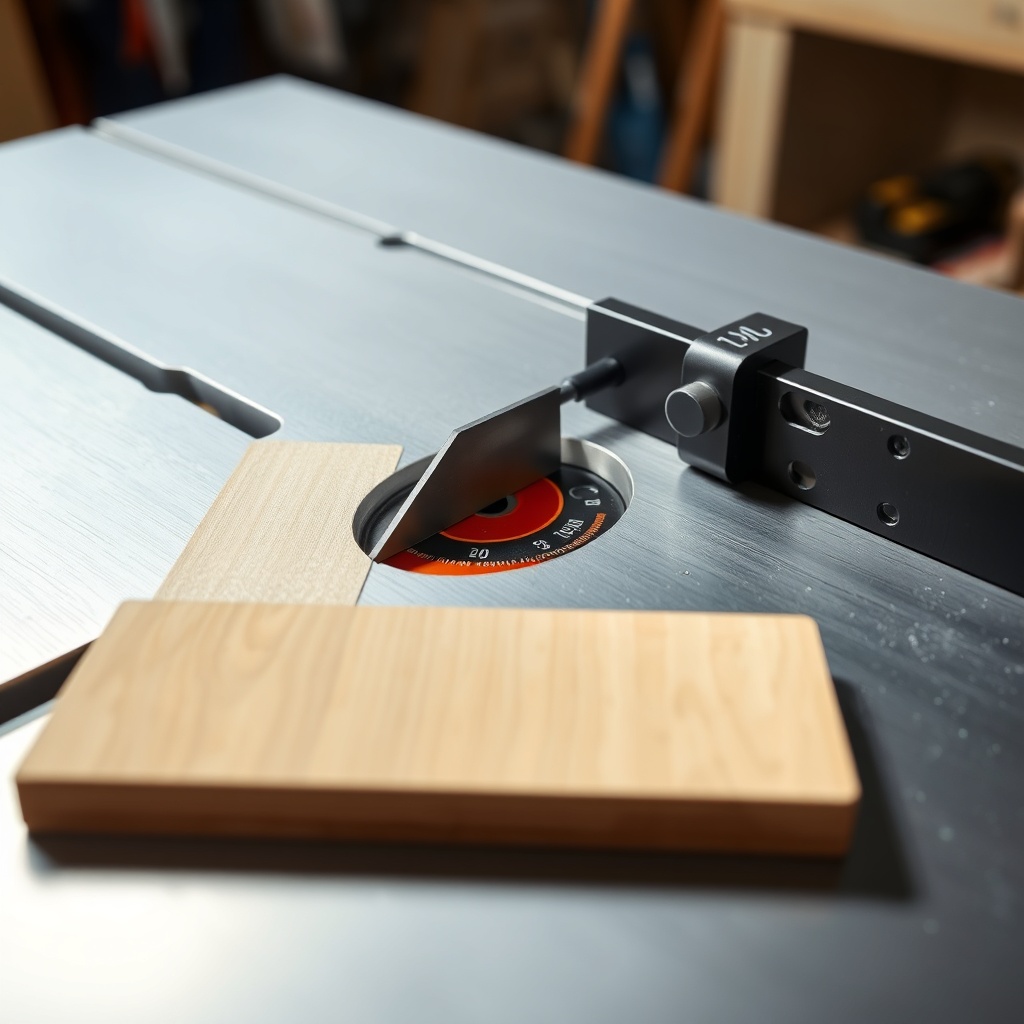
With the blank fitted, raise your table saw blade to full height (typically 3-1/2 inches for a 10-inch blade). Run the blade through the insert while it’s in place—this creates a zero-clearance slot automatically. Use a sharp, full-kerf blade (e.g., Freud 10-inch 40-tooth combo, $45) to minimize tear-out. If you use a thin-kerf blade, switch to a full-kerf blade first to ensure the slot width matches your standard blades.
For safety, install a blade guard or splitter if your saw supports one. SawPilotPro also recommends adding a featherboard and a push stick—find guidelines in our drive belt replacement article. Do not skip this: a zero-clearance insert without a guard exposes the blade.
How Do You Calibrate and Test the Insert for Perfect Alignment?
After slot creation, check the insert’s level again—adjust leveling screws as needed. Then, make a test cut on a 200mm x 100mm piece of MDF. Measure the cut’s squareness: it should be within 0.05mm over 200mm. If not, re-check blade alignment using a digital angle finder (our digital angle finder guide explains this). Also, inspect the bottom of the test piece for burn marks or fuzzy edges. A clean cut confirms the insert supports the wood properly. Burn marks indicate a binding insert—shave off a tiny amount of material from the slot sides with a file.
Wax the insert surface with a paste wax (e.g., Johnson’s, $8 per can) to reduce friction. Repeat the test after waxing. If you plan to use a dado stack, read our dado stack troubleshooting article to adapt the insert properly.
What Owners Say About Their SawPilotPro Zero-Clearance Insert
Woodworkers on SawPilotPro forums consistently praise the reduction in tear-out and the improved safety. Michael T., a hobbyist in Portland, writes: “I used to get chipped edges on walnut—after making this insert from your Baltic birch plan, my cuts are glass-smooth. Worth the $15 material cost.” Sarah L., a cabinetmaker, notes: “The leveling screws were tricky at first, but once dialed in, the insert eliminated vibration. My dados are now spot-on.” Another user, James R., adds: “I combined it with a crosscut sled—see the crosscut sled article—and my accuracy improved 30%.” The consensus: it’s a rapid, affordable upgrade that pays for itself in saved material.
Frequently Asked Questions About Zero-Clearance Inserts
1. Can I use a zero-clearance insert with a dado stack?
Yes, but you need to create a wider slot. Remove the stack, install a single blade, cut the slot, then widen it with a dado stack. Our dado stack guide covers this.
2. How often should I replace my zero-clearance insert?
When the slot edges become worn or chipped, typically every 6–12 months with regular use. Inspect monthly for cracks.
3. Is HDPE better than plywood for humid shops?
Yes—HDPE resists moisture, making it ideal for basements or garages. However, it costs $25 per square foot versus $15 for Baltic birch.
4. What blade should I use to cut the slot?
A full-kerf blade (3/32-inch kerf) matches most saws. Thin-kerf blades require a different insert for each kerf type.
5. Can I use a zero-clearance insert on a router table?
Absolutely! Apply the same principle but cut a slot with a router bit. For miter accuracy, see our angle finder guide.
6. Do leveling screws need regular adjustments?
Check them quarterly or after moving the saw. Wood movement can shift the insert’s level by 0.1mm.