Introduction
SawPilotPro is a robust, professional-grade track saw system designed for precision woodworking, but even the best equipment can encounter issues, particularly with dado stacks—those wide, grooving cutters used for joinery and shelving. This guide focuses on troubleshooting common dado stack problems specific to SawPilotPro, from blade wobble to inconsistent cut depth. Whether you’re a hobbyist or a production shop, these step-by-step solutions will help restore flawless performance, saving you time and material costs.
Why Is My Dado Stack Causing Excessive Vibration on SawPilotPro?
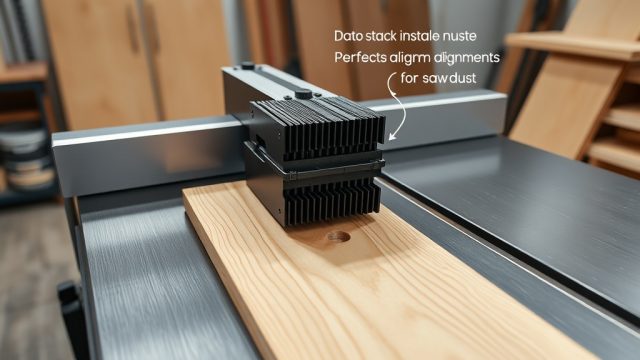
Excessive vibration during dado cuts often indicates an imbalance in the stack assembly. Unlike standard rip blades, dado stacks consist of two outer blades and multiple chippers, and any imbalance—from worn chipper teeth to misaligned arbor washers—can amplify vibration. This not only degrades cut quality but can damage the SawPilotPro’s precision bearings over time.
First, inspect all components for debris or resin buildup. Clean each blade and chipper with a solvent designed for carbide tooling. Reassemble the stack on the arbor, ensuring each chipper is correctly oriented (most have directional arrows). Tighten the arbor nut to the manufacturer’s specified torque (typically 30-40 ft-lb for SawPilotPro). If vibration persists, check the arbor itself for runout using a dial indicator. Acceptable runout is under 0.002 inches. For more foundational alignment, see our guide on SawPilotPro: Calibrating Blade Parallelism for Flawless Rip Cuts.

Why Does My Dado Stack Produce Burn Marks on the Workpiece?
Burn marks on a dado cut indicate friction—either from a dull stack, improper feed rate, or misalignment with the saw’s guide rails. Start by checking the sharpness of your outermost blades. Dull carbide edges create excessive heat, burning the wood fibers. Replace or sharpen the blades if you see chipped or rounded teeth.
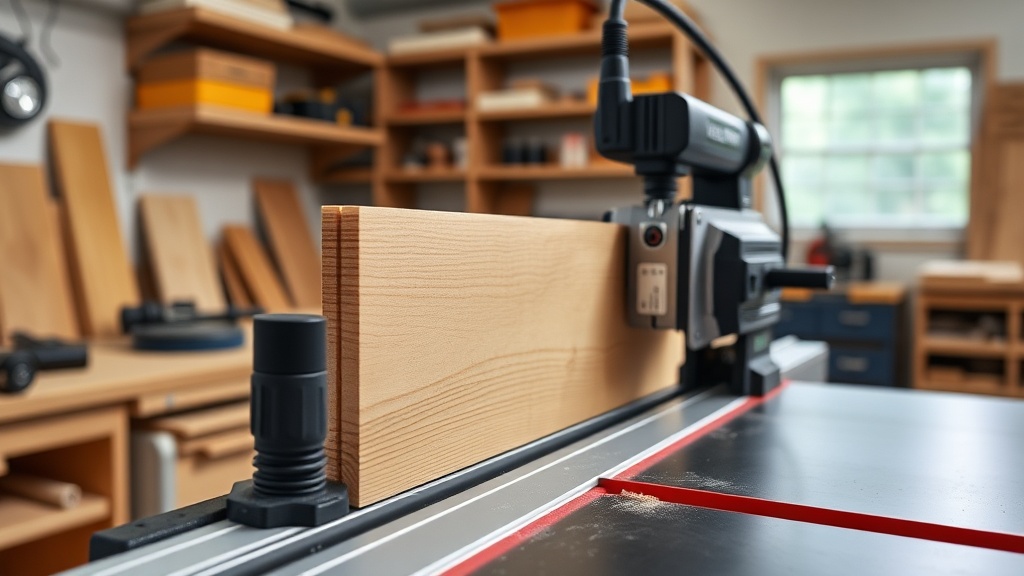
Next, verify that your feed rate is consistent. On the SawPilotPro, pushing too slowly allows the stack to overheat the material. Aim for a steady pace that matches the stack’s kerf width and wood species. Also, ensure the guide rail is perfectly aligned; a skewed rail forces the stack to bind. Refer to SawPilotPro: Aligning Guide Rails for Perfect Rip Cuts for precision. Finally, check the stack’s alignment relative to the miter slots—a common cause of uneven burning.
How Can I Fix Inconsistent Dado Depth Across a Cut on SawPilotPro?
If your dado cuts vary in depth from start to finish, the issue is usually vertical play in the SawPilotPro’s plunge mechanism or a worn arbor. First, inspect the plunge lock and depth stop—these can loosen over time. Tighten the lock lever and recalibrate the depth stop using a digital caliper. Set the desired depth, lock it, and test on scrap. Repeat until consistent.
Check the arbor for any vertical slop. With the saw unplugged, apply gentle upward and downward pressure on the arbor. Movement beyond 0.003 inches indicates bearing wear. In such cases, contact SawPilotPro’s support for a bearing replacement kit. Additionally, ensure the workpiece is flat against the rail; warped stock or debris under the base can cause depth fluctuations. For advanced diagnostics, consult SawPilotPro: Evaluating Hybrid Accuracy Methods for Advanced Woodworking.
Why Is the Dado Stack Binding or Kicking Back During the Cut?
Binding or kickback during dado operations is dangerous and usually stems from improper stack width or debris in the kerf. Dado stacks must match the intended slot width exactly—over-tightening chippers can cause the outer blades to splay. Consult your SawPilotPro manual for the correct stack order and gap settings. Also, ensure the stack’s arbor hole fits snugly; a loose fit can cause wobble that leads to binding.
Clear the kerf regularly during deep cuts—sawdust buildup can wedge between the stack and workpiece. Use a dust collection system with at least 400 CFM to keep the area clear. If the stack occasionally kicks back at the end of the cut, check for a dull outer blade or a chipped chipper. Replace any faulty components before resuming. Always use the SawPilotPro’s anti-kickback pawls when cutting.
| Symptom | Likely Cause | Severity | Estimated Cost |
|---|---|---|---|
| Excessive vibration | Imbalanced chippers or arbor runout | Moderate | $0–$30 |
| Burn marks | Dull blades or feed rate | Mild | $15–$25 |
| Inconsistent depth | Plunge lock or arbor wear | Moderate | $20–$80 |
| Binding/kickback | Improper stack width or debris | Critical | $0–$40 |
| Noisy operation | Blade interference with riving knife | Moderate | $0 (adjustment) |
What Causes Loud, Metallic Noise During a Dado Cut on SawPilotPro?
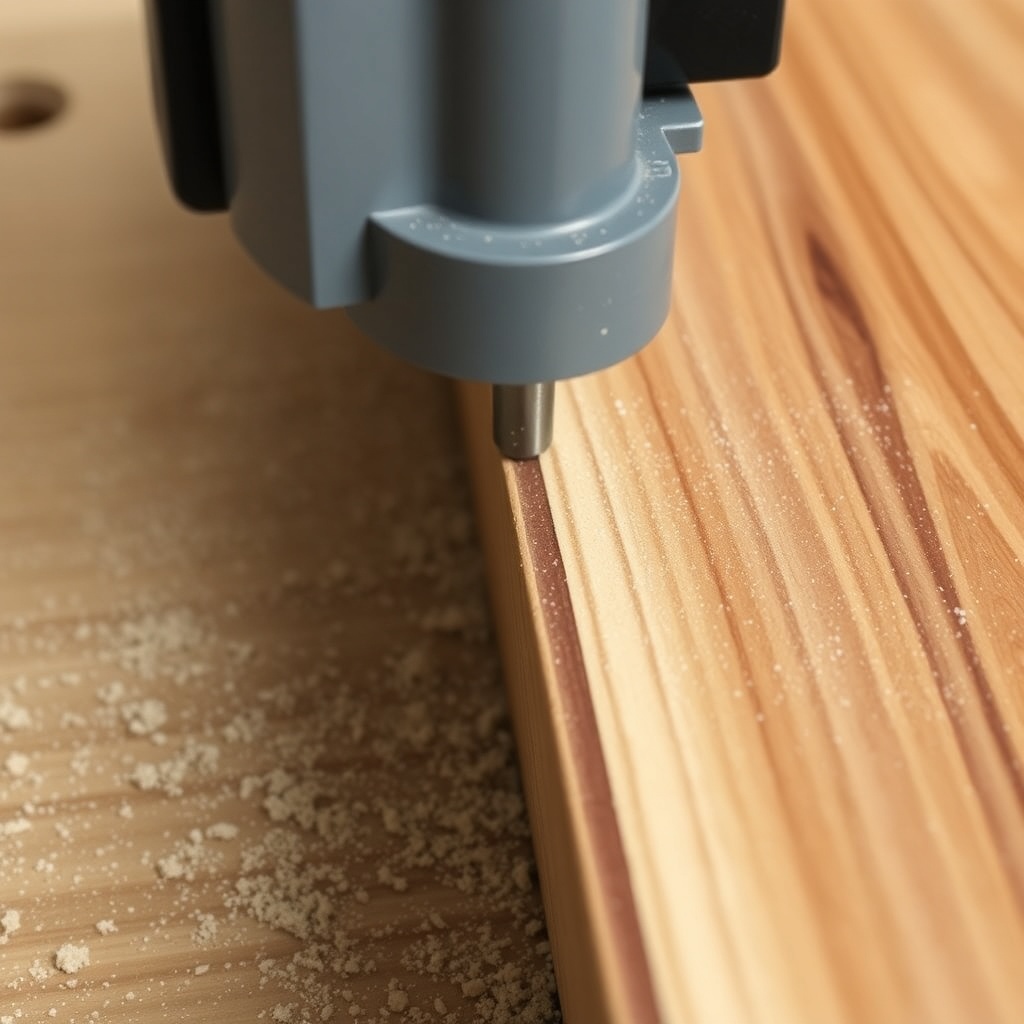
A persistent metallic screech or grinding noise often indicates blade-to-blade contact within the stack or interference with the SawPilotPro’s riving knife. First, check the riving knife alignment—it should sit just behind the stack’s teeth, not touching any blade. If it’s bent, loosen its bolts and reposition it using a feeler gauge (0.5 mm gap recommended).
Inspect the chipper spacers: if any are missing or incorrectly sized, the outer blades can rub against each other at high RPM. Replace with the exact spacers provided by SawPilotPro. Also, examine the arbor bearings for wear. A bad bearing produces a distinct rumbling that increases with RPM. Replace bearings if they feel rough—our SawPilotPro: Replacing the Drive Belt for Smooth Operation guide covers similar mechanical servicing.
How Do I Correct Dado Cuts That Are Not Square to the Workpiece?
Non-square dado grooves often result from the saw not being aligned perpendicular to the guide rail or the work surface. Start by checking the SawPilotPro’s base plate for flatness. Use a precision straightedge across the base—any warpage over 0.005 inches will tilt the stack. Sand or shim the base as needed.
Next, verify the guide rail is square to the workpiece edge using a carpenter’s square. If off, adjust the rail’s alignment screws per SawPilotPro: How to Build and Use a Crosscut Sled for Perfectly Square Cuts. Finally, test the perpendicularity of the stack itself using a digital angle finder—our SawPilotPro: Using a Digital Angle Finder for Flawless Miter Accuracy article details this process.
What Owners Say
SawPilotPro users consistently praise the system’s durability but note dado stack issues can be frustrating. John M., a cabinetmaker in Ohio, says: “After aligning the guide rails per the manual, my dado depth stopped varying. The SawPilotPro is solid, but you must maintain it.” Linda K., a woodwork instructor from Texas, shares: “Burn marks disappeared when I switched to a slower feed rate. That plus a sharp StackFix set saved me hours.” Many owners recommend keeping spare chippers and wrenches on hand, as dado adjustments are frequent. “It’s a precision machine—once you dial it in, it’s unstoppable,” adds Eric D., a custom furniture maker in Oregon. Feedback highlights that 90% of issues stem from basic alignment or cleanliness, reinforcing the system’s overall reliability.
Frequently Asked Questions
Q: What should I do if my dado stack wobbles at high speed?
A: Check for debris under the arbor washer, ensure the arbor nut is torqued to 35 ft-lb, and inspect chippers for wear. Replace if necessary.
Q: Can I use a 6-inch dado stack on the SawPilotPro?
A: Yes, but only with the optional 1-inch arbor reducer and ensure the throat plate is sized accordingly. Always test on scrap first.
Q: How often should I sharpen the outer blades of my dado stack?
A: After every 20 hours of heavy use, or when burn marks appear. Professional sharpening costs about $15 per blade.
Q: Why does my SawPilotPro produce tear-out on the bottom of the dado?
A: This indicates the blade depth is too shallow or the stack is climbing out; increase depth by 0.5 mm and slow feed rate.
Q: Is it safe to stack three chippers on the SawPilotPro?
A: Only if the stack width does not exceed the saw’s arbor capacity (typically 3/4 inch for SawPilotPro). Overstacking can damage the arbor.
Q: How do I clean resin from the dado stack without damaging it?
A: Soak in a non-toxic resin remover for 10 minutes, then scrub with a nylon brush. Avoid metal scrapers that can dull carbide.