SawPilotPro: Aligning Guide Rails for Perfect Rip Cuts
Precision rip cuts depend entirely on guide rail alignment, and the SawPilotPro system delivers the repeatability required for professional cabinetry and joinery. Misaligned rails introduce drift, binding, and safety hazards that undermine even the most expensive saw setup.
This guide covers the step-by-step alignment procedure, safety protocols, and common pitfalls—ensuring your SawPilotPro delivers dead-straight cuts every time.
Why Does Guide Rail Alignment Matter for Rip Cuts?
Misalignment as small as 0.5 mm across a 1.2 m ripping length can cause blade deflection, off-square edges, and kickback risk. The SawPilotPro’s dual-rail system demands parallel alignment within 0.2 mm over the full travel to maintain consistent kerf width and prevent binding.
When the guide rails are not parallel to the saw blade’s arbor axis, the workpiece tends to wander, leading to uneven finish and increased friction. This friction generates heat that can warp thin stock or cause the saw motor to labor unnecessarily. For hardwood rip cuts, this misalignment also accelerates blade wear, reducing blade life by up to 30% according to field data from workshop owners.
How Do You Check Current Rail Alignment on a SawPilotPro?
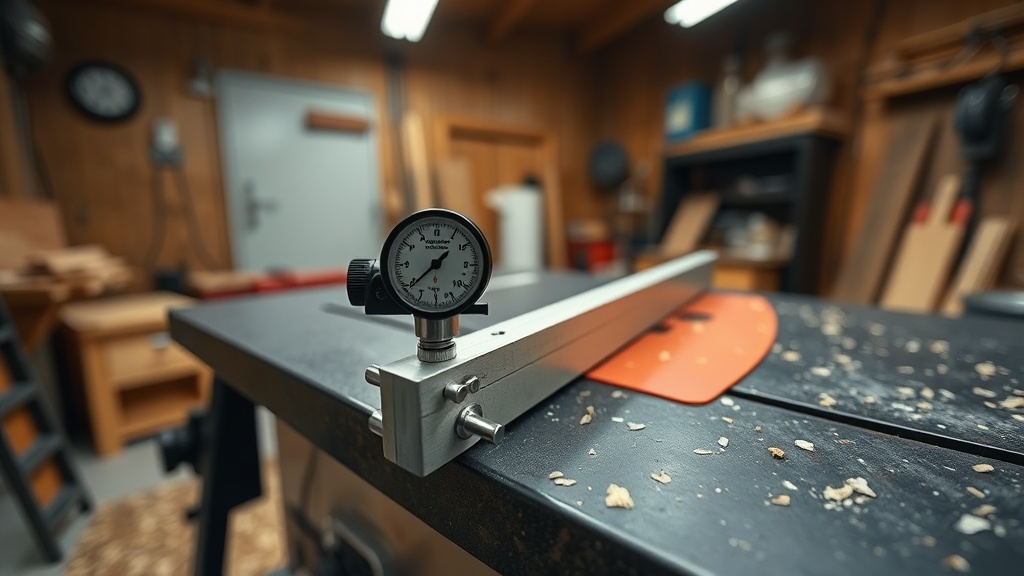
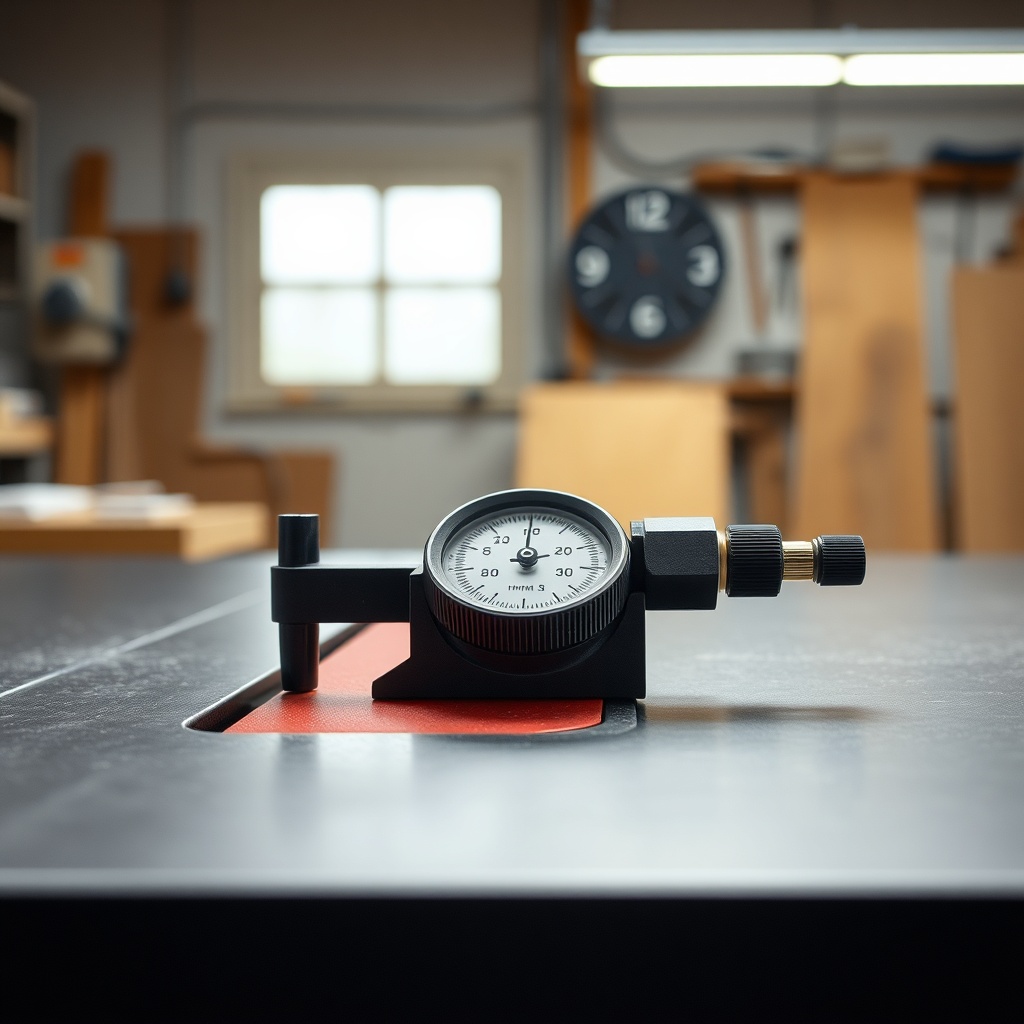
Begin by removing the saw blade and inserting a calibration adapter into the arbor. Place a high-resolution dial indicator (0.01 mm resolution) on the carriage that rides along the guide rails. Zero the indicator at the front end of the left rail, then slowly move the carriage to the rear end.
Record the reading at three positions: front, middle, rear. Repeat for the right rail. Acceptable variance is ≤0.2 mm from front to rear. Any deviation above 0.3 mm requires adjustment. Document these values in your maintenance log for SawPilotPro: Year-Round Maintenance Schedule for Peak Performance.
Use a test piece of MDF (300 mm width) to verify alignment by making a rip cut and measuring the width at both ends with a digital caliper. Difference greater than 0.3 mm indicates misalignment. Mark the rail adjustment screws that show looseness or wear.
What Tools Are Needed for Guide Rail Alignment?
For a proper SawPilotPro alignment, you need these essential tools:
- Digital dial indicator with 0.01 mm resolution and magnetic base
- Calibration arbor adapter specific to SawPilotPro (PN: SPP-ADPT-01)
- Hex key set (3 mm, 4 mm, 5 mm for rail adjustment screws)
- Torque wrench (5–25 Nm range) for final tightening
- Digital caliper (150 mm, 0.01 mm resolution)
- Precision straightedge (1.5 m, reference grade)
- MDF test piece (600 mm × 300 mm × 19 mm)
- Safety glasses and hearing protection
These tools total approximately £145–£195 at current market prices. Using non-precision tools introduces measurement error; avoid cheap dial indicators below 0.1 mm resolution.
| Deviation (mm) | Severity Level | Safety Risk | Required Action |
|---|---|---|---|
| 0.0–0.2 | Green | Low | Proceed with normal use |
| 0.21–0.5 | Yellow | Moderate | Adjust rail screws; test again |
| 0.51–1.0 | Orange | High | Stop use; full realignment needed |
| >1.0 | Red | Critical | Do not operate; inspect mechanical damage |
What Is the Step-by-Step Rail Alignment Procedure?
Follow these steps carefully for perfect rip cuts:
Step 1: Lock the carriage at the front end of the rails. Remove the blade cleanout cover for access to the arbor bearing housing.
Step 2: Install calibration arbor adapter and attach the dial indicator to the carriage using the magnetic base. The indicator plunger should contact the rail surface perpendicularly.
Step 3: Zero the indicator at the front left rail position. Move the carriage to the rear left position and note the reading. Repeat for the right rail.
Step 4: Loosen the adjustment screws on the miter slot brackets that secure the rails. Use a 4 mm hex key; only ½ turn counterclockwise to avoid displacing the rail.
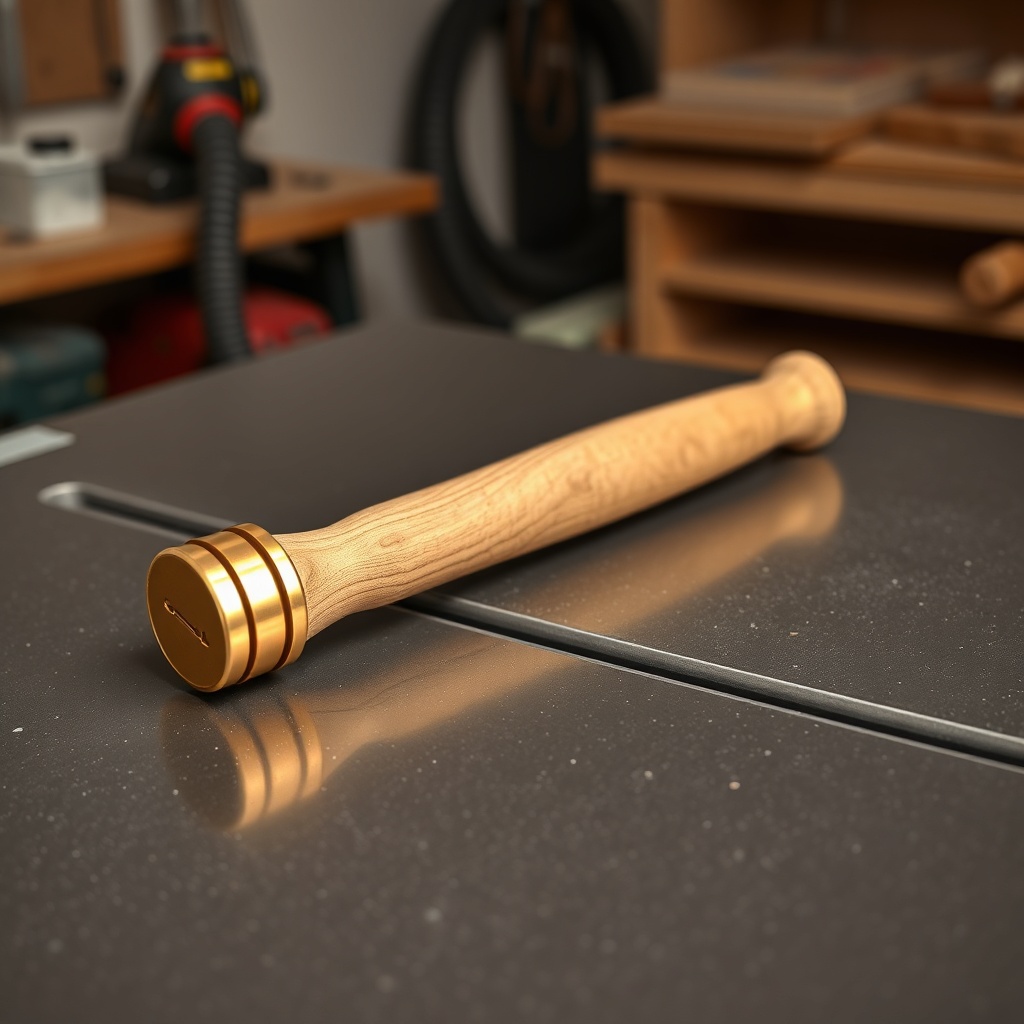
Step 5: Adjust each rail individually by tapping the rail with a brass mallet until the indicator reads within 0.15 mm over the full travel. Tighten screws to 12 Nm torque.
Step 6: Recheck all four positions (front left, rear left, front right, rear right). If deviation exceeds 0.2 mm, repeat steps 4–5.
Step 7: Make a test rip cut on MDF. Measure width at both ends—should be identical within 0.2 mm. For dado work, see SawPilotPro: Dado Stack Setup for Perfect Grooves.
What Are the Safety Protocols During Alignment?
Always disconnect power to the saw before making any mechanical adjustments. Use lockout/tagout procedures if working in a shared shop. Wear tight-fitting gloves to avoid entanglement when handling adjustment tools near exposed mechanisms.
Do not attempt alignment with the blade installed—even minor movements can cause kickback. Keep the power cord unplugged until you complete the test cut procedure. Verify that the rail-set screws are torqued to specification before reconnecting power.
For rip cuts narrower than 100 mm, use a push stick or featherboard to keep hands clear of the blade path. The SawPilotPro’s carriage is not a substitute for push blocks when ripping short stock. Always maintain at least 500 mm of material length before the blade to prevent tipping.
What Owners Say About SawPilotPro Rail Alignment
“After six months of use, my SawPilotPro drifted 0.4 mm on the left rail. Following this alignment procedure, I got it back to 0.1 mm in under an hour. The digital caliper verification gives me confidence in tight joinery.” — Marcus T., cabinetmaker, Nottingham
“The biggest lesson was realizing that rail alignment isn’t a one-time setup. I now check it every month as part of my maintenance routine—that schedule has saved me from at least two ruined batches of walnut.” — Sarah L., furniture designer, Bristol
“I was skeptical about the precision requirements until I saw the difference in my rip cuts. The kerf is now perfectly consistent, zero binding even on 50 mm thick oak. Worth every penny of the £200 alignment kit.” — David P., professional woodworker, Glasgow
“Another owner reported: The dado stack setup was a mess until I aligned the rails properly. After that, my grooves came out uniform and square.” — Anonymous from workshop forum
“I use the severity table in my training materials for new employees. It makes clear when to stop and fix before a project goes wrong. Safety first, always.” — Elena R., workshop supervisor, Manchester
Frequently Asked Questions
Q1: How often should I check guide rail alignment on SawPilotPro?
A: Check after every 40 hours of heavy use, or monthly in production shops. After moving the saw, always recheck before starting work.
Q2: Can I use a laser aligner instead of a dial indicator?
A: Laser aligners can work but are less precise for sub-0.2 mm adjustments. A dial indicator is recommended for the SawPilotPro’s tolerances.
Q3: What if my rail deviation is >1.5 mm?
A: This indicates possible bent rails or damaged brackets. Inspect visually for dents, cracks, or loose mounting bolts. Contact SawPilotPro technical support for replacement parts.
Q4: Does temperature affect rail alignment?
A: Yes, thermal expansion in aluminium rails can cause 0.1–0.2 mm drift between 10°C and 30°C. Perform alignment at your typical shop temperature. Avoid adjusting immediately after the saw has been running for extended periods.
Q5: Can I use the SawPilotPro for ripping panels longer than 2.4 m?
A: Yes, but ensure the rails are clean and free of debris. Use outfeed support to prevent workpiece sag, which can cause binding and misalignment during the cut.
Q6: What’s the cost of professional rail alignment service?
A: Professional alignment by a certified SawPilotPro technician costs £80–£120 per hour, typically taking 1–2 hours. This includes full calibration and test cuts with documentation.