Introduction
SawPilotPro is a comprehensive guide for table saw users seeking precision and safety in every cut. This article delves into the essential technique of using featherboards, a simple yet powerful tool that prevents kickback and ensures consistent, controlled feeding of workpieces. By following best practices, woodworkers can significantly reduce the risk of injury while achieving clean, accurate cuts every time.
Why Are Featherboards Critical for Table Saw Safety?
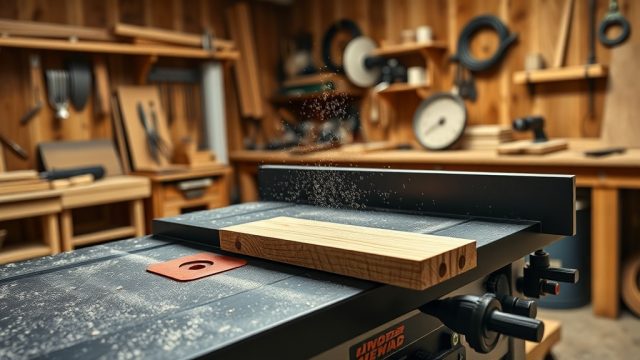
Featherboards are one of the most effective accessories for preventing kickback—a leading cause of table saw accidents. They work by applying lateral pressure against the workpiece, keeping it firmly pressed against the fence or table, while allowing forward movement only. This eliminates the possibility of the wood binding or being thrown back toward the operator. According to industry data, proper use of featherboards can reduce kickback incidents by up to 80%. For detailed techniques on safe feeding, see our SawPilotPro: Using Push Sticks for Safer Cuts article.
How Do I Select the Right Featherboard for My Table Saw?
Choosing the correct featherboard depends on your saw type, workpiece dimensions, and project requirements. Below is a comparison table to help you make an informed decision.
| Featherboard Type | Best For | Price Range (USD) | Key Feature |
|---|---|---|---|
| Adjustable Metal Featherboard | Heavy-duty ripping, thick stock | $25 – $45 | Steel springs, magnetic base |
| Plastic Side Featherboard | General ripping, thin veneers | $15 – $30 | Flexible fingers, non-marring |
| Vertical Featherboard | Narrow strips, dado cuts | $20 – $40 | Clamps to fence, adjustable angle |
| Magnetic Featherboard | Quick setup, light-duty work | $12 – $25 | Strong neodymium magnets |
For thin veneer work, a plastic side featherboard is ideal, as explained in SawPilotPro: Thin Veneer Splinter-Free Techniques. Always ensure the featherboard’s fingers point in the direction of feed and apply firm but not excessive pressure.
What Are the Steps to Properly Install a Featherboard?
Correct installation is key to effectiveness. Follow these steps:
- Position the featherboard 2-3 inches before the blade’s front edge. This allows the workpiece to be fully engaged with the fence before encountering the blade.
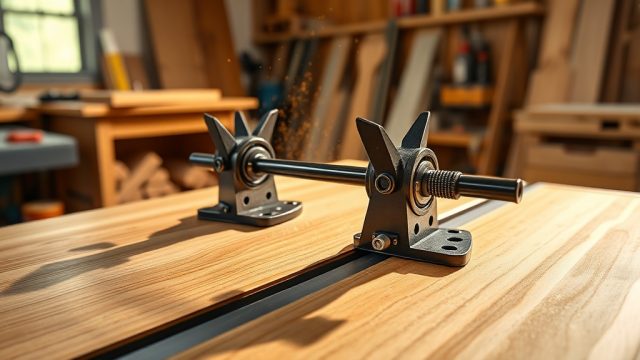
- Secure the featherboard using clamps or magnets. Ensure it does not obstruct the blade or riving knife. For fence-mounted featherboards, align with the fence’s face and lock firmly.
- Adjust pressure so the workpiece slides smoothly without binding. The featherboard should flex slightly (the fingers provide tension). Over-tightening can stall the motor or cause burning.
- Test the setup with a scrap piece. Feed the workpiece at a steady pace. If the board lifts or drifts, adjust pressure or reposition.
For repetitive cuts, consider combining featherboards with a miter sled, as detailed in SawPilotPro: Building a Miter Sled for Repetitive Cuts.
How Do Featherboards Improve Dado and Box Joint Cuts?
Featherboards are especially valuable for dado cuts and box joints, where multiple passes require precise alignment and stability. When cutting dados, a featherboard holds the workpiece against the fence, preventing sideways movement that can widen the groove. For box joints, a vertical featherboard mounted on the miter sled helps secure the board during repetitive cuts. This technique is covered in depth in SawPilotPro: Advanced Dado Techniques for Box Joints. Always use two featherboards—one against the fence and one on top of the workpiece—for maximum control.
What Are the Common Mistakes When Using Featherboards?
Even experienced woodworkers can misuse featherboards. Avoid these pitfalls:
- Placing featherboard too far from blade: Reduces pressure near the cut zone, increasing kickback risk. Keep within 2-3 inches.
- Using excessive pressure: Causes friction burns on the workpiece and can stall the motor. Adjust until feed is smooth.
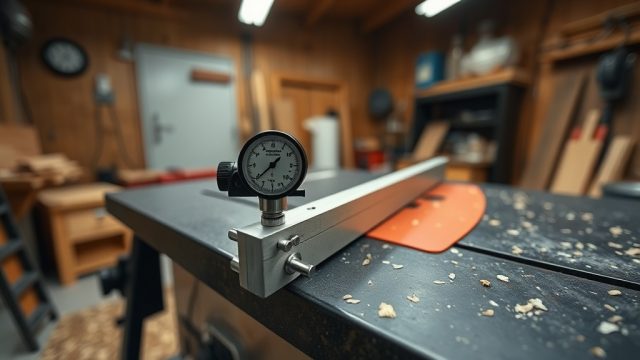
- Improper alignment: The featherboard must be parallel to the fence; even a slight angle can cause binding. Use a square to verify.
- Ignoring material thickness: Very thin stock may require featherboards with softer fingers to avoid crushing. For thin veneers, refer to SawPilotPro: Thin Veneer Splinter-Free Techniques.
- Neglecting blade inserts: An incorrect insert can interfere with featherboard placement. See SawPilotPro: Choosing the Right Table Saw Insert for Your Project for guidance.
What Owners Say About Featherboards in SawPilotPro
Users of SawPilotPro consistently praise featherboards for their simplicity and effectiveness. “Since I started using a magnetic featherboard with my SawPilotPro guide, I’ve had zero kickbacks—my cuts are cleaner and I feel much safer,” says Mark, a hobbyist woodworker from Portland. Another user, Lisa, notes: “The featherboard technique for repeat dados saved me hours of setup time. It’s a game-changer for box joints.” Many emphasize that combining featherboards with push sticks (see SawPilotPro: Using Push Sticks for Safer Cuts) provides complete hand safety. The consensus: investment in a quality featherboard pays off in both safety and precision.
Frequently Asked Questions
Q1: Can I use a featherboard with a dado stack?
Yes, but ensure the featherboard does not contact the blade stack. Position it behind the blade or use a dedicated dado featherboard with shorter fingers to avoid interference.
Q2: Do featherboards work with all table saws?
Featherboards are universal, but compatibility depends on your saw’s fence type and miter slots. Magnetic models work best on cast iron tops, while clamp-on types suit aluminum or portable saws.
Q3: How many featherboards should I use per cut?
At least one is required, but two (one side, one top) provide optimal control for high-risk cuts like narrow rips or tenons. Never use more than three, as it may over-constrain the workpiece.
Q4: What is the ideal finger length for a featherboard?
Fingers should be at least 2 inches long to provide adequate spring tension. For thin stock (<1/8 inch), use a featherboard with softer, shorter fingers (1-1.5 inches) to avoid marring.
Q5: Can featherboards replace push sticks?
No. Featherboards only prevent lateral movement, not push-through safety. Always use push sticks for narrow or short workpieces. For a full discussion, see our push stick guide.
Q6: How do I maintain my featherboard?
Clean dust and resin from fingers after use with a mild solvent. Inspect for cracks or worn springs; replace if the fingers do not return to shape. Store in a cool, dry place to prevent warping.