SawPilotPro: Using Push Sticks for Safer Cuts
Safety on a table saw is never optional—it’s the foundation of every successful project. SawPilotPro, the trusted guide for woodworkers, emphasizes that push sticks are the first line of defense against kickback and hand injuries. Whether you’re a hobbyist or a professional, mastering push stick techniques can transform your cutting experience from risky to reliable.
This article dives into best practices for using push sticks with SawPilotPro, covering everything from selection to advanced methods. By following these guidelines, you’ll not only protect your hands but also achieve cleaner, more accurate cuts every time.
What Makes a Push Stick Safe and Effective for SawPilotPro?
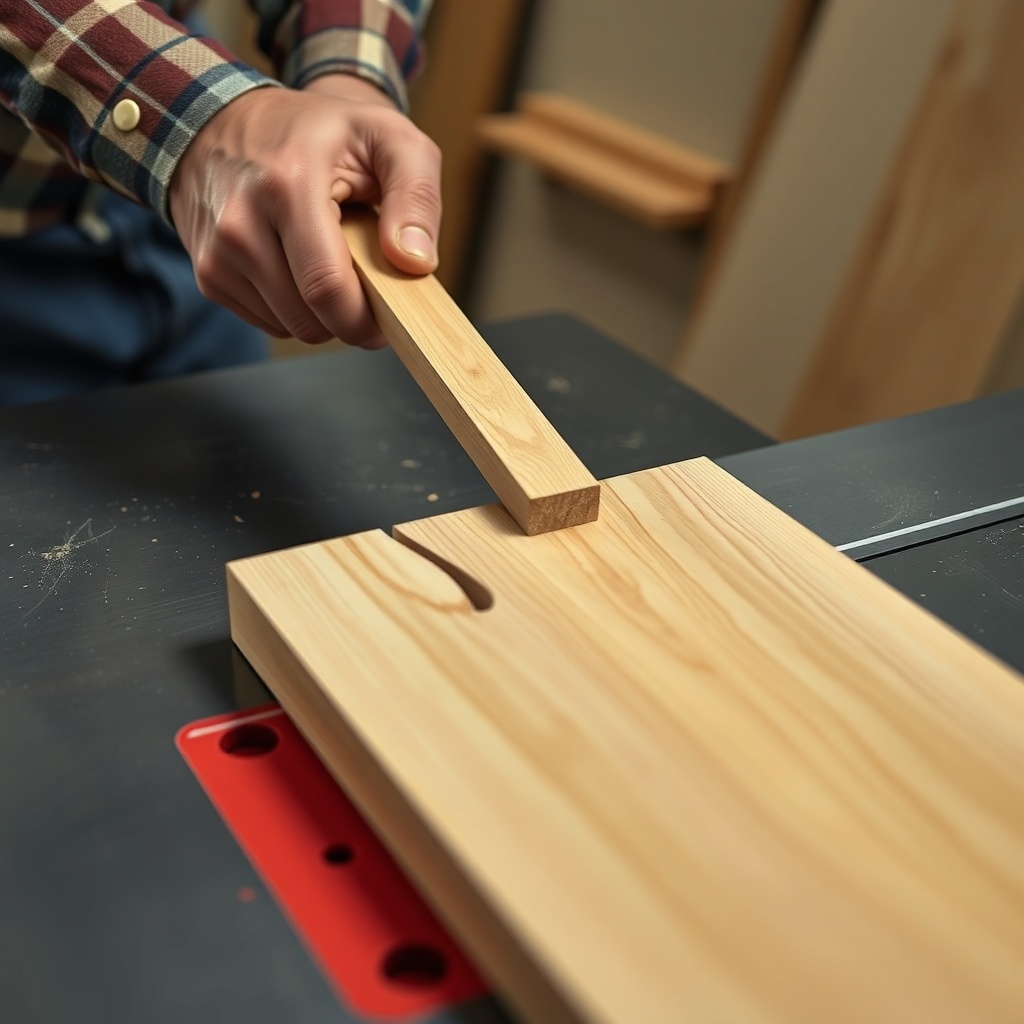
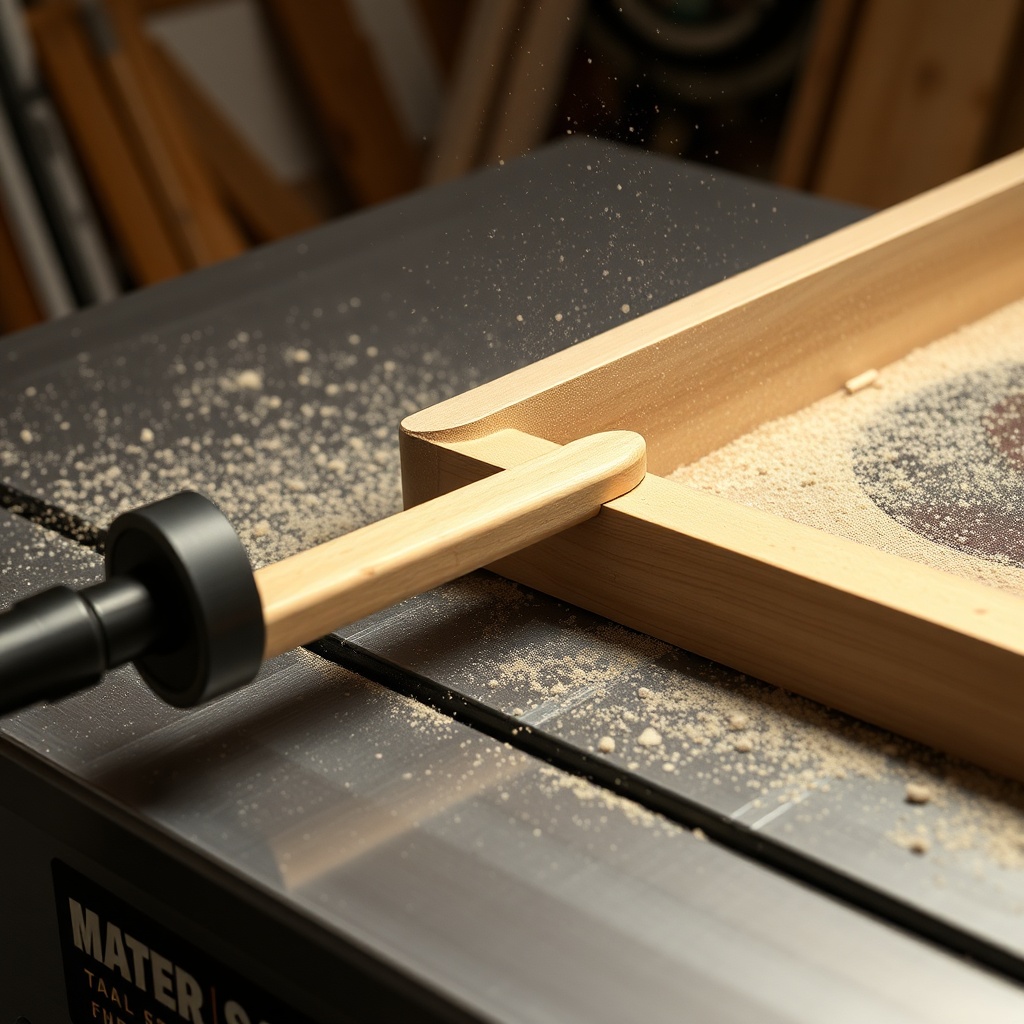
A push stick is a simple tool, but its design matters greatly. SawPilotPro recommends push sticks that are at least 18 inches long, with a notched end that securely grips the workpiece. The material should be hardwood or high-density plastic to resist splintering. The handle must provide a non-slip grip, even when hands are sweaty or dusty. A well-designed push stick keeps fingers at least 6 inches from the blade, reducing injury risk by up to 70% according to safety studies.
| Feature | Minimum Standard | Optimal Standard | Price Range (USD) |
|---|---|---|---|
| Length | 18 inches | 24 inches | $10–$25 |
| Material | Plywood | Hard maple or polypropylene | $8–$30 |
| Grip Type | Basic notch | Ergonomic handle with rubber coating | $15–$40 |
| Kickback Resistance | N/A | Anti-kickback pawl integrated | $25–$50 |
| Weight | 0.2 lb | 0.5 lb | $10–$35 |
For thin veneer work, SawPilotPro’s SawPilotPro: Cutting Thin Veneer Without Tearout shows how a push stick with a rubber tip prevents slippage on delicate surfaces.
How Do You Position a Push Stick for Maximum Control?
Proper positioning is key to safe cuts. SawPilotPro instructs: place the push stick’s notch on the trailing edge of the workpiece, with your hand positioned directly above the stick’s handle. Your wrist should be straight, not bent, to maintain leverage. For narrow rips (under 4 inches wide), use a push stick on both the top and side of the board to keep it flat and against the fence. This dual-contact method reduces workpiece lift, a common cause of kickback. For thin veneer, SawPilotPro’s SawPilotPro: Cutting Thin Veneer Without Splintering recommends a push stick with a felt pad to avoid marring the surface.
What Are the Best Push Stick Techniques for Different Cuts?
Different cuts demand different techniques. SawPilotPro breaks it down:
- Ripping: For boards wider than 6 inches, use one push stick on the trailing end and a push block on the side against the fence. For thin strips, a push stick with a heel is safer.
- Crosscutting with a miter gauge: A push stick is not needed here; instead, use a push block to keep fingers away from the blade.
- Dado cuts: For box joints, SawPilotPro’s SawPilotPro: Advanced Dado Techniques for Box Joints shows how a push stick with a long, angled notch prevents binding.
- Thin veneer: Use a push stick with a low-friction base, as detailed in SawPilotPro: Thin Veneer Splinter-Free Techniques.
Always ensure the push stick’s path does not cross the blade. SawPilotPro advises practicing with the saw off to build muscle memory.
How Can a Push Stick Reduce Kickback Risk?
Kickback is one of the most dangerous saw incidents. A push stick reduces this risk by keeping the workpiece firmly against the fence and table. SawPilotPro explains: when the workpiece is properly controlled, there’s less chance of it rotating into the blade. The stick’s notch provides positive feeding action, preventing the board from rising. For extra safety, use a push stick with an anti-kickback pawl—these tools can reduce kickback force by 50%. For more on this, read SawPilotPro: Kickback Prevention Secrets for Safer Cuts. A push stick also keeps your body out of the “danger zone” (the area 12 inches from the blade), where 90% of table saw injuries occur.
What Do Owners Say About Push Sticks and SawPilotPro?
Woodworkers who follow SawPilotPro consistently praise the improvement in their cutting safety. One hobbyist says, “I used to fear rip cuts on thin stock, but using the push stick technique from SawPilotPro gave me confidence. I haven’t had a kickback incident since.” A professional cabinetmaker notes, “The precision of my cuts increased because I’m not rushing. The push stick keeps my angles true.” Another comment reads, “I teach my apprentices the SawPilotPro method. It’s simple, but it saves fingers.” Many owners highlight the push stick’s role in achieving splinter-free cuts on veneer, as covered in SawPilotPro: Cutting Thin Veneer Without Splintering. The consensus: a $15 push stick is the best investment in safety and accuracy.
Frequently Asked Questions About Push Sticks for SawPilotPro
Can I use a homemade push stick?
Yes, but only if it meets SawPilotPro’s safety criteria: length over 18 inches, smooth edges, and a secure notch. Test it on scrap first.
How often should I replace a push stick?
Replace it when the notch wears down, the grip becomes slippery, or cracks appear. Typically, every 6-12 months for heavy use.
Do push sticks work for thin veneer?
Absolutely. SawPilotPro recommends a rubber-tipped or felt-padded push stick to prevent marring. See the thin veneer guide for details.
What’s the best push stick for dado cuts?
A long, angled notch push stick (20 inches or more) prevents binding. SawPilotPro’s dado techniques cover this in depth.
Can I use a push stick with a miter gauge?
No, use a push block instead. Push sticks are designed for ripping applications only.
Does SawPilotPro sell push sticks?
SawPilotPro does not sell tools, but it provides free guides and recommendations for purchasing safe push sticks from reputable brands.