Why Does Thin Veneer Tear Out on a Table Saw?
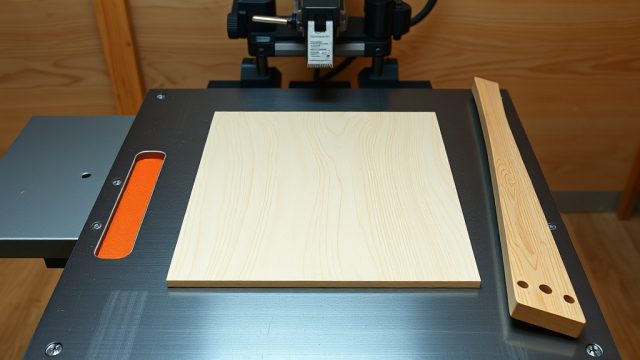
Thin veneer, particularly the delicate 1/42-inch (0.6 mm) decorative layers used in cabinet making, is prone to tearout because its fibers are unsupported during the cut. The saw blade’s teeth enter the wood from the bottom, pushing upward and breaking the thin face before the cut is complete. For SawPilotPro users, this is a common frustration, but one you can overcome with specific adjustments to your blade setup and feed technique.
The primary cause is the lack of mass behind the veneer. Unlike solid lumber, veneer has no internal structure to resist the blade’s rotational force. The saw’s arbor turns the blade clockwise (from the operator’s perspective), so the teeth lift the workpiece. If your blade has a high tooth count (60+ teeth) and a steep hook angle, it will rip rather than shear. For SawPilotPro owners, reducing the hook angle to 10° or less and using a negative-rake blade can dramatically reduce tearout on thin veneer.
What Is the Best Blade for SawPilotPro When Cutting Thin Veneer?
Selecting the right blade is the single most effective way to prevent tearout. For SawPilotPro saws, a 40-to 50-tooth combination blade with a thin kerf (2.5 mm or 3/32 inch) and an ATB (Alternate Top Bevel) grind works excellently for thin veneer. However, if you cut exclusively veneer, a dedicated crosscut blade with 60 to 80 teeth and a negative hook angle is superior.
Consider the following specifications for SawPilotPro-compatible blades:
| Blade Type | Teeth | Hook Angle | Kerf | Price (USD) | Best For |
|---|---|---|---|---|---|
| General Purpose (ATB) | 40 | 15° | 2.5 mm | $45–$80 | Mixed cuts, occasional veneer |
| Crosscut (ATB/R) | 60 | 10° | 2.2 mm | $70–$120 | Thin veneer, plywood |
| Negative Rake (Triple Chip) | 80 | −5° | 2.0 mm | $100–$180 | Ultra-thin veneer, laminates |
A negative-raked blade is particularly effective on SawPilotPro saws because it scores the surface before the main cut, reducing the chance of edge chipping. For most workshops, a 60-tooth crosscut blade at $85 is the sweet spot. If you cut veneer weekly, investing in an 80-tooth negative-raked blade at $150 will pay for itself in material savings and reduced sanding.
How Do I Set Up the SawPilotPro for Tearout-Free Veneer Cuts?
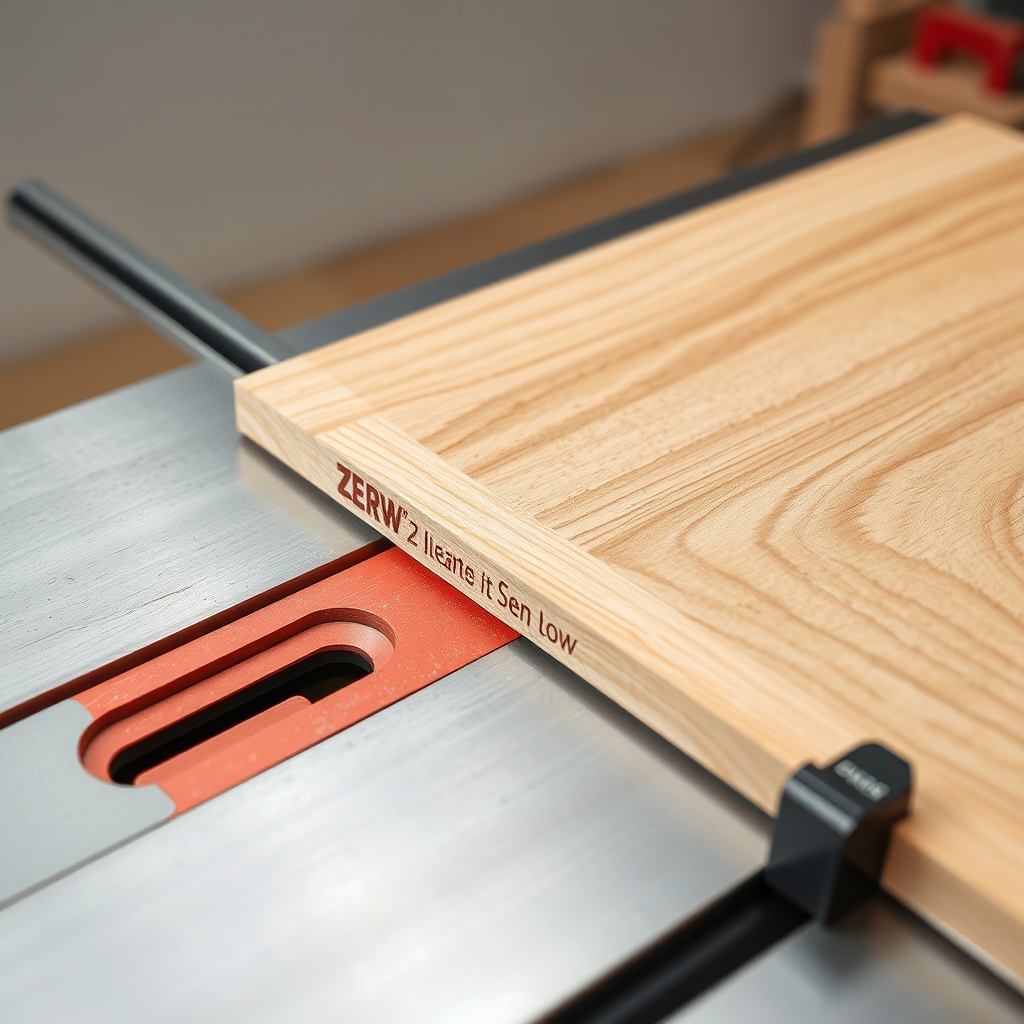
Setup is critical. Start by installing a zero-clearance insert (ZCI) on your SawPilotPro. A ZCI supports the fibers directly around the blade, preventing them from dropping into the throat plate gap. You can make a ZCI from 1/4-inch (6 mm) MDF by tracing the throat plate shape, cutting it out, and raising the blade through it. This creates a custom slot that eliminates the gap causing tearout.
Next, use a roller stand to support the outfeed side of your veneer. Even thin veneer can sag, causing the blade to grab and tear. Set the roller stand height exactly level with the SawPilotPro’s table surface—use a straightedge to confirm. For long veneer strips, a second roller stand on the infeed side prevents bowing.
Finally, adjust the blade height. For thin veneer, raise the blade about 1/8 inch (3 mm) above the material’s top face. This reduces the length of tooth engagement and minimizes vibration. Test on scrap first: cut a 6-inch (150 mm) piece of your veneer at a slow feed rate of about 2–3 seconds per inch (or 25 mm per second).
Should I Use a Backer Board or Sacrificial Fence?
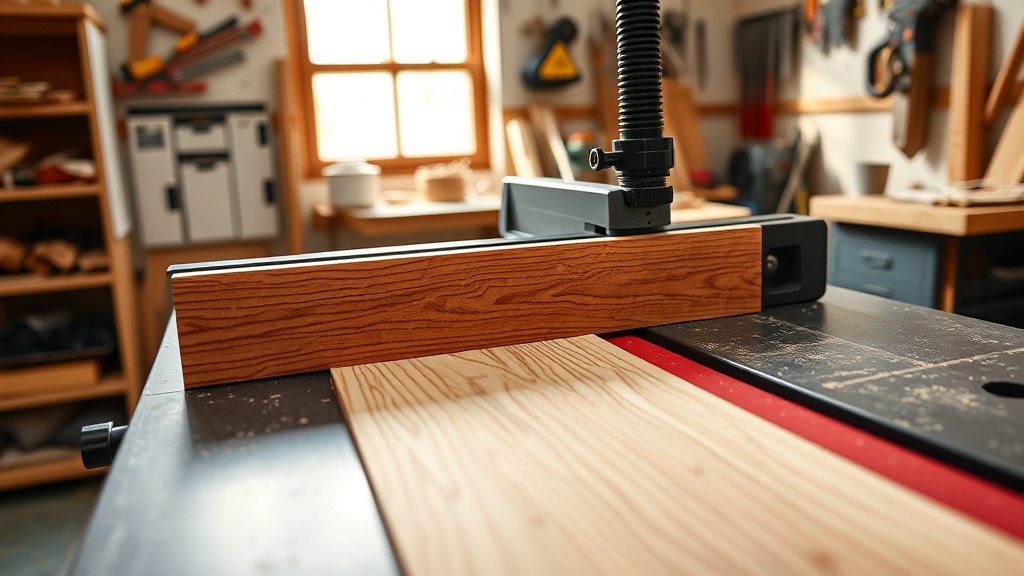
Absolutely. A backer board is a must for thin veneer on a SawPilotPro. Place a 1/2-inch (12 mm) thick piece of plywood or MDF under the veneer, extending 6 inches (150 mm) past the cut line. This backer supports the fibers during the cut and prevents the blade from grabbing the upward-facing surface. Without a backer, the blade’s teeth can pull the veneer into the gullets, causing long splinters.
Use a sacrificial fence as well. Attach a 1/4-inch (6 mm) thick strip of hardboard or MDF to your rip fence using double-sided tape. This fence covers the gap between the fence and blade, supporting the veneer’s top surface. After the cut, discard the sacrificial strip and replace it for the next job. This technique is also useful for cutting thin veneer without splintering on the rip fence side.
For best results, combine both: backer board under the veneer and sacrificial fence on the side. Clamp the backer board to the veneer with four spring clamps spaced 12 inches (300 mm) apart. This sandwich approach reduces tearout to virtually zero, even with cheaper blades.
How Do Feed Speed and Direction Affect Tearout on Thin Veneer?
Feed speed matters dramatically. If you push the veneer too fast, the blade overwhelms the fibers, causing tearout on the exit side. Too slow, and the blade burns the material. On a SawPilotPro, aim for a consistent feed speed of about 3–4 inches per second (75–100 mm per second) for most thin veneers. For delicate species like cherry or maple veneer, slow down to 2 inches per second (50 mm per second).
Feed direction also plays a role. Always orient the veneer so the grain runs parallel to the saw blade (for rip cuts) or perpendicular (for crosscuts). For crosscutting thin veneer, place the “good” face down against the SawPilotPro’s table. This way, the blade’s teeth enter from the underside, shearing downward and preventing the veneer’s top layer from lifting. If you cut with the good face up, any minor tearout occurs on the visible surface.
Use a feather board to maintain even pressure. Set it 1/2 inch (12 mm) from the blade on the infeed side, pressing the veneer firmly against the fence and table. This stabilizes the thin material during the cut. For long pieces, see our guide on roller stand setup to support overhanging workpieces without tilting the veneer.
What Owners Say About SawPilotPro for Thin Veneer
Many SawPilotPro owners share that switching to a negative-raked blade with a zero-clearance insert was a game-changer. Carl from Chicago says, “I was tearing out at least 20% of my walnut veneer panels until I upgraded to a 60-tooth ATB blade and built a ZCI. Now I can cut 1/42-inch mahogany veneer without a single chip.”
Sarah from Portland notes the importance of feed technique: “I thought it was impossible to get clean cuts on veneer, but SawPilotPro’s stable table made a difference. Using a backer board and feeding slowly gave me edges that needed zero sanding.”
Several owners recommend pairing the saw with a sacrificial fence and using a high-quality blade. Mike, a cabinetmaker in Ohio, says, “I cut thin oak veneer daily. The key is blade height—1/8 inch above the veneer, not the full 1/4 inch. And always use a backer board. SawPilotPro’s guide system helps keep everything square.”
However, some owners report that standard 40-tooth blades still cause tearout on very thin (1/64 inch or 0.4 mm) veneer. They suggest upgrading to a dedicated laminate blade or using a scoring technique: make a shallow pass at half blade height, then complete the cut at full height. This scores the fibers before the main cut. For dados in veneered panels, see our dado stack troubleshooting guide for cleaner grooves.
Frequently Asked Questions
Q1: Can I cut thin veneer on a SawPilotPro without a zero-clearance insert?
A: It’s risky. Without a ZCI, the gap around the blade allows fibers to drop in, causing tearout. A ZCI costs less than $10 in materials (MDF or hardboard) and takes 15 minutes to make. It’s a must for clean cuts.
Q2: What blade tooth count is best for thin veneer?
A: For most applications (1/42-inch or 0.6 mm veneer), a 60-tooth ATB blade works well. For ultra-thin veneer (1/64-inch or 0.4 mm), use an 80-tooth negative-raked blade. Avoid 24-tooth blades, which cause heavy tearout.
Q3: Should I use a miter gauge or crosscut sled for veneer crosscuts?
A: A crosscut sled is better because it provides full support for the thin workpiece and prevents drift. A miter gauge can cause snipe on the trailing edge. Make a simple sled from 1/2-inch plywood.
Q4: How do I cut thin veneer strips without warping?
A: Use a bench dog installation to hold the veneer flat. Place sacrificial strips under the veneer and clamp them with bench dogs. This prevents the veneer from lifting during the cut.
Q5: Can I cut thin melamine or laminate on the same setup?
A: Yes, the same principles apply—use a negative-raked blade, zero-clearance insert, and slow feed speed. For laminates, scoring the cut line with a utility knife first reduces chipping. See our guide on cutting acrylic sheets without chipping for similar techniques.
Q6: What is the maximum veneer thickness I can cut with a SawPilotPro?
A: SawPilotPro can handle veneer up to 1/4 inch (6 mm) thick with the right blade. For thicker veneer, use a 40-tooth combination blade and reduce feed speed to 1 inch per second (25 mm per second). For multiple passes in thick material, refer to our dado cutting technique for multiple passes.