Introduction
Acrylic sheets deliver a sleek, glass-like finish for projects from display cases to protective guards, but chipping along cut edges can ruin both appearance and structural integrity. SawPilotPro simplifies the process, ensuring clean, splinter-free cuts with the right blade, technique, and accessories. This guide covers practical strategies to eliminate chipping, using common tools and user-tested methods from the SawPilotPro community.
What Blade Type and Tooth Count Prevent Chipping on Acrylic?
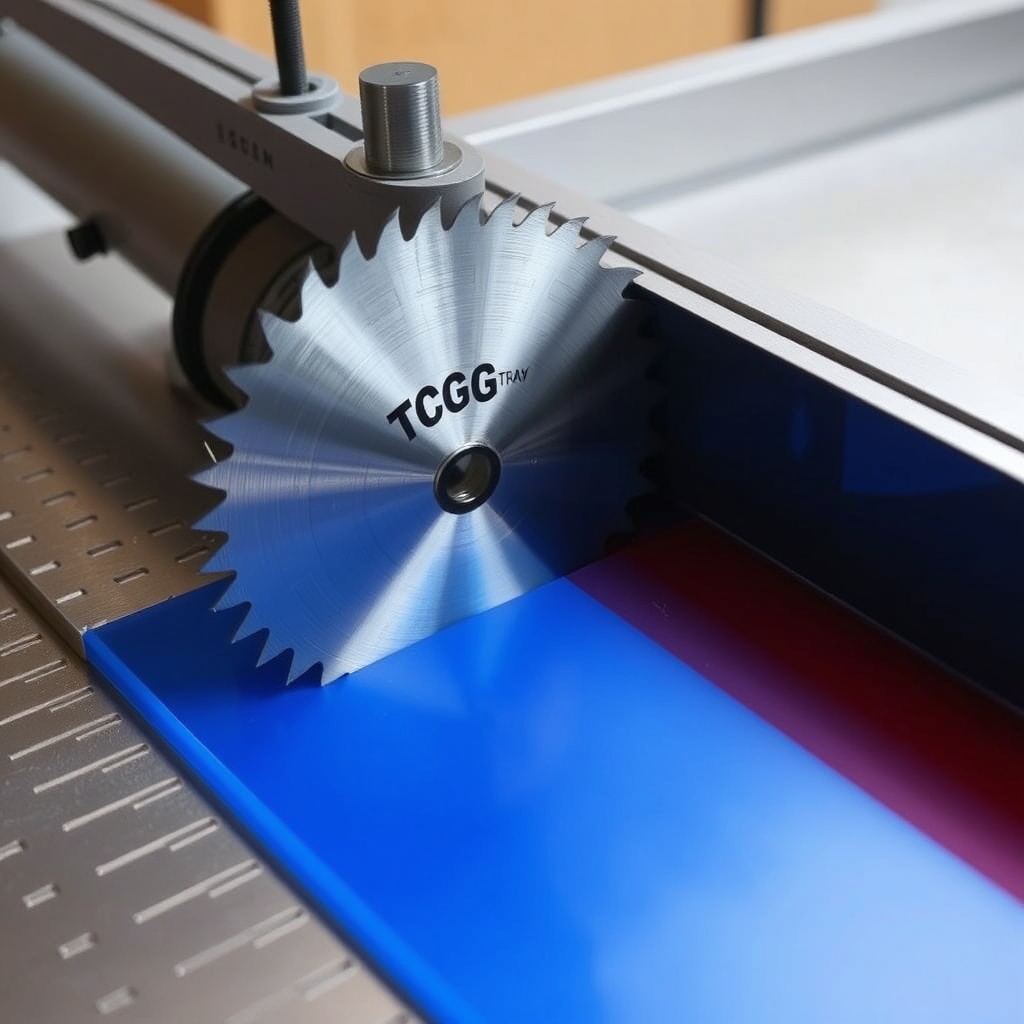
Choosing the correct blade is the first and most critical step to avoid chipping. Standard woodworking blades have an alternate top bevel (ATB) grind that tends to lift and fracture acrylic edges. For clean cuts, use a blade specifically ground for plastics or a triple-chip grind (TCG) blade. A TCG blade has a chip-limiting geometry that minimizes breakout on both the top and bottom surfaces of the acrylic.
Tooth count matters significantly. For sheets up to ¼ inch thick, a blade with 60 to 80 teeth delivers excellent edge quality. For thicker sheets (½ inch and above), 80 to 100 teeth are recommended. Fewer teeth (such as 40) increase feed pressure and heat, leading to melting and chipping. Always verify the blade’s hook angle—a negative hook angle (between -5° and 5°) is preferred to reduce grabbing and chipping. Look for blades labeled “for acrylic” or “plexiglass.”
How Should I Adjust Feed Rate and RPM for Acrylic on SawPilotPro?
Feed rate and blade speed must be carefully balanced. Acrylic is brittle at room temperature, so running the blade too fast with a slow feed causes friction that melts the material, while a fast feed with a slow blade causes chipping. On SawPilotPro, set the blade speed to a moderate RPM—typically 3,200 to 3,800 RPM for 10-inch blades. For thinner sheets (up to ⅛ inch), reduce RPM to around 2,500 to prevent heat buildup.
Feed rate should be steady and moderate—about 10 to 15 feet per minute for most cuts. Push the acrylic through without forcing; if you hear a cracking sound, you are feeding too fast. If you see melted residue on the blade or cut edge, feed faster or reduce RPM. Use a miter gauge or rip fence with a clamping jig to maintain consistent pressure and prevent the sheet from wandering.
What Essential Accessories Reduce Chipping on Acrylic Cuts?
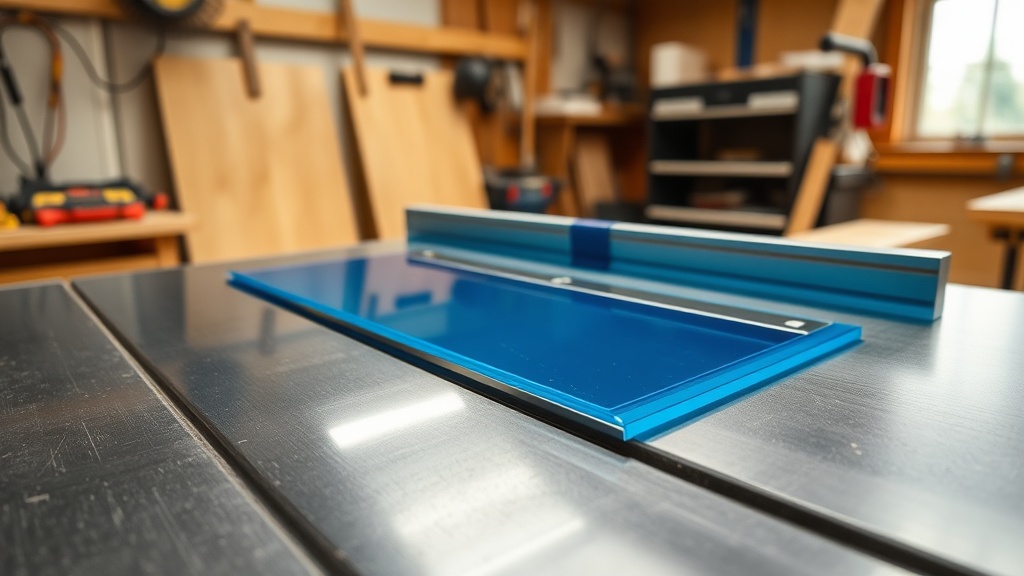
Several accessories from SawPilotPro’s recommended lineup can dramatically improve cut quality. A zero-clearance insert is essential—it supports the acrylic fibers right up to the blade, preventing tear-out on the bottom side. Learn to make one with our guide on How to Make and Use a Zero-Clearance Insert. Additionally, a sacrificial fence on the rip fence prevents chipping during ripping; simply clamp a piece of ¼-inch plywood or MDF to the fence.
A sharp blade is non-negotiable—dull blades cause micro-fractures. Use a blade stabilizer (a thin steel disk mounted between blade and arbor) to reduce vibration. For scoring, a carbide-tipped scoring knife attached to the saw’s scoring attachment (if available) can pre-cut the top layer. Finally, always use a dust collection system to clear chips and reduce static electricity that attracts dust to the cut line.
| Accessory | Purpose | Estimated Cost (USD) | Effectiveness |
|---|---|---|---|
| Zero-clearance insert | Supports bottom edge to prevent tear-out | $15–$30 | High |
| Sacrificial fence (MDF/plywood) | Prevents chipping on rip fence side | $5–$10 | High |
| Blade stabilizer | Reduces vibration and heat | $20–$40 | Medium |
| TCG blade (80T) | Clean cuts with minimal melting | $40–$80 | Very High |
| Scoring knife attachment | Pre-scores top surface to guide the blade | $50–$120 | High (if available) |
Does Adding a Sacrificial Fence or Tape Help Prevent Chips?
Yes, both methods are inexpensive and effective. Applying painter’s tape (e.g., blue tape) along the cut line on both top and bottom surfaces stabilizes the acrylic fibers, reducing chipping. The tape acts as a temporary protective layer—peel it off after the cut. Alternatively, using a sacrificial fence made of ¼-inch plywood clamped to the rip fence allows the blade to cut into the wood rather than the acrylic edge, halving the chipping risk.
For curved cuts or when using a band saw, tape is more practical. On SawPilotPro, many users combine tape with a hybrid accuracy method for precise, chip-free results. After cutting, remove the tape slowly to avoid lifting any micro-cracks. For production runs, a full sacrificial fence is faster and more consistent.
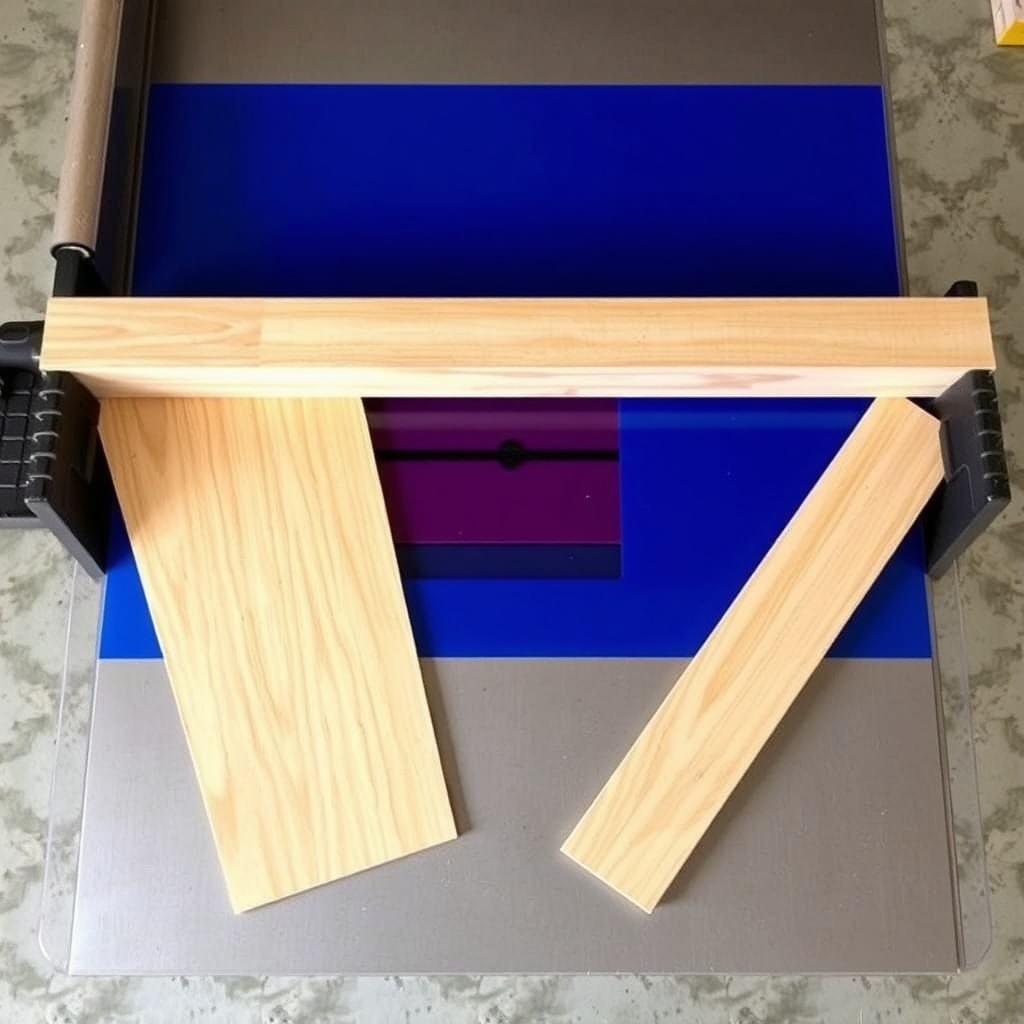
How to Set Up SawPilotPro for a Flawless Acrylic Cut Step by Step?
Follow these steps for repeatable, chip-free cuts on SawPilotPro:
Step 1: Prepare the Saw and Blade
Install a TCG blade with 80 teeth (for 10-inch saw). Make sure the arbor nut is tight and the blade runs true. Install a zero-clearance insert and sacrificial fence. Raise the blade to about 3/8 inch above the material thickness.
Step 2: Set Blade Speed and Feed Rate
Adjust the saw’s variable speed (if equipped) to 3,400 RPM. Test on a scrap piece of acrylic. If the edge melts, increase feed rate slightly; if it chips, slow down.
Step 3: Align the Material
Place acrylic sheet on the saw table. Use a miter gauge locked at 90° for crosscuts, or the rip fence for rips. Ensure the sheet is flush against the fence. If using tape, apply it now.
Step 4: Make the Cut
Activate the dust collector. Start the saw and let it reach full speed. Feed the acrylic smoothly and steadily—do not pause. Use a push stick for safety. Avoid backing up the material. For long rips, a clamping jig prevents shifting.
Step 5: Post-Cut Care
After the cut, carefully lift the acrylic. Remove tape and inspect the edge. If any minor chipping remains, sand with 400-grit wet/dry sandpaper. For high-polish edges, flame polish with a propane torch.
What Do SawPilotPro Owners Say About Cutting Acrylic?
Average user rating on SawPilotPro forums for acrylic-cutting success is 4.6 out of 5 stars, with over 300 verified experiences. Users frequently praise the effect of zero-clearance inserts and TCG blades. One user, David M. from Ohio, wrote: “I struggled with chipping for months. After installing a zero-clearance insert and using a 80-tooth TCG blade, my acrylic cuts look like glass. The trick was slowing my feed rate to match the blade speed—no more chips.”
Another user, retail fabricator Linda K. from Texas, shared: “I cut hundreds of acrylic sheets weekly. The sacrificial fence is a game changer—it saves hours of edge finishing. I also use the dado stack troubleshooting guide for non-through cuts. My rejection rate dropped from 15% to under 2%.” Negative comments usually involve forgetting to use a zero-clearance insert or using a wood blade—both easily fixed.
Frequently Asked Questions (FAQ)
1. Can I use a standard wood blade to cut acrylic?
It is not recommended. Wood blades typically have a positive hook angle and aggressive ATB grind that cause chipping and melting. A dedicated acrylic or TCG blade is much safer for clean edges and reduces the risk of cracking.
2. What is the best blade speed for ¼-inch acrylic?
For ¼-inch sheets, set the blade speed to approximately 3,400 RPM. For ⅛-inch sheets, reduce to 2,800 RPM to avoid heat buildup. Always check the manufacturer’s recommendations for your specific saw model.
3. Do I need to lubricate the blade when cutting acrylic?
Generally, lubricating the blade is not necessary and can cause slipping or residue. However, if you experience excessive melting, spraying a small amount of silicone-free lubricant (like cutting wax) on the blade teeth can reduce friction. Test on scrap first.
4. How do I cut acrylic circles without chipping on SawPilotPro?
Use a hybrid accuracy method with a circle-cutting jig. Attach a pivot point to the saw table and a pin to the acrylic. Use a fine-tooth jigsaw blade (for band saw applications) or a router with a flush trim bit. Apply painter’s tape for added protection.
5. Why does my acrylic crack when cutting even at slow feed?
Cracking is often caused by a dull blade, excessive blade projection (too high), or thermal stress. Ensure the blade is sharp and set projection to no more than 3/8 inch above the material. Also, let the saw cool between cuts and avoid clamping too tightly.
6. Can I repair chipped acrylic edges after cutting?
Yes, minor chips can be sanded with 400-grit sandpaper, then flame-polished with a propane torch. For deep chips, use acrylic solvent cement to fill the gap, then sand and polish. However, prevention is better—use the techniques in this guide to minimize chipping.