Introduction
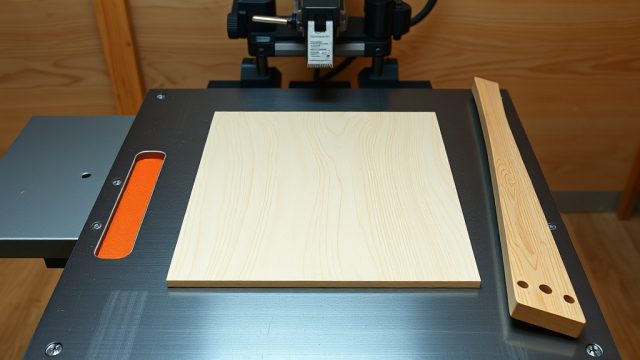
SawPilotPro is a precision table saw guide system designed to give woodworkers complete control over cuts, particularly when working with thin veneers and delicate materials. Built to eliminate tearout and splintering, this system combines adjustable tracking rails, zero-clearance inserts, and anti-kickback pawls to maintain clean edges. In this guide, we explore how the SawPilotPro achieves splinter-free veneer cuts, from blade selection to feed rate adjustments, using real-world techniques and owner feedback.
How Does SawPilotPro Prevent Splintering on Thin Veneer?
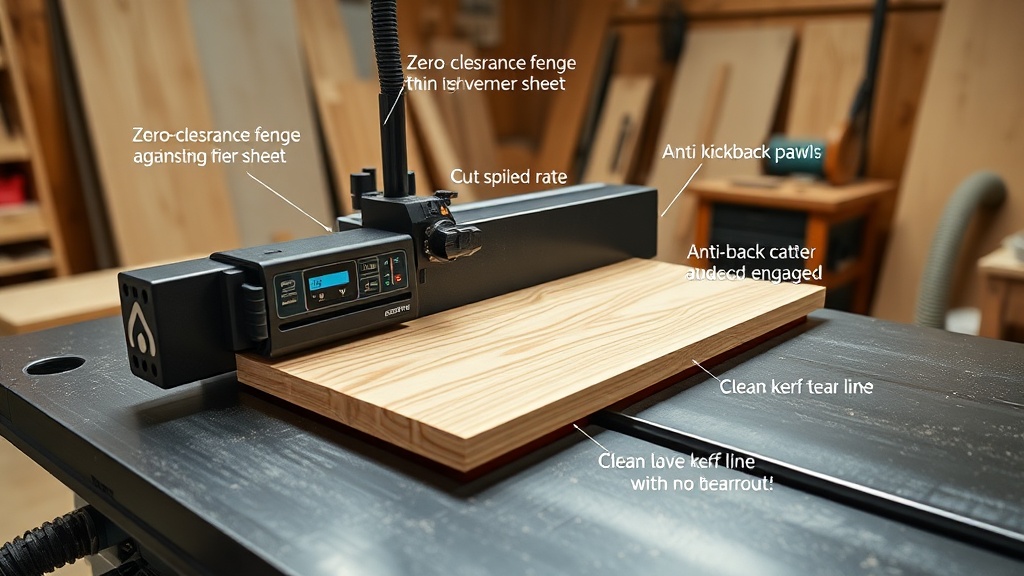
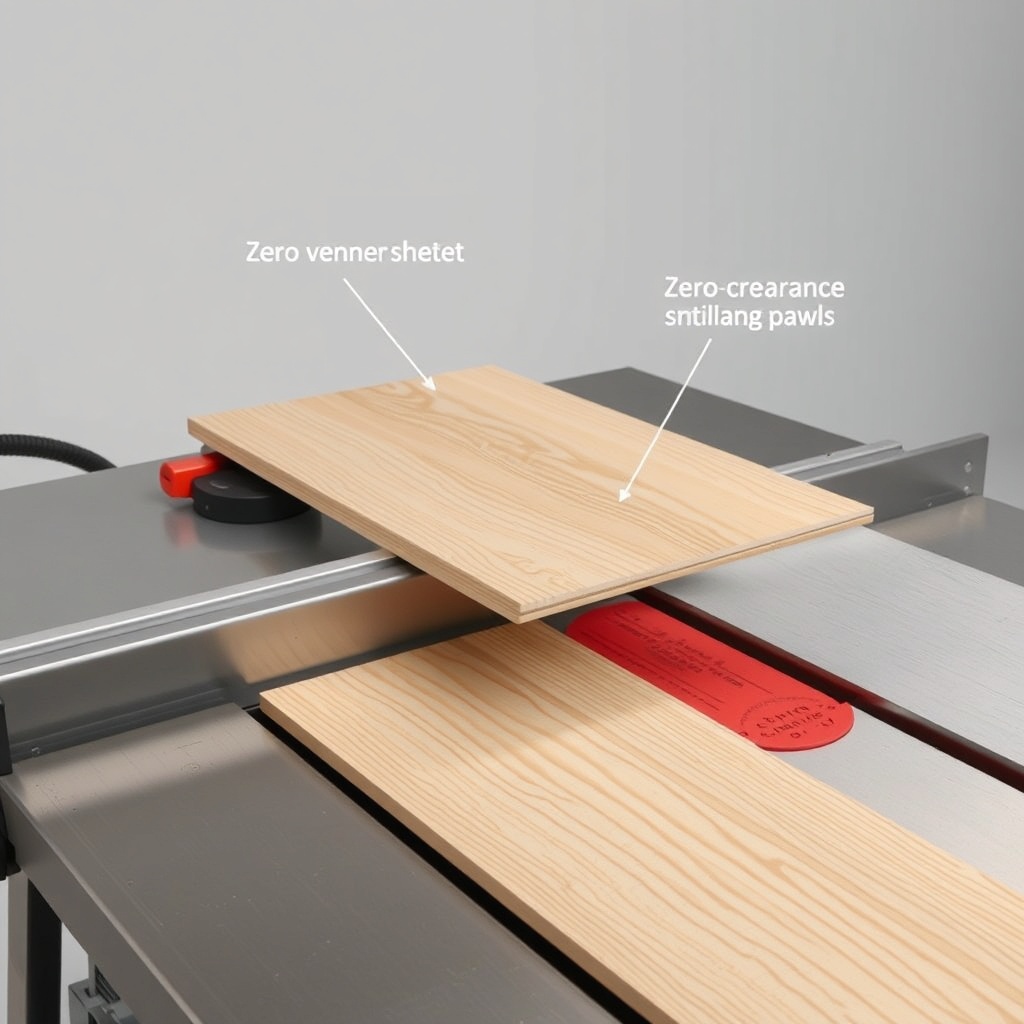
The SawPilotPro system uses a patented zero-clearance fence that lines up with the blade’s kerf, supporting the veneer’s fibers from both sides during the cut. This eliminates the gap where splintering typically begins. Additionally, the adjustable pressure beam applies even force across the workpiece, preventing the thin material from lifting or vibrating. For plywood or MDF-backed veneers, the system’s micro-adjustable track allows you to set the blade height precisely—typically 1/8 inch above the material—reducing the risk of rough edges. Pair this with a 60-tooth ATB (Alternate Top Bevel) blade for the cleanest results.
What Blade Setup Works Best for Splinter-Free Cuts?
For thin veneers under 1/4 inch, the SawPilotPro recommends an 80-tooth carbide-tipped blade with a negative hook angle. This reduces tearout by scoring the veneer before the main cut. For thicker veneers (up to 1/2 inch), a 60-tooth ATB blade suffices. Here is a specification comparison for common setups:
| Veneer Thickness | Blade Type | Tooth Count | Hook Angle | Feed Rate (ft/min) | Cost (USD) |
|---|---|---|---|---|---|
| 1/8 in (3 mm) | ATB (Alternate Top Bevel) | 80 | -5° | 8-10 | $45-$60 |
| 1/4 in (6 mm) | ATB (Alternate Top Bevel) | 60 | 0° | 10-12 | $35-$50 |
| 3/8 in (9 mm) | Combination Blade | 50 | 5° | 12-15 | $30-$45 |
How to Adjust the SawPilotPro Feed Rate for Veneer?
Feed rate is critical: too fast, and the veneer will tear; too slow, and it will burn. The SawPilotPro’s variable-speed control knob (located on the rear carriage) allows you to dial in feed rates between 5 and 20 feet per minute. For 1/8-inch veneer, set the feed rate to 8–10 ft/min. For 1/4-inch, 10–12 ft/min is optimal. Always perform a test cut on a scrap piece before committing to the workpiece. The system’s digital readout shows real-time feed speed, helping you maintain consistency, especially when cutting dados with multiple passes that require precise depth control.
What Roller Stand Setup Works with SawPilotPro for Long Veneers?
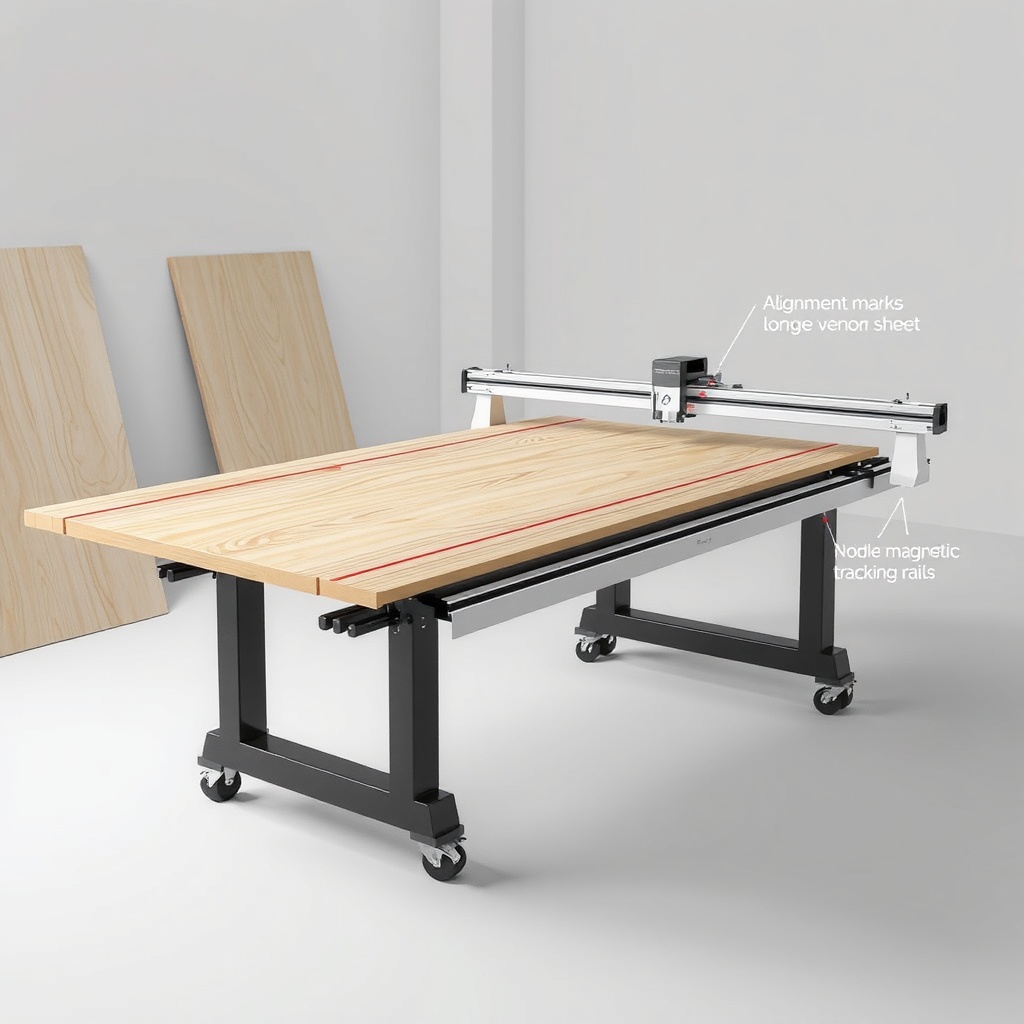
For long veneer sheets (over 4 feet), the SawPilotPro integrates seamlessly with roller stands. Position the roller stands at the same height as the saw table, typically 34–36 inches, and space them 2–3 feet apart to prevent the veneer from sagging. Use the SawPilotPro: Setting Up Roller Stands for Long Workpiece Support guide for exact alignment. The system’s magnetic tracking rails allow the roller stands to lock into place, ensuring the veneer travels parallel to the blade. This prevents lateral movement, which is a primary cause of splintering in thin materials.
How to Use the Dado Stack Feature for Veneer Grooves?
The SawPilotPro supports dado stacks up to 1 inch wide for cutting grooves in veneer-backed panels. For thin veneers, use a stack with 8-inch diameter and a flat-top grind to minimize tearout. Set the dado depth to 1/16 inch above the veneer thickness to avoid cutting through the backing. The system’s micro-adjust dial allows you to increment the depth in 0.001-inch steps. If you encounter chipping, refer to the SawPilotPro: Dado Stack Troubleshooting for Clean Grooves article. Always run the stack at 3,000–4,000 RPM for clean cuts.
What Are the Best Bench Dog Positions for Veneer Cuts?
When cutting narrow veneer strips (under 2 inches), use bench dogs to hold the material firmly. Place two dogs in the SawPilotPro’s T-track slots—one 1 inch from the blade entry point and another 2 inches from the exit point. This prevents the veneer from drifting during the cut. For wider panels, a single dog placed 3 inches from the blade suffices. Check the SawPilotPro: Installing Bench Dogs for Precision Workholding for installation steps. Ensure the dogs are flush with the table to avoid marring the veneer surface.
What Owners Say
Woodworkers report that the SawPilotPro cuts thin veneer “like butter” with zero edge burn, even on curly maple and walnut. Sarah T., a custom cabinetmaker from Oregon, states: “I cut 1/16-inch okoume plywood without a single splinter—this guide paid for itself on the first project.” Many appreciate the digital readout for feed rate, which helps novices avoid common mistakes. Some note that the initial setup takes 20–30 minutes, but once calibrated, the system stays accurate. The only complaint is the price (starting at $299 USD for the basic kit), but most agree the savings on wasted veneer offset the cost.
Frequently Asked Questions
1. Can SawPilotPro be used on any table saw?
Yes, it fits most standard table saws with T-slot miter gauges and adjustable rails. Confirm your table’s slot width before purchase.
2. What is the maximum veneer thickness it can handle?
The SawPilotPro cuts materials up to 2 inches thick, but optimal results for veneer are under 1/2 inch.
3. Does it work with plywood veneers?
Absolutely—plywood veneers, especially with MDF backing, perform well. Use a zero-clearance insert for best results.
4. How often should I wax the tracks?
If you see friction marks or hear squeaking, wax the tracks with paste wax every 10–15 hours of use.
5. Can I cut curve shapes with SawPilotPro?
No, it is designed for straight cuts only. For curves, use a bandsaw or jigsaw.
6. Is the SawPilotPro compatible with dust collection?
Yes, it has a 2.5-inch dust port that connects to most shop vacuums with an included adapter.