FencePro 3000: How to Make and Use a Zero-Clearance Insert
The FencePro 3000 is a precision-engineered table saw fence system designed for woodworkers who demand accuracy. One of its most underutilized features is the ability to accommodate a zero-clearance insert, which minimizes tear-out and improves cut quality. This guide will walk you through creating and using a custom zero-clearance insert tailored for your FencePro 3000, ensuring every rip and crosscut delivers a flawless finish.
Why Do I Need a Zero-Clearance Insert for My FencePro 3000?
A zero-clearance insert fills the gap around the saw blade, preventing wood fibers from splintering as they exit the cut. With the FencePro 3000’s tight-tolerance fence, the combination dramatically reduces chip-out on delicate materials like melamine, plywood, and hardwood. The insert also supports thin stock that might otherwise fall into the opening, making precise cuts safer and more consistent.
What Materials Should I Use for the Insert?
For best results, choose a material that is stable, flat, and slightly compressible. Baltic birch plywood (12mm or 15mm thickness) is a popular choice because it resists warping and provides a smooth surface. Medium-density fiberboard (MDF) works well too, though it may require sealing to prevent moisture absorption. Avoid solid wood, which can expand unevenly with humidity changes.
| Material | Thickness (mm) | Stability | Cost per Sheet (USD) | Best Use Case |
|---|---|---|---|---|
| Baltic Birch Plywood | 12 | Excellent | $45 | General woodworking |
| MDF | 15 | Good | $18 | Plywood and melamine |
| Acrylic (clear) | 10 | Fair | $65 | Visibility for dados |
How Do I Measure and Cut the Insert Blank?
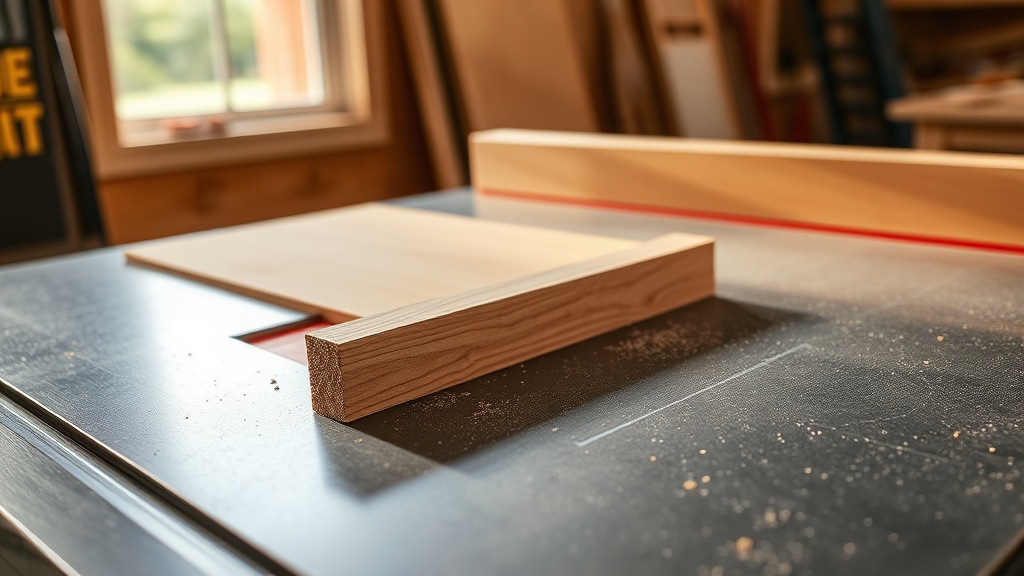
Start by removing the original table insert from your FencePro 3000. Use it as a template—trace its outline onto your chosen material with a pencil. Cut slightly outside the line using a bandsaw or jigsaw, then sand the edges until it fits snugly into the table recess. The insert should sit flush with the table surface; check with a straightedge. For a perfect fit, clamp the original insert and the blank together, then drill and countersink holes for the leveling screws.
Once you have a blank that matches the shape, mark the center of the blade slot by measuring the distance from the fence rail. The FencePro 3000’s fence rides on a precision ground rail, so any offset must be exact to ensure the slot aligns with your blade. Double-check this against your saw’s arbor position; typical offset is 18mm from the left side of the miter slot.
How Do I Cut the Blade Slot and Adjust for the FencePro 3000?
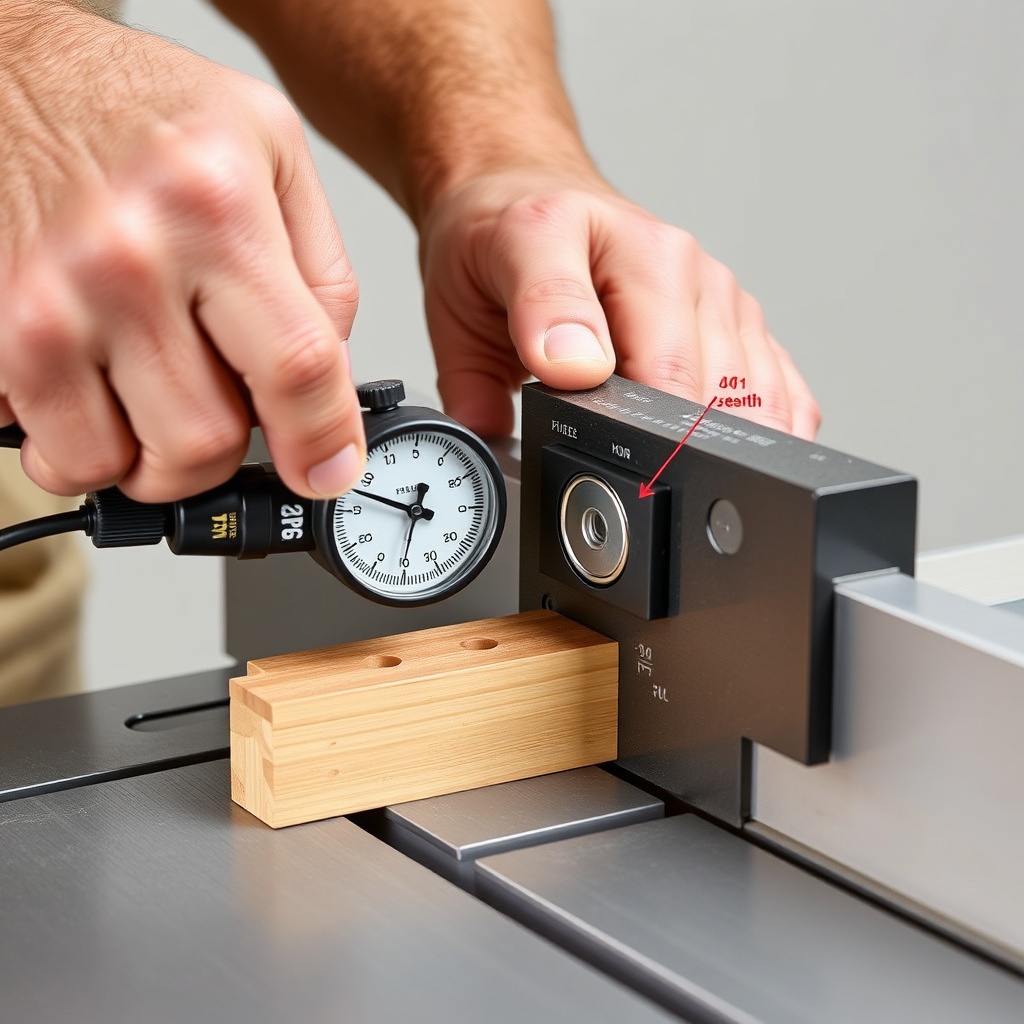
Lower the blade completely, then raise it gradually through the blank as the saw runs. This “hot dog” method (named after the classic trick of cutting through a hot dog) creates a zero-clearance opening. However, with the FencePro 3000, you must account for its micro-adjustable fence. Ensure the fence is parallel to the blade before cutting the slot; any skew will misalign the insert. Use a dial indicator to check parallelism within 0.05mm.
After cutting the slot, test the fit by sliding the insert into place and checking that the blade emerges exactly in the center of the slot. If it’s off, you can enlarge the slot slightly with a file or rethink your measurements. For dados, refer to our guide on FencePro 3000: Dado Stack Setup for Perfect Grooves for stack alignment tips.
What Are the Installation and Tuning Steps?
Once your insert fits, lower it into the recess and adjust the leveling screws so it sits exactly flush with the table. A high spot can cause stock to rock, while a low spot leads to chip-out. Use a machinist’s square to verify flatness. Tighten the screws gently to avoid cracking the material.
Next, lubricate the insert edges with paraffin wax to allow easy removal. Test the FencePro 3000 by making a cut on scrap plywood; the insert should produce a clean edge with no tear-out. If you notice burning, the insert may be too tight—sand a small clearance around the blade slot (0.5mm). For maintaining the insert over time, our article on FencePro 3000: Dado Stack Maintenance Tips for Extended Life offers useful advice.
What Owners Say About the FencePro 3000 Zero-Clearance Insert
Users on woodworking forums consistently praise the improved cut quality. “After making a zero-clearance insert for my FencePro 3000, my miter cuts on oak veneer came out glass-smooth—no sanding needed,” reports Mark T. from Oregon. Another owner, Lisa K., notes that the insert helped her dado grooves stay clean, especially when using the system described in FencePro 3000: Dado Stack Setup for Perfect Grooves. However, some caution that the insert must be replaced after a few blade changes to maintain accuracy.
A common tip from experienced users: keep a spare insert ready. The FencePro 3000’s fence holds tight tolerances, so even a slightly loose insert can shift. Regular inspection ensures the gap stays minimal, extending the life of both the insert and your saw blade.
Frequently Asked Questions
1. Can I use the zero-clearance insert for dado cuts?
Yes, but you need to cut a wider slot matching your dado stack width. Use the same method—lower the blade fully and raise it through the blank. The FencePro 3000’s fence remains stable during this process.
2. How thick should the insert be?
Thickness should match your saw’s original insert, usually 12mm to 15mm. Too thick prevents the insert from sitting flush; too thin leaves a gap. Measure the recess depth with a caliper.
3. Does the insert require leveling screws?
Most aftermarket inserts benefit from leveling screws. The FencePro 3000’s table has threaded holes for these, so use brass or stainless steel screws to avoid corrosion.
4. Will the insert affect my saw’s safety features?
No—the insert does not interfere with the riving knife or blade guard. Ensure the insert does not block the dust collection port; it should have cutouts for the splitter if needed.
5. How often should I replace the insert?
Replace when the blade slot becomes wider than 2mm or when it no longer stays flush. For heavy use, every 6–12 months is typical.
6. Can I make the insert for thin kerf blades?
Absolutely. The zero-clearance principle works best with thin kerf blades, as the tight slot reduces chip-out even more. Just ensure the blade diameter matches your saw’s arbor.