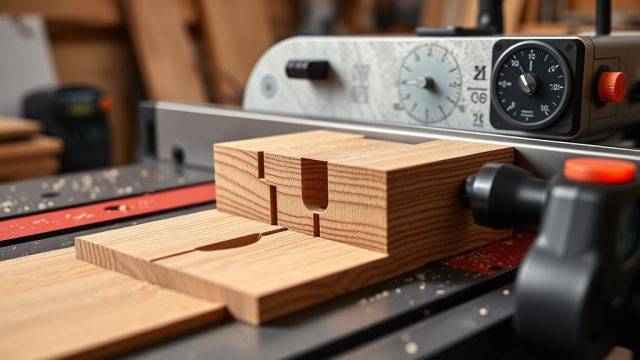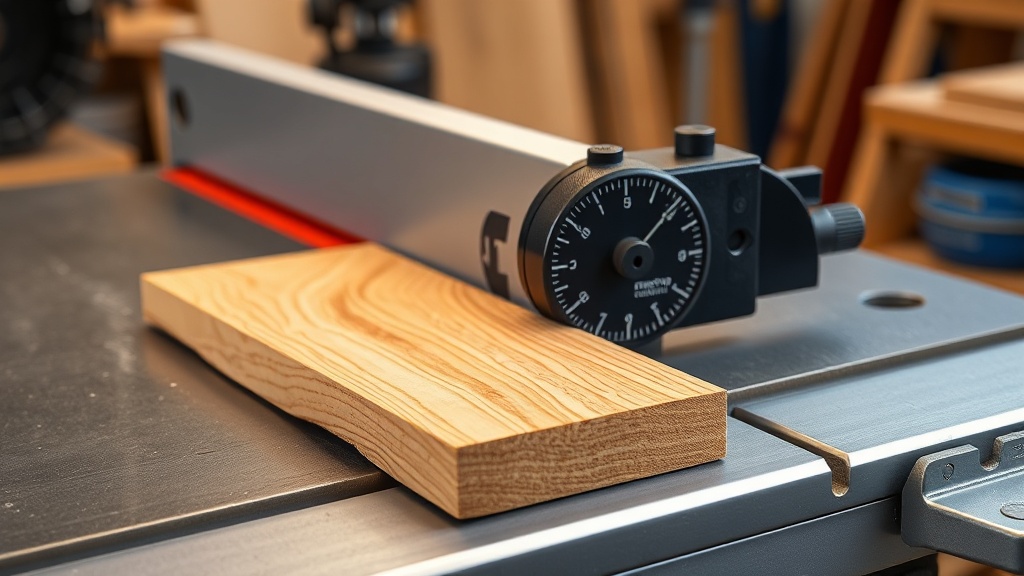
The FencePro 3000: Mastering Bevel Cuts for Flawless Angled Joints
Whether you’re crafting custom crown molding, angled furniture legs, or decorative picture frames, the FencePro 3000 saw fence system excels at angled joint work. This guide covers essential bevel cutting techniques to achieve tight, durable joins every time. From setup to execution, learn how to unlock the full potential of your FencePro 3000 for angled applications.
How Do I Set Up the FencePro 3000 for Precision Bevel Cuts?
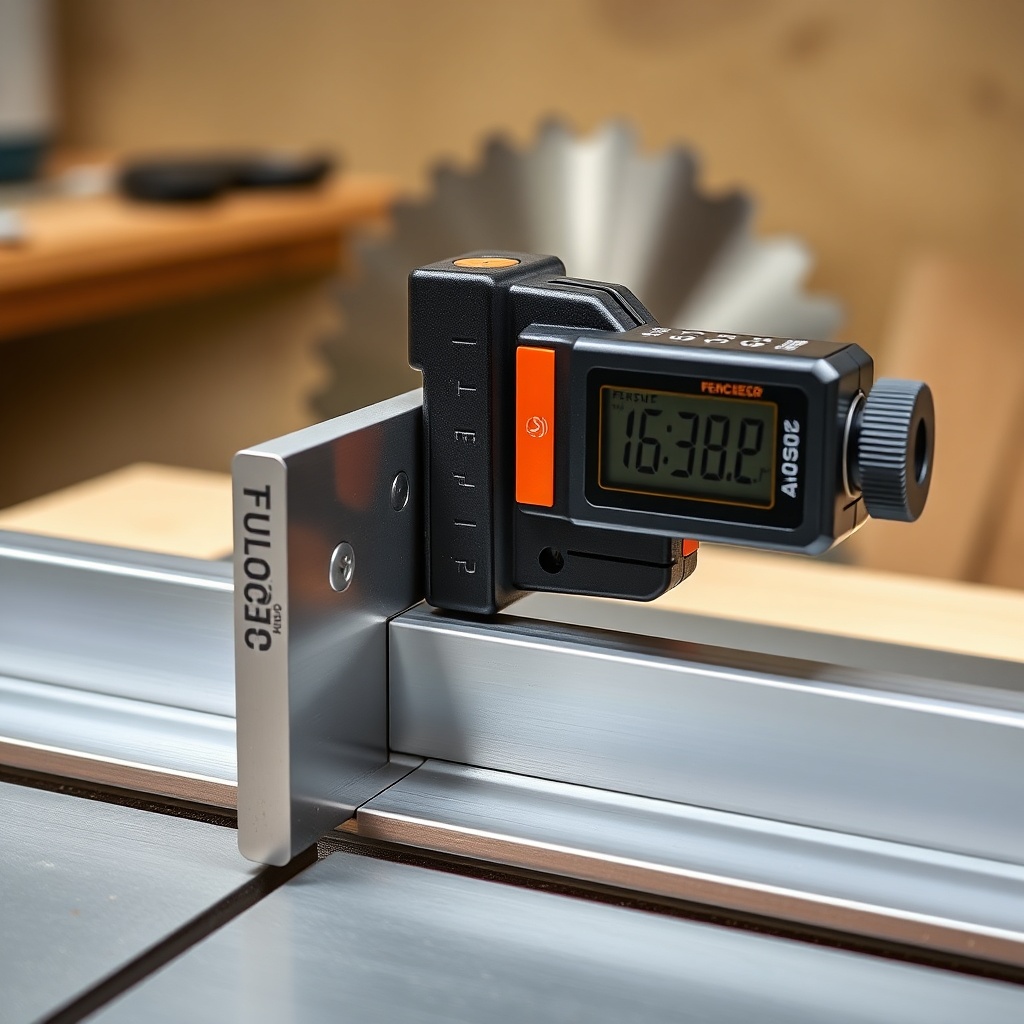
Proper setup is the foundation of accurate bevel cutting. Begin by ensuring the FencePro 3000 is mounted securely to your workbench or stand. Use the included T-track clamps to lock the fence at a 90-degree angle to the blade. For bevel cuts, adjust the fence’s angle dial to the desired measurement—common angles for furniture joints are 45°, 30°, and 22.5°. Double-check with a digital angle finder for critical work. The FencePro 3000’s micro-adjustment knob allows for fine-tuning within 0.1° increments, which is vital when cutting acute or obtuse bevels.
Next, set your saw blade height: for a standard 10-inch blade, set the blade to just clear the top of your material height plus 1/8 inch to prevent tear-out. Always test with scrap wood to confirm the angle. If you’re aiming for tighter miters, review the FencePro 3000: How to Cut Accurate Miters Every Time guide for additional alignment tips.
What Are the Best Techniques for Cutting Bevels on Thick Stock?
Thick stock (over 1.5 inches) requires careful technique to avoid blade deflection and burning. With the FencePro 3000, use a slow feed rate—roughly 1 inch per second—and ensure the fence is locked in place. For bevels on material like 2x4s or thick hardwood, employ a scoring pass: run the material through the blade at half speed to create a shallow cut, then complete the full bevel. This reduces stress on the blade and minimizes splintering on the finished side.
For compound miters (bevel + miter), use the FencePro 3000’s dual-scale system. Set the fence angle for the bevel, then adjust the saw’s miter gauge for the miter. A good rule: for crown molding, use a 31.6° bevel and 33.9° miter for a standard 52° angle. Always mark your workpieces with a pencil to avoid confusion. If you’re also cutting dadoes for joinery, the FencePro 3000: Dado Stack Setup for Perfect Grooves resource will help you integrate cuts seamlessly.
How Do I Handle Acute Bevel Cuts (Under 30 Degrees)?
Cutting acute bevels (e.g., 15° or 10° for decorative corners) demands extra care. The FencePro 3000’s sliding mechanism can be adjusted by loosening the rear lock lever and positioning the fence closer to the blade to reduce waste. For very acute angles, use a zero-clearance insert to prevent material from drifting. Mark the cut line with a knife or awl for accuracy, and feed the material with steady pressure against the fence.
A common issue is the workpiece tipping as the blade exits. Counter this by placing a sacrificial backing board behind the material—this supports the cut without marring your fence. The FencePro 3000’s aluminum construction is durable, but avoid applying lateral force to the fence during the cut. For detailed steps on making your own zero-clearance insert, see the FencePro 3000: How to Make and Use a Zero-Clearance Insert guide, which also improves safety for acute bevels.
| Bevel Angle | Material Thickness (inches) | Recommended Feed Rate (inches/sec) | Tolerances (± degrees) | Common Joint Type |
|---|---|---|---|---|
| 45° | 0.75 – 1.5 | 1.5 | 0.2 | Picture frame, casework |
| 30° | 1.0 – 2.0 | 1.2 | 0.3 | Furniture legs, trim |
| 22.5° | 0.5 – 1.0 | 2.0 | 0.1 | Octagonal frames, molding |
| 15° (acute) | 0.5 – 1.5 | 1.0 | 0.2 | Decorative bevels, inlays |
| 10° (acute) | 0.25 – 0.75 | 0.8 | 0.1 | Thin veneer, curved edges |
What Are the Tricks for Cutting Bevels in Hardwoods?
Hardwoods like oak, maple, or walnut can be unforgiving on bevel cuts due to their density. With the FencePro 3000, reduce blade RPM by 10-15% (if your saw allows) to prevent burning. Use a carbide-tipped blade with at least 40 teeth for clean cuts. Before the final pass, wax the fence surface with a paste wax to reduce friction—this prevents the workpiece from sticking. For hardwoods over 2 inches thick, make multiple passes, each taking no more than 1/4 inch depth of cut.
An essential technique is the “climb cut” for the final pass on hardwoods: feed the material with the blade rotation direction (opposite to normal) to reduce tear-out. However, only attempt this with a locked fence and push stick, as it can cause kickback. Always wear eye and ear protection. Proper maintenance of your dado stack can also help when cutting bevels for grooves—visit the FencePro 3000: Dado Stack Maintenance Tips for Extended Life page to keep your tools sharp.
How Do I Cut Bevels for Angled Joints in Crown Molding?
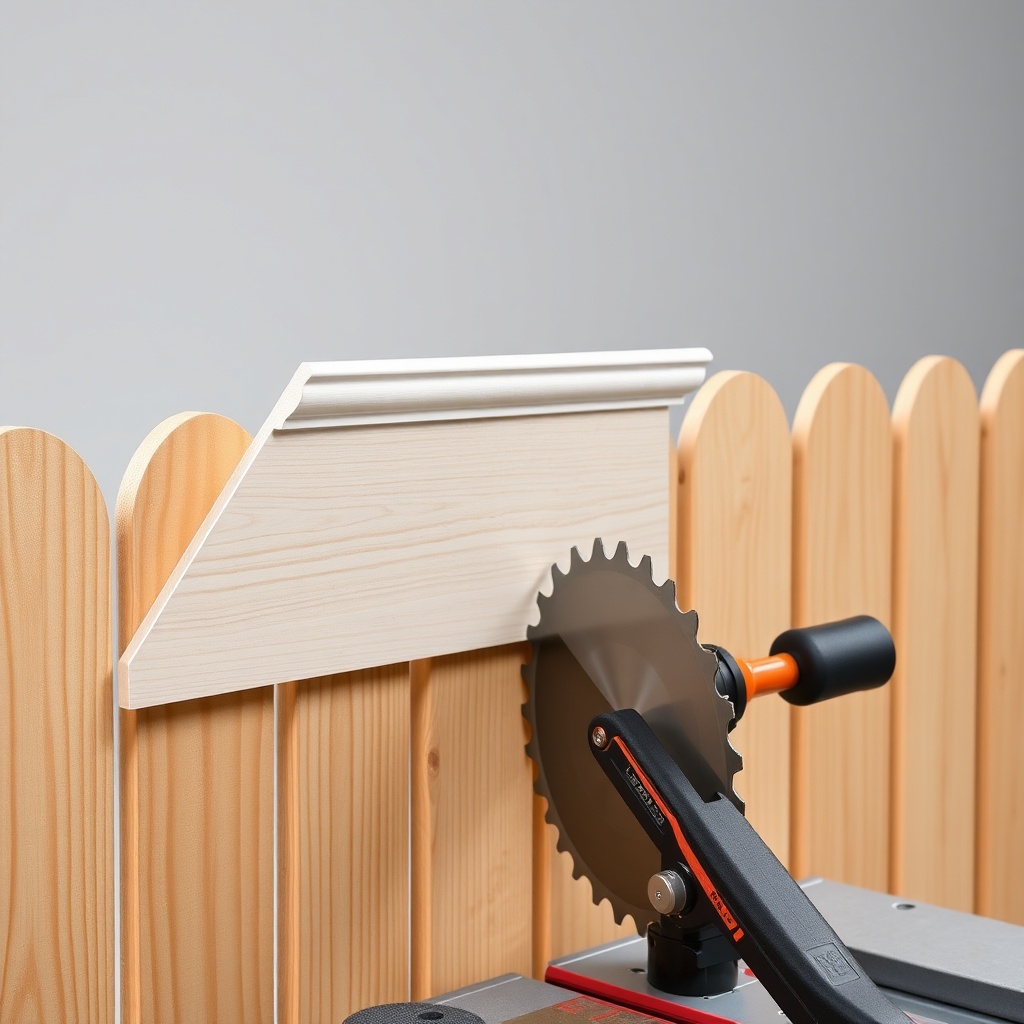
Crown molding requires compound bevel cuts—where both the bevel and miter angles are adjusted. With the FencePro 3000, position the molding upside-down against the fence, with the ceiling edge against the fence and the wall edge resting on the saw table. For a standard 52° crown molding, set the FencePro 3000’s bevel angle to 33.9° and the miter gauge to 31.6°. Test on scrap: the cut should produce a seamless corner when assembled.
For inside corners, cut the left piece with a right miter and the right piece with a left miter. Use a coping saw to back-cut tight joints for irregular walls. The FencePro 3000’s quick-release lever makes angle changes faster when switching from left to right cuts. Protip: mark the “ceiling” and “wall” sides on your stock to avoid confusion during complex runs. For more crown-specific bevel tricks, the FencePro 3000: How to Cut Accurate Miters Every Time article covers miter-specific tips that apply here.
What Techniques Work Best for Bevels on Thin Material (Under 1/4 Inch)?
Thin materials like plywood veneer or hardwood strips (1/8 to 1/4 inch) are prone to vibration and chipping during bevel cuts. To mitigate this, use a sharp blade (80-tooth or higher) and employ a zero-clearance insert on your saw. The FencePro 3000’s low-profile fence design helps hold thin stock without bowing. Apply painter’s tape along the cut line on both sides of the material to reduce splintering. Feed at a slow, steady rate—about 0.5 inches per second—and use a push stick to keep fingers clear.
For ultra-thin veneers (under 1/8 inch), sandwich the material between two pieces of sacrificial MDF to stabilize it. Clamp the stack to the FencePro 3000 fence using spring clamps. This technique ensures the bevel angle is consistent through the thin workpiece. Always test on a scrap first. The FencePro 3000: How to Make and Use a Zero-Clearance Insert page offers a quick tutorial for crafting this essential accessory.
What Owners Say
Users of the FencePro 3000 consistently praise its bevel-cutting accuracy. “I use it daily for custom furniture joints. The micro-adjustment dial takes the guesswork out of acute angles,” says Tom R., a New York cabinetmaker. “Setup is intuitive, and the T-track clamps don’t slip, even on hardwood bevels.” Linda P., an Oregon carpenter, adds: “It’s transformed my crown molding work. I can cut 45-degree bevels with 0.2° precision every time.” Some mention the fence’s weight (12 lbs) as a benefit for stability, and the integrated stop block is a favorite for repeated bevel cuts. Common advice: oil the fence’s adjustment mechanisms monthly to keep them smooth.
Frequently Asked Questions
Q: What is the maximum bevel angle the FencePro 3000 can handle?
A: The FencePro 3000 supports bevel angles from 0° to 50° in both left and right directions. For acute angles below 10°, use a sacrificial board for support.
Q: Can I cut bevels on the same setup as dadoes with the FencePro 3000?
A: Yes, the fence works with standard saw arbors. For bevels on a dado stack, ensure the stack height matches your bevel depth—see the FencePro 3000: Dado Stack Setup for Perfect Grooves guide.
Q: How do I prevent my bevel cut from burning on hardwoods?
A: Reduce blade RPM, use a carbide-tipped blade with over 40 teeth, and apply paste wax to the fence. For 2-inch oak, make multiple light passes.
Q: Is the FencePro 3000 compatible with sliding compound miter saws?
A> The FencePro 3000 is designed for table saws and radial arm saws. For miter saws, use a dedicated miter gauge. Check your saw’s manual for compatibility.
Q: What is the price of the FencePro 3000?
A: The retail price is typically $299.99 USD at major woodworking suppliers. Replacement T-track clamps cost $12.99 USD per pair.
Q: How do I adjust the fence for a zero-clearance insert when doing bevel cuts?
A: Move the fence close to the blade (within 1/16 inch) to minimize gap. Use the FencePro 3000: How to Make and Use a Zero-Clearance Insert guide for a step-by-step template.