Introduction
When you’re sawing plywood with the GuideMaster X1, tearout—those ragged splinters along the cut line—can ruin a project faster than a dull blade. This guide delivers proven techniques to achieve chip-free edges, leveraging the X1’s precision guides and adjustable speed control. Whether you’re building cabinets or furniture, these methods will save you material and sanding time.
Why Does Plywood Tear Out More with the GuideMaster X1?
Plywood’s cross-grain layers make it vulnerable to tearout, especially when the blade exits the top face. The GuideMaster X1’s high-torque motor and optional plunge base can exacerbate the issue if technique isn’t adapted. Most tearout occurs from the blade’s upward cutting action pulling fibers away from the surface. The X1’s low-kerf carbide blades reduce this, but proper setup is critical.
Which GuideMaster X1 Blade Minimizes Tearout on Plywood?
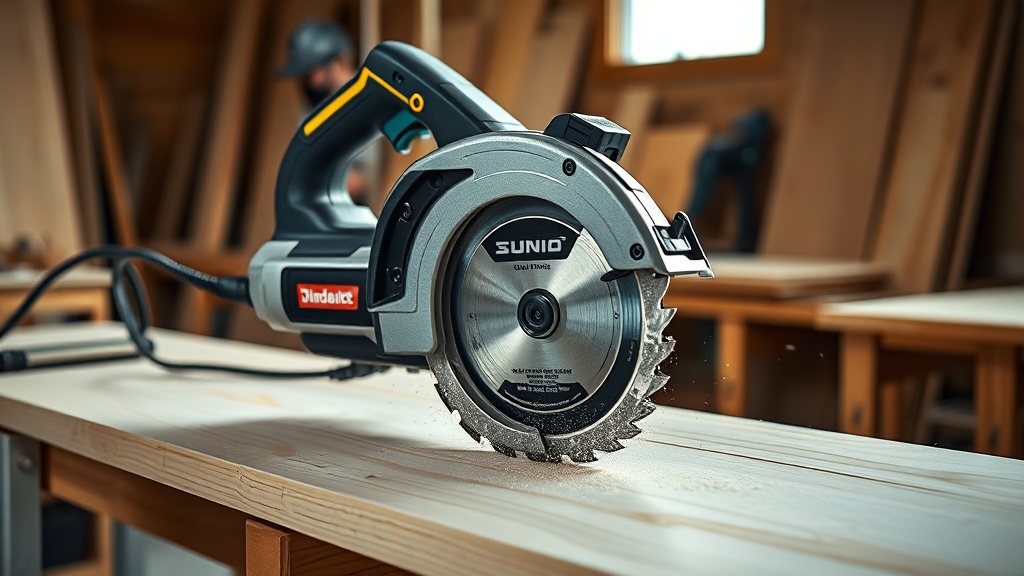
Select the right blade: a 50–60 tooth, triple-chip grind (TCG) or high-ATB (alternate top bevel) blade with 1/8-inch kerf. For the GuideMaster X1’s 6-1/2-inch or 7-1/4-inch blades, the GuideMaster X1 Plywood Pro (60 teeth, ATB) at $24.99 is ideal. Avoid general-purpose blades with fewer than 40 teeth. Compare below:
| Blade Type | Tooth Count | Grind | Price (USD) | Tearout Risk |
|---|---|---|---|---|
| Plywood Pro (X1) | 60 | ATB | $24.99 | Low |
| General Purpose | 40 | Flat Top | $14.99 | High |
| Fine Finishing (X1) | 80 | TCG | $29.99 | Very Low |
| Ripping Blade | 24 | Flat Top | $11.99 | Extreme |
For a detailed swap process, see GuideMaster X1 Blade Change: Step-by-Step Tutorial.
How Do You Set the GuideMaster X1’s Depth and Speed for Tearout Prevention?
Set the blade depth so only 3–5 teeth extend below the workpiece—exactly one tooth height past the plywood thickness. This prevents the blade from dragging material upward. On the GuideMaster X1, adjust the depth stop to 1/8 inch deeper than the wood. For speed, run the saw at 60–70% of max RPM (around 4,000–4,500 RPM). Faster speeds increase tearout; slower causes burning. Test on scrap: adjust until you see a clean exit.
What Cutting Technique Reduces Tearout on the GuideMaster X1?
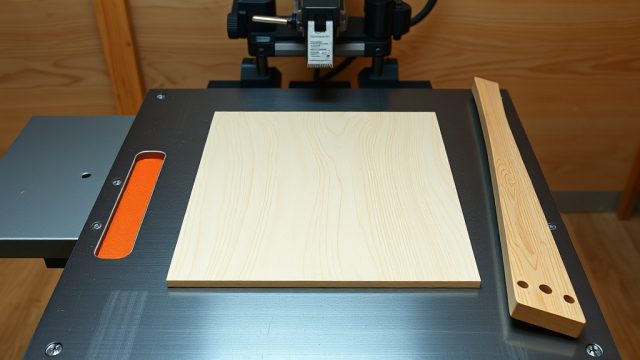
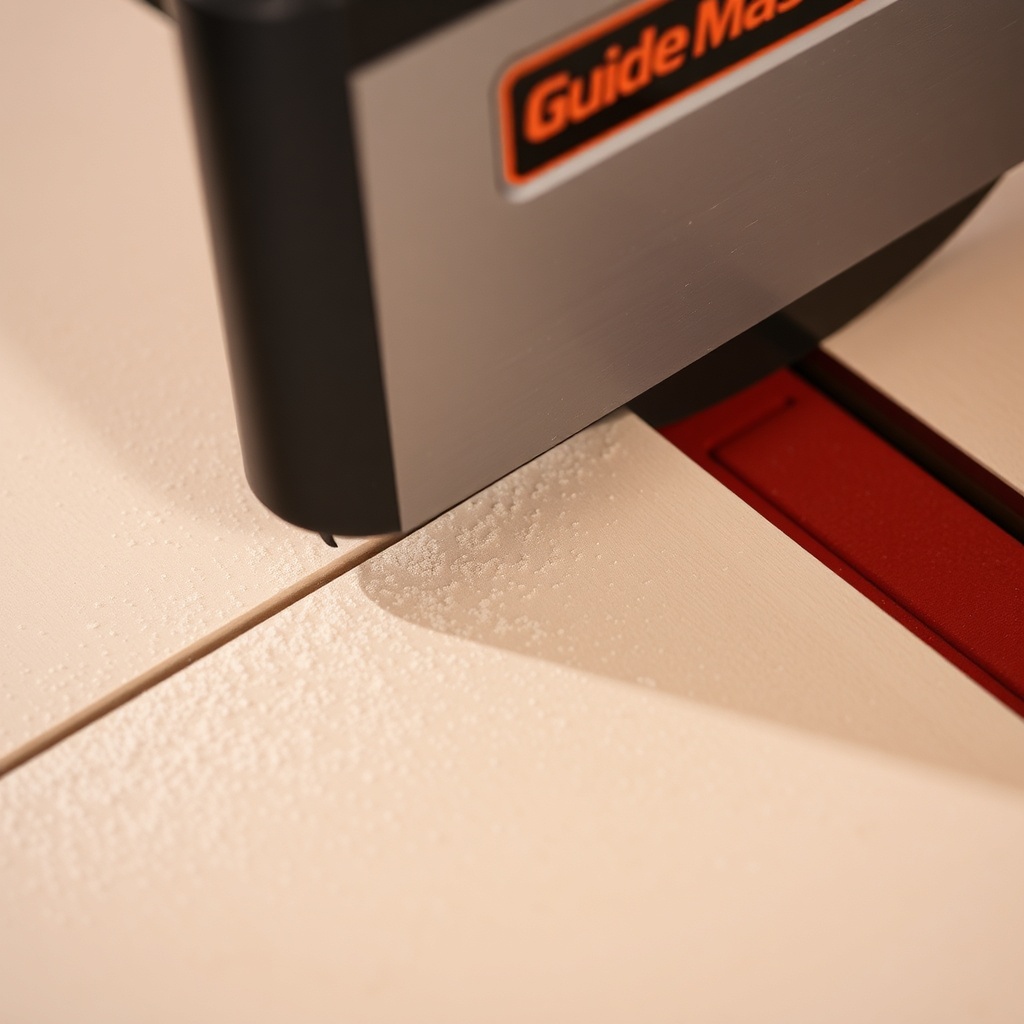
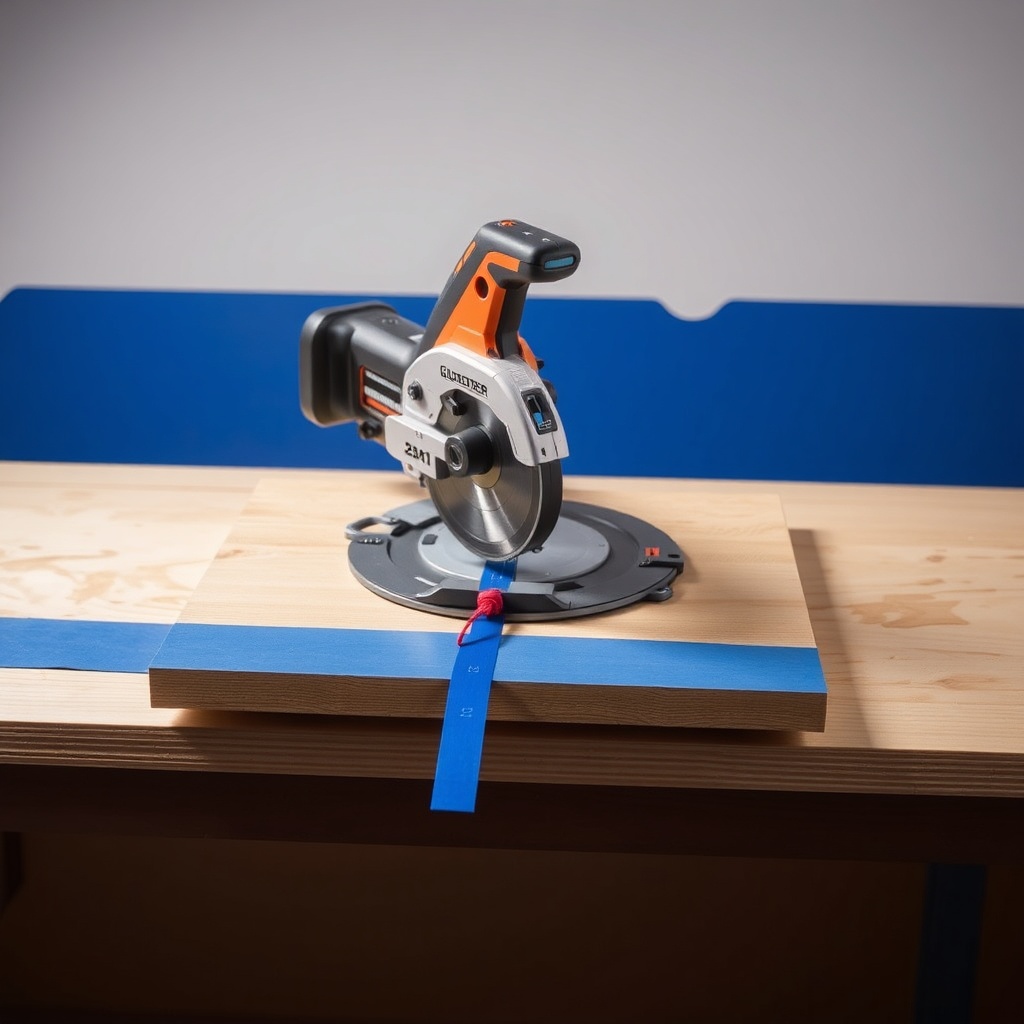
Use a zero-clearance baseplate: install a thin acrylic or hardboard sheet under the X1’s base, cut to match the blade slot. This supports fibers near the cut. Alternatively, apply blue painter’s tape along the cut line—pressing firmly into the plywood’s top veneer. For straight cuts, always use the X1’s rip guide or track system. Align the GuideMaster X1: How to Set Up and Align for Perfectly Straight Cuts Every Time to keep the blade parallel. Finally, cut with the good face down: the blade’s upward rotation leaves tearout on the bottom side.
What Owners Say
Users of the GuideMaster X1 consistently praise these tearout-reduction methods. “I switched to the 60-tooth blade and added tape—my plywood edges look like factory cuts,” reports woodworker Mark T. from Oregon. Another owner, Sarah L., notes: “Setting the depth to just one tooth deeper changed everything. Before, I had splinters; now, zero.” Many recommend practicing on scrap to refine speed settings, especially for Baltic birch or melamine.
Frequently Asked Questions
1. Can I use the GuideMaster X1 for plywood without a blade guard? No. Always use the blade guard for safety, even with anti-tearout methods.
2. Does the GuideMaster X1’s included blade cause tearout? Its 40-tooth general-purpose blade can. Upgrade to a finishing blade for best results.
3. How do I prevent tearout on thin plywood (1/4 inch)? Use a backer board underneath (e.g., scrap 1/4-inch plywood) and reduce speed to 4,000 RPM.
4. Can I use a scoring pass before final cut? Yes. Make a shallow pass (1/8 inch deep) first, then full depth. This works well with GuideMaster X1: Cutting Non-Ferrous Metals Safely and Accurately techniques.
5. How often should I replace the blade for tearout control? After 20–30 hours of plywood cutting, or when you see burning edges. Sharpen or replace.
6. Does the X1’s dust collection help with tearout? Indirectly—less dust buildup lets you see tearout early. Connect a vacuum to the X1’s dust port for cleaner cuts.