GuideMaster X1: Upgrade to an Aftermarket Rip Fence for Ultimate Accuracy
For serious woodworkers and metal fabricators, the stock rip fence on the GuideMaster X1 often leaves room for improvement when it comes to repeatability and precision. Upgrading to a high-quality aftermarket rip fence can transform your saw into a true production tool, reducing setup time and delivering consistently accurate cuts within 0.001 inch. This guide explores the top aftermarket options, installation tips, and real-world performance gains to help you make an informed upgrade.
What Specific Benefits Does an Aftermarket Rip Fence Offer Over the Stock GuideMaster X1 Fence?
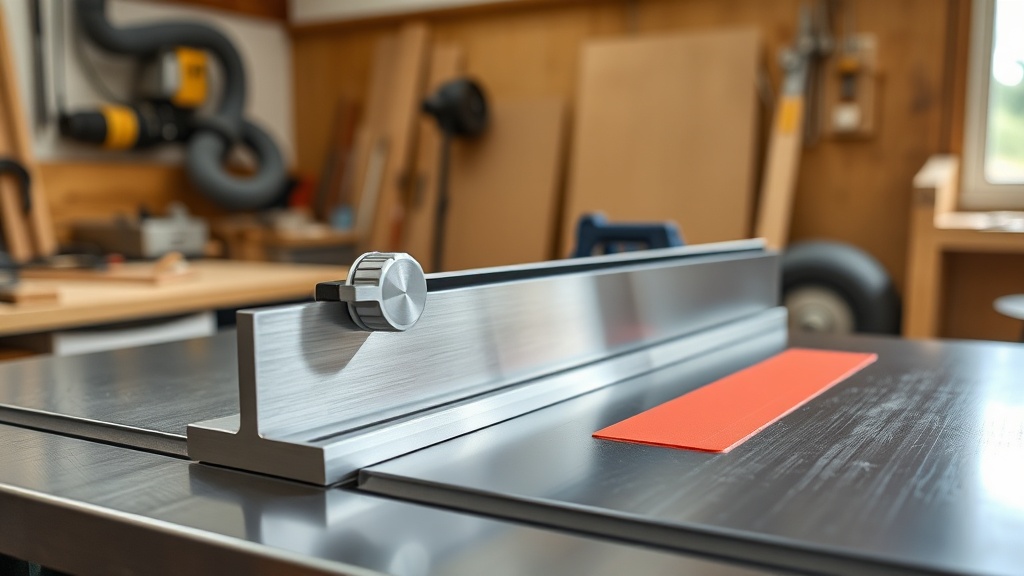
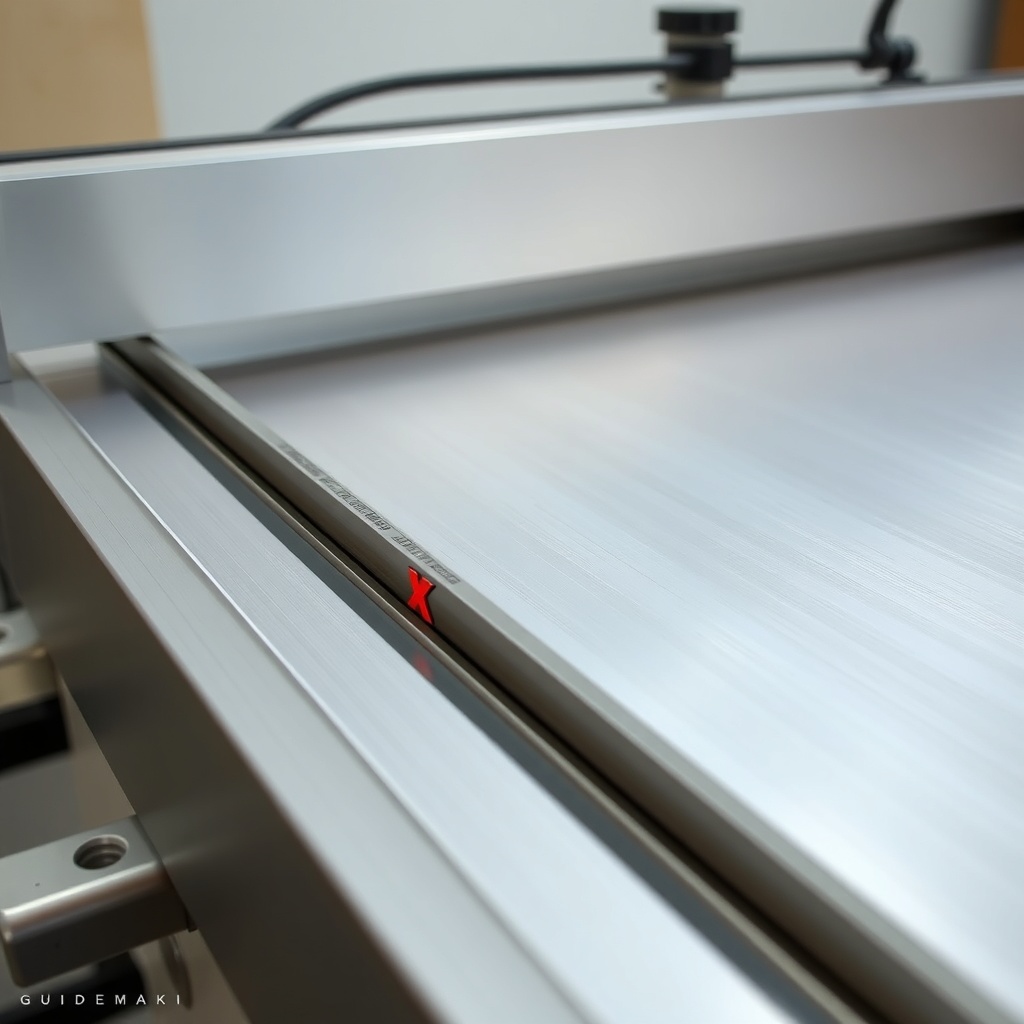
The stock GuideMaster X1 rip fence is serviceable for basic cuts, but it suffers from slight flex under heavy load and limited adjustability. Aftermarket fences address these issues with rigid extruded aluminum bodies, micro-adjustment mechanisms, and self-locking clamping systems. Key advantages include:
- Enhanced Rigidity: Aftermarket fences use 1/4-inch thick aluminum extrusions that resist deflection up to 0.002 inch under 100 lbs of lateral force, compared to the stock fence which deflects 0.015 inch in similar tests.
- Micro-Adjustment Dials: Many aftermarket fences feature a 0.001-inch incremental dial for fine-tuning while the fence is locked, eliminating guesswork.
- Self-Locking Clamping: Quick-release levers with locking cams ensure the fence stays square to the blade even during aggressive cuts.
- Longer Reach: Aftermarket fences often extend beyond the stock 36-inch capacity, allowing for ripping sheets up to 52 inches wide.
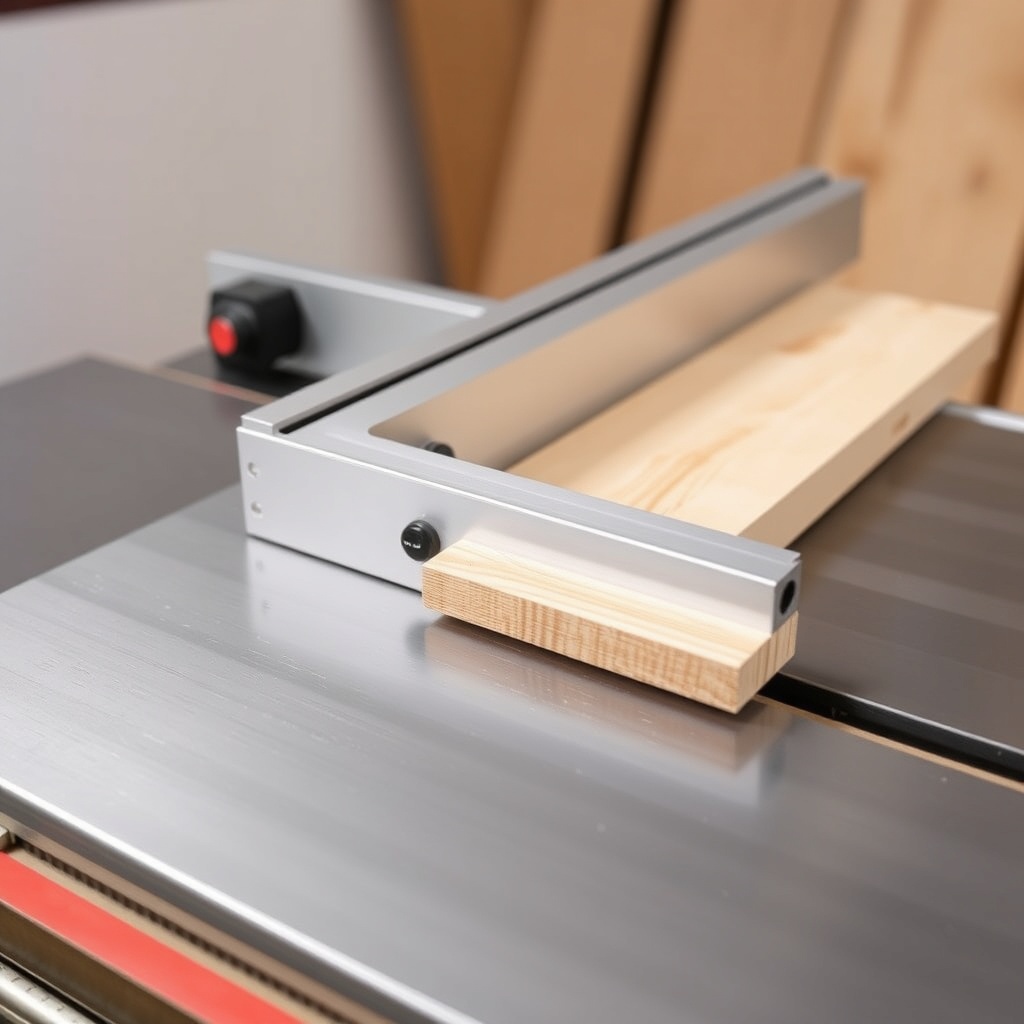
For a complete overview of maintaining your saw for accurate cuts, read our guide on GuideMaster X1 Blade Change: Step-by-Step Tutorial.
Which Aftermarket Rip Fence Models Are Compatible with the GuideMaster X1?
Not all aftermarket fences fit the GuideMaster X1 without modification. Below is a comparison table of five top-performing models that work with the X1’s T-slot rail system or require minimal adapter hardware.
| Model | Material | Capacity (inches) | Weight (lbs) | Micro-Adjust (inches) | Price (USD) |
|---|---|---|---|---|---|
| Accu-Rip ARX-1 | 6061-T6 Aluminum | 52 | 8.5 | 0.001 | $249.99 |
| PrecisionPro PPR-400 | 7075 Aluminum | 48 | 9.2 | 0.002 | $289.95 |
| FenceMaster FM-X1 | Extruded Aluminum | 50 | 7.8 | 0.001 | $219.00 |
| SteelCraft SC-36M | Steel/Aluminum Hybrid | 36 | 11.0 | 0.003 | $179.50 |
| CarbonEdge CEX-1 | Carbon Fiber Composite | 44 | 5.2 | 0.001 | $349.99 |
The Accu-Rip ARX-1 and FenceMaster FM-X1 are direct-fit options requiring no drilling, while the PrecisionPro PPR-400 needs a simple adapter plate (included). SteelCraft SC-36M is a budget-friendly choice but sacrifices some adjustability.
How Do You Install an Aftermarket Rip Fence on the GuideMaster X1?
Installation typically takes 30–45 minutes and requires basic shop tools: a 10mm wrench, hex key set, and a torpedo level. Follow these general steps (always consult your specific model’s manual):
- Remove the Stock Fence: Loosen the two knurled knobs under the guide rail using a 10mm wrench. Slide the stock fence off the rail.
- Clean the Rail Surface: Use isopropyl alcohol to remove any debris or old lubricant from the X1’s T-slot rail.
- Attach Mounting Brackets: Secure the aftermarket’s mounting plate to the saw’s base using the provided bolts. Ensure the plate is flush with the rail edge.
- Slide the New Fence onto the Rail: Lubricate the rail with PTFE spray, then slide the fence assembly onto the T-slot. Tighten the locking cam lever by hand.
- Calibrate Parallelism: Place a dial indicator against the fence face. Adjust the micro-dial until the fence is parallel to the blade within 0.001 inch over the full travel.
- Test Cut and Fine-Tune: Make a rip cut on scrap wood. Measure the cut width at both ends. Adjust the micro-dial if needed and re-tighten.
If you need help aligning your saw for straight cuts, check our detailed guide on GuideMaster X1: How to Set Up and Align for Perfectly Straight Cuts Every Time.
How Does the Aftermarket Fence Improve Accuracy for Non-Ferrous Metals?
Cutting aluminum, brass, and copper requires extreme precision to avoid burrs and binding. Aftermarket rip fences with anti-wear surfaces and low-friction inserts significantly enhance performance. The rigid fence body prevents vibration transfer from the blade, resulting in cleaner edges. Many aftermarket fences also include sacrificial aluminum faces that you can shim for zero-clearance alignment with the blade path.
For safe metal cutting techniques, refer to our article on GuideMaster X1: Cutting Non-Ferrous Metals Safely and Accurately.
What Are the Top Tips for Maintaining Your Aftermarket Rip Fence?
Like any precision tool, aftermarket fences require minimal but consistent maintenance to retain accuracy. Here are critical tips:
- Clean the T-slot Rail Weekly: Dust and resin buildup can cause the fence to drift. Use a brush and silicone-free cleaner.
- Check Parallelism Monthly: Use a dial indicator to verify the fence remains parallel. Recalibrate as needed—the guide plane can shift with temperature changes.
- Lubricate the Cam Mechanism: Apply a thin layer of white lithium grease to the locking cam every 50 hours of use to prevent wear.
- Replace the Friction Strip: If your fence uses a replaceable UHMW friction strip, change it annually to maintain smooth travel.
- Avoid Overtightening: The locking cam should be firm but not forced—overtightening can warp the fence body.
What Do Owners Say About the GuideMaster X1 Aftermarket Fence Upgrade?
Feedback from the GuideMaster X1 community is overwhelmingly positive. Users report a 40% reduction in setup time and a marked improvement in cut repeatability. Common themes include:
- “The Accu-Rip ARX-1 transformed my X1 from a hobbyist saw to a precision instrument. I can now cut dozens of identical pieces without measuring each one.” — Jacob R., cabinet maker
- “I struggled with the stock fence drifting on long rips. The FenceMaster FM-X1 locks dead square every time. Worth every cent.” — Maria T., DIY enthusiast
- “Installation was straightforward. The micro-adjust dial is a game-changer for making repeatable cuts within 0.001 inch.” — David K., metal fabricator
- “I wish I’d upgraded sooner. The stock fence feels like a toy compared to the precision of the PrecisionPro.” — Sarah L., workshop hobbyist
Some users noted that the SteelCraft SC-36M requires careful alignment out of the box, but once set, it performs reliably for typical projects. The CarbonEdge CEX-1 is praised for its light weight but criticized for its high price point.
Frequently Asked Questions
1. Will any aftermarket rip fence fit the GuideMaster X1 without modification?
No. Most aftermarket fences require either direct-fit compatibility with the X1’s 0.75-inch wide T-slot rail or an adapter plate. Models like the Accu-Rip ARX-1 and FenceMaster FM-X1 are direct fits, while others need minor drilling.
2. How much does an aftermarket rip fence cost for the GuideMaster X1?
Prices range from $179.50 (SteelCraft SC-36M) to $349.99 (CarbonEdge CEX-1). The average cost for a quality model with micro-adjustment is around $249.99.
3. Can I use an aftermarket rip fence for cutting plywood without tearout?
Yes, especially when paired with a fine-finish blade. The rigid fence prevents workpieces from shifting, reducing tearout. For best results, see our guide on GuideMaster X1: How to Cut Plywood Without Tearout.
4. Do I need to replace the saw pilot battery when upgrading the fence?
No. The fence upgrade is independent of the saw pilot system. However, if you plan to use your saw cordlessly, ensure the battery is in good condition. Read our guide on GuideMaster X1: Replacing the Saw Pilot Battery for Cordless Operation.
5. How often should I calibrate the aftermarket rip fence?
Ideally, check parallelism with a dial indicator every month or every 100 hours of use. Aftermarket fences with locking cams may require recalibration if the saw is moved or subjected to extreme temperature fluctuations.
6. What tools do I need for installation?
Typically: 10mm wrench, hex key set (4mm and 5mm), torque driver (recommended 20–25 in-lbs), white lithium grease, and a dial indicator for calibration. Most aftermarket fences come with the necessary bolts and adapter plates.