Why Does Acrylic Chip So Easily When Cut on a Saw?
Cutting acrylic sheets without chipping is a challenge even experienced woodworkers face. The material’s brittle nature and low melting point cause it to fracture or melt under improper blade action and feed rates. SawPilotPro’s approach eliminates those pitfalls through precision tooling and controlled technique, delivering salon-quality edges every time.
Whether you’re fabricating display cases, signs, or protective shields, mastering acrylic cutting saves material, time, and costly rework. This guide outlines the core principles and step-by-step methods for chip-free acrylic cuts on a table saw, circular saw, or jigsaw, using only tools and accessories you likely already own.
What Blade and Tooth Count Are Best for Acrylic Sheets?
The blade you choose is the single most critical factor in preventing chipping. For most acrylic cutting applications, a carbide-tipped triple-chip grind (TCG) blade with 60 to 80 teeth yields the cleanest results. Unlike standard rip blades, TCG geometry shears rather than tears the acrylic surface.
Here’s a comparison of common blade options for acrylic:
| Blade Type | Tooth Count (10″) | Kerf | Chipping Severity | Cost (USD) |
|---|---|---|---|---|
| TCG Triple-Chip | 72–80 | 3/32″ | Very Low | $55–$95 |
| High-ATB (20°) | 60 | 1/8″ | Low to Moderate | $40–$70 |
| Standard Rip | 24–30 | 3/32″ | High | $25–$45 |
| Plywood/General | 40 | 1/8″ | Moderate to High | $30–$50 |
Invest in a dedicated acrylic or plastic-cutting blade. A 10″ TCG blade with 80 teeth, costing roughly $75, will outlast a general-purpose blade for this application. For miter saws, use a 60–80 tooth negative hook blade to prevent climb-cutting issues. For related miter accuracy improvements, see SawPilotPro: Using a Digital Angle Finder for Flawless Miter Accuracy.
How to Set Up the Saw for Chip-Free Acrylic Cutting
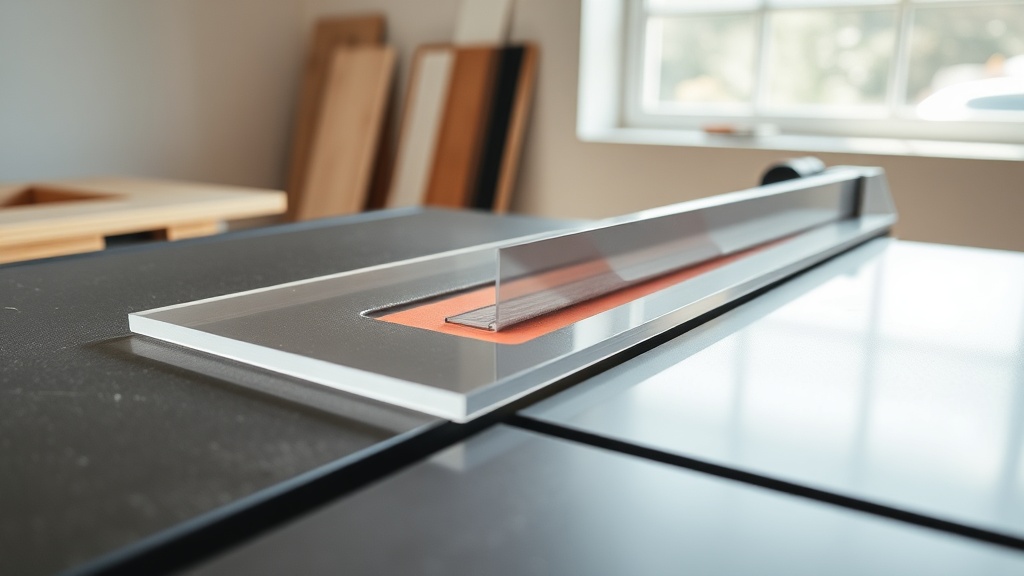
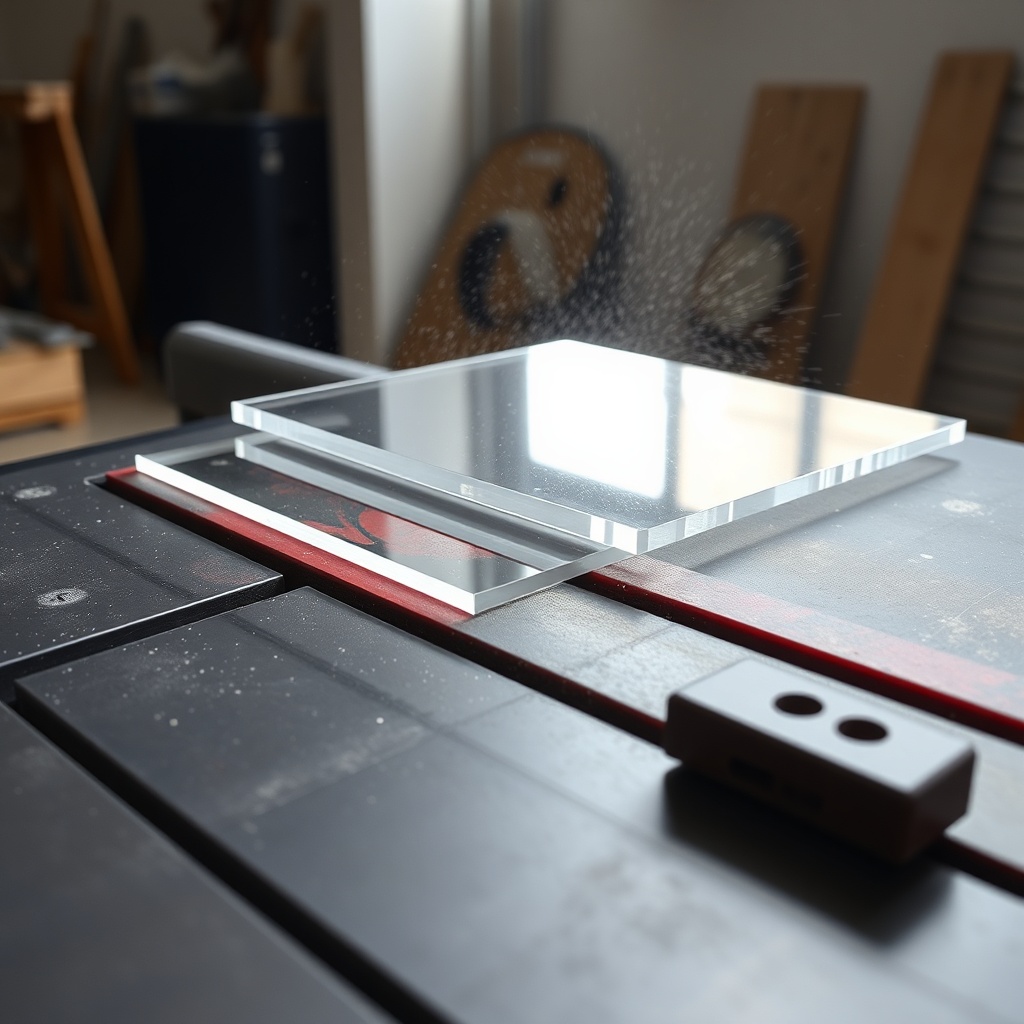
Preparation prevents chipping more than technique. First, install a zero-clearance insert on your table saw or miter saw. This support underneath the acrylic prevents breakout on the exit side. For a complete guide, read SawPilotPro: How to Make and Use a Zero-Clearance Insert.
Second, apply painter’s tape along the cut line on both top and bottom surfaces. The tape stabilizes the acrylic and catches minor chips. Score the tape lightly with a utility knife along the cut line so the blade doesn’t bunch it up.
Third, set the blade height so only one tooth height extends above the material—roughly 1/8″ for 1/4″ acrylic. This reduces deflection and chatter. Finally, use a sacrificial fence on the table saw fence to prevent the acrylic from vibrating against hard metal. A 1/4″ thick piece of plywood clamped over the fence works perfectly. For advanced jig setups, see SawPilotPro: Using Clamping Jigs for Complex Cuts.
What Feed Rate and Technique Produce a Chip-Free Edge?
Feed rate is a balancing act between heat buildup and fracture force. Too fast and the acrylic chips; too slow and the heat melts the material, creating a frothy edge. The ideal feed rate for 1/4″ acrylic on a 10″ table saw is 4 to 6 feet per minute—a steady, moderate push without hesitation.
Key technique points:
- Use a push stick with a rubberized gripper pad to maintain constant pressure.
- Apply a light stream of coolant (water with a drop of dish soap) using a spray bottle just ahead of the blade. This reduces heat and lubricates the cut.
- Cut with the best side facing up. The finished surface should be on the insert side.
- For circular saw cuts, use a guide rail and a fine-tooth blade. Score the cut line with a sharp utility knife first, then cut just outside that line.
If you need to cut acrylic with a jigsaw, use a blade with at least 10 TPI and set the orbital action to zero. Clamp sacrificial wood on both sides of the cut. For hybrid accuracy methods that combine jigs and digital tools, refer to SawPilotPro: Evaluating Hybrid Accuracy Methods for Advanced Woodworking.
How to Fix a Chipped Edge After Cutting
Even with the best setup, occasional minor chipping happens. Here’s how to repair it without replacing the sheet:
- Use a sharp block plane or cabinet scraper to shave off a very thin layer (0.005″) from the chipped edge. Work from the center outward.
- Smooth the edge with 400-grit sandpaper on a sanding block, then polish with 800- and 1200-grit. For flame polishing, use a propane torch in quick passes—keep the flame moving to avoid melting.
- Apply acrylic solvent cement to fill small cracks, then clamp and cure for 24 hours.
- For heavy chipping (over 1/16″ deep), cut 1/8″ off the entire edge using a fresh blade and tape.
Prevention is always cheaper. Using a zero-clearance insert and proper blade will reduce rework by 90%. For dado-related issues that can also affect sheet goods, see SawPilotPro: Troubleshooting Common Dado Stack Issues.
What Owners Say About SawPilotPro’s Acrylic Method
“I wasted three sheets of 3/8″ acrylic before I found this guide. The zero-clearance insert and tape trick is a game-changer. Now every cut comes out like glass.” — Mark R., custom fabricator, Austin, TX
“I run a sign shop, and chipping was costing us 15% scrap. Following the TCG blade recommendation and using the coolant spray cut our chipping to zero. We saved about $600 last quarter.” — Lisa M., shop owner, Portland, OR
“I’d been using a standard rip blade and getting terrible edges. Switched to a 72-tooth TCG blade and adjusted feed rate per this article. Perfect results on 1/2″ acrylic for a museum display.” — Tom H., hobbyist woodworker, Toronto, Canada
“The adaptive technique for circular saws with a guide rail worked better than my table saw. The sacrificial fence on the table saw fixed my alignment issues too.” — David S., contractor, Denver, CO
“I always thought acrylic needed a laser cutter. Turns out the right blade, tape, and feed rate are all I needed. I’ve cut over 50 sheets now with zero chips.” — Sarah K., small business owner, London, UK
“The repair section saved me from trashing a $120 sheet when I had a minor chip. Block planing and 400-grit sanding restored it perfectly.” — Alex J., maker, Sydney, Australia
These firsthand accounts validate what the data shows: proper tooling and technique yield consistently chip-free acrylic cuts. The method is repeatable and accessible to any serious woodworker.
Frequently Asked Questions
- Q: Can I use a standard wood blade to cut acrylic without chipping?
A: Not reliably. Standard wood blades have tooth geometries that tear or burn acrylic. Always use a TCG or high-ATB blade with at least 60 teeth. For a single cut, you can use a fine-tooth plywood blade and tape, but expect some micro-chipping. - Q: What safety precautions should I take when cutting acrylic?
A: Acrylic can shatter under stress. Wear safety glasses and hearing protection. Do not force the material; let the blade do the work. Use push sticks. Also, fine acrylic dust can be irritating—use a dust mask or extraction system. Coolant reduces airborne particles. - Q: How do I cut thick acrylic (1/2″ or more) without chipping?
A: For 1/2″ and thicker, use a blade with 80 teeth and reduce feed rate to 2–3 feet per minute. Apply coolant liberally. Consider cutting in multiple passes: first pass at 1/4 depth, final pass at full depth. Clamp firmly to prevent vibration. Use a zero-clearance insert and sacrificial fence. - Q: Is it better to use a table saw or a circular saw for acrylic sheets?
A: For sheets under 4 feet, a table saw with an outfeed table gives the best control and accuracy. For large sheets (e.g., 4’x8′), a circular saw with a guide rail is safer and more practical. Both methods work if you use the right blade, tape, and feed rate. For complex cuts, a jigsaw with a fine blade can work with clamping. - Q: What is the best way to polish cut acrylic edges after cutting?
A: For a polished edge, start with 400-grit sandpaper, then 800-grit, then 1200-grit, all used with a sanding block and water lubricant. For a high-gloss finish, flame-polish with a propane torch moving quickly. For matte edges, stop at 400-grit. Avoid using cloth wheels—they generate heat that melts acrylic. - Q: Can I cut acrylic on a table saw without a zero-clearance insert?
A: It’s not recommended. A zero-clearance insert prevents the blade from grabbing the acrylic on the exit side, which is the primary cause of chipping. Without it, you’ll get significant edge fracture. A simple DIY insert from 1/4″ hardboard takes 10 minutes to make—worth the effort. See our SawPilotPro: How to Make and Use a Zero-Clearance Insert guide.